Building a Spatial Barcode Scanner with ARCore and Dynamsoft Barcode Reader
Augmented reality (AR) enhances our physical environment by overlaying digital information in real time. This technology transforms traditional barcode scanning from a simple data capture task into an intuitive spatial experience. Imagine walking through a warehouse where AR markers precisely identify each item’s location, or managing hospital supplies with visual labels that stay anchored to their physical positions. In this article, we’ll demonstrate how to build a spatial barcode scanner using Google ARCore and Dynamsoft Capture Vision SDK.
Demo Video: Spatial Barcode Scanner with ARCore
Prerequisites
- An ARCore compatible Android device running Google Play Services for AR version 1.24 or later
- Android Studio 4.1 or later
- 30-day free trial license for Dynamsoft Capture Vision SDK
Understanding 2D vs. Spatial Barcode Scanning
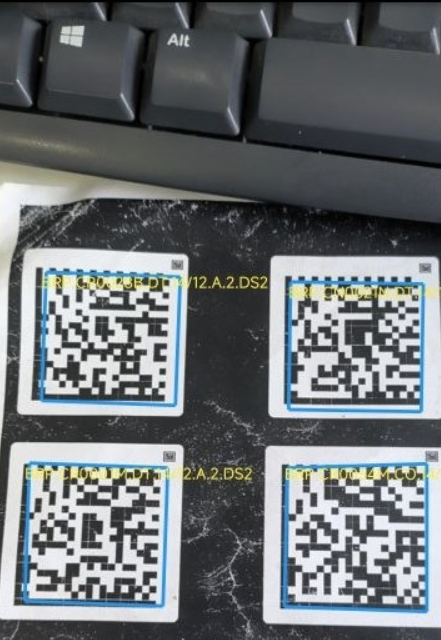
Traditional barcode scanning displays results on a 2D overlay above the camera preview:

With traditional 2D scanning, you face significant limitations:
- Continuous scanning required: You must keep the camera pointed at barcodes to see results
- Battery drain: Constant camera processing and barcode detection consumes significant power
- No review capability: Once you move the camera away, previous scan results disappear
- Difficult visualization: Hard to track which items have been scanned in a large area
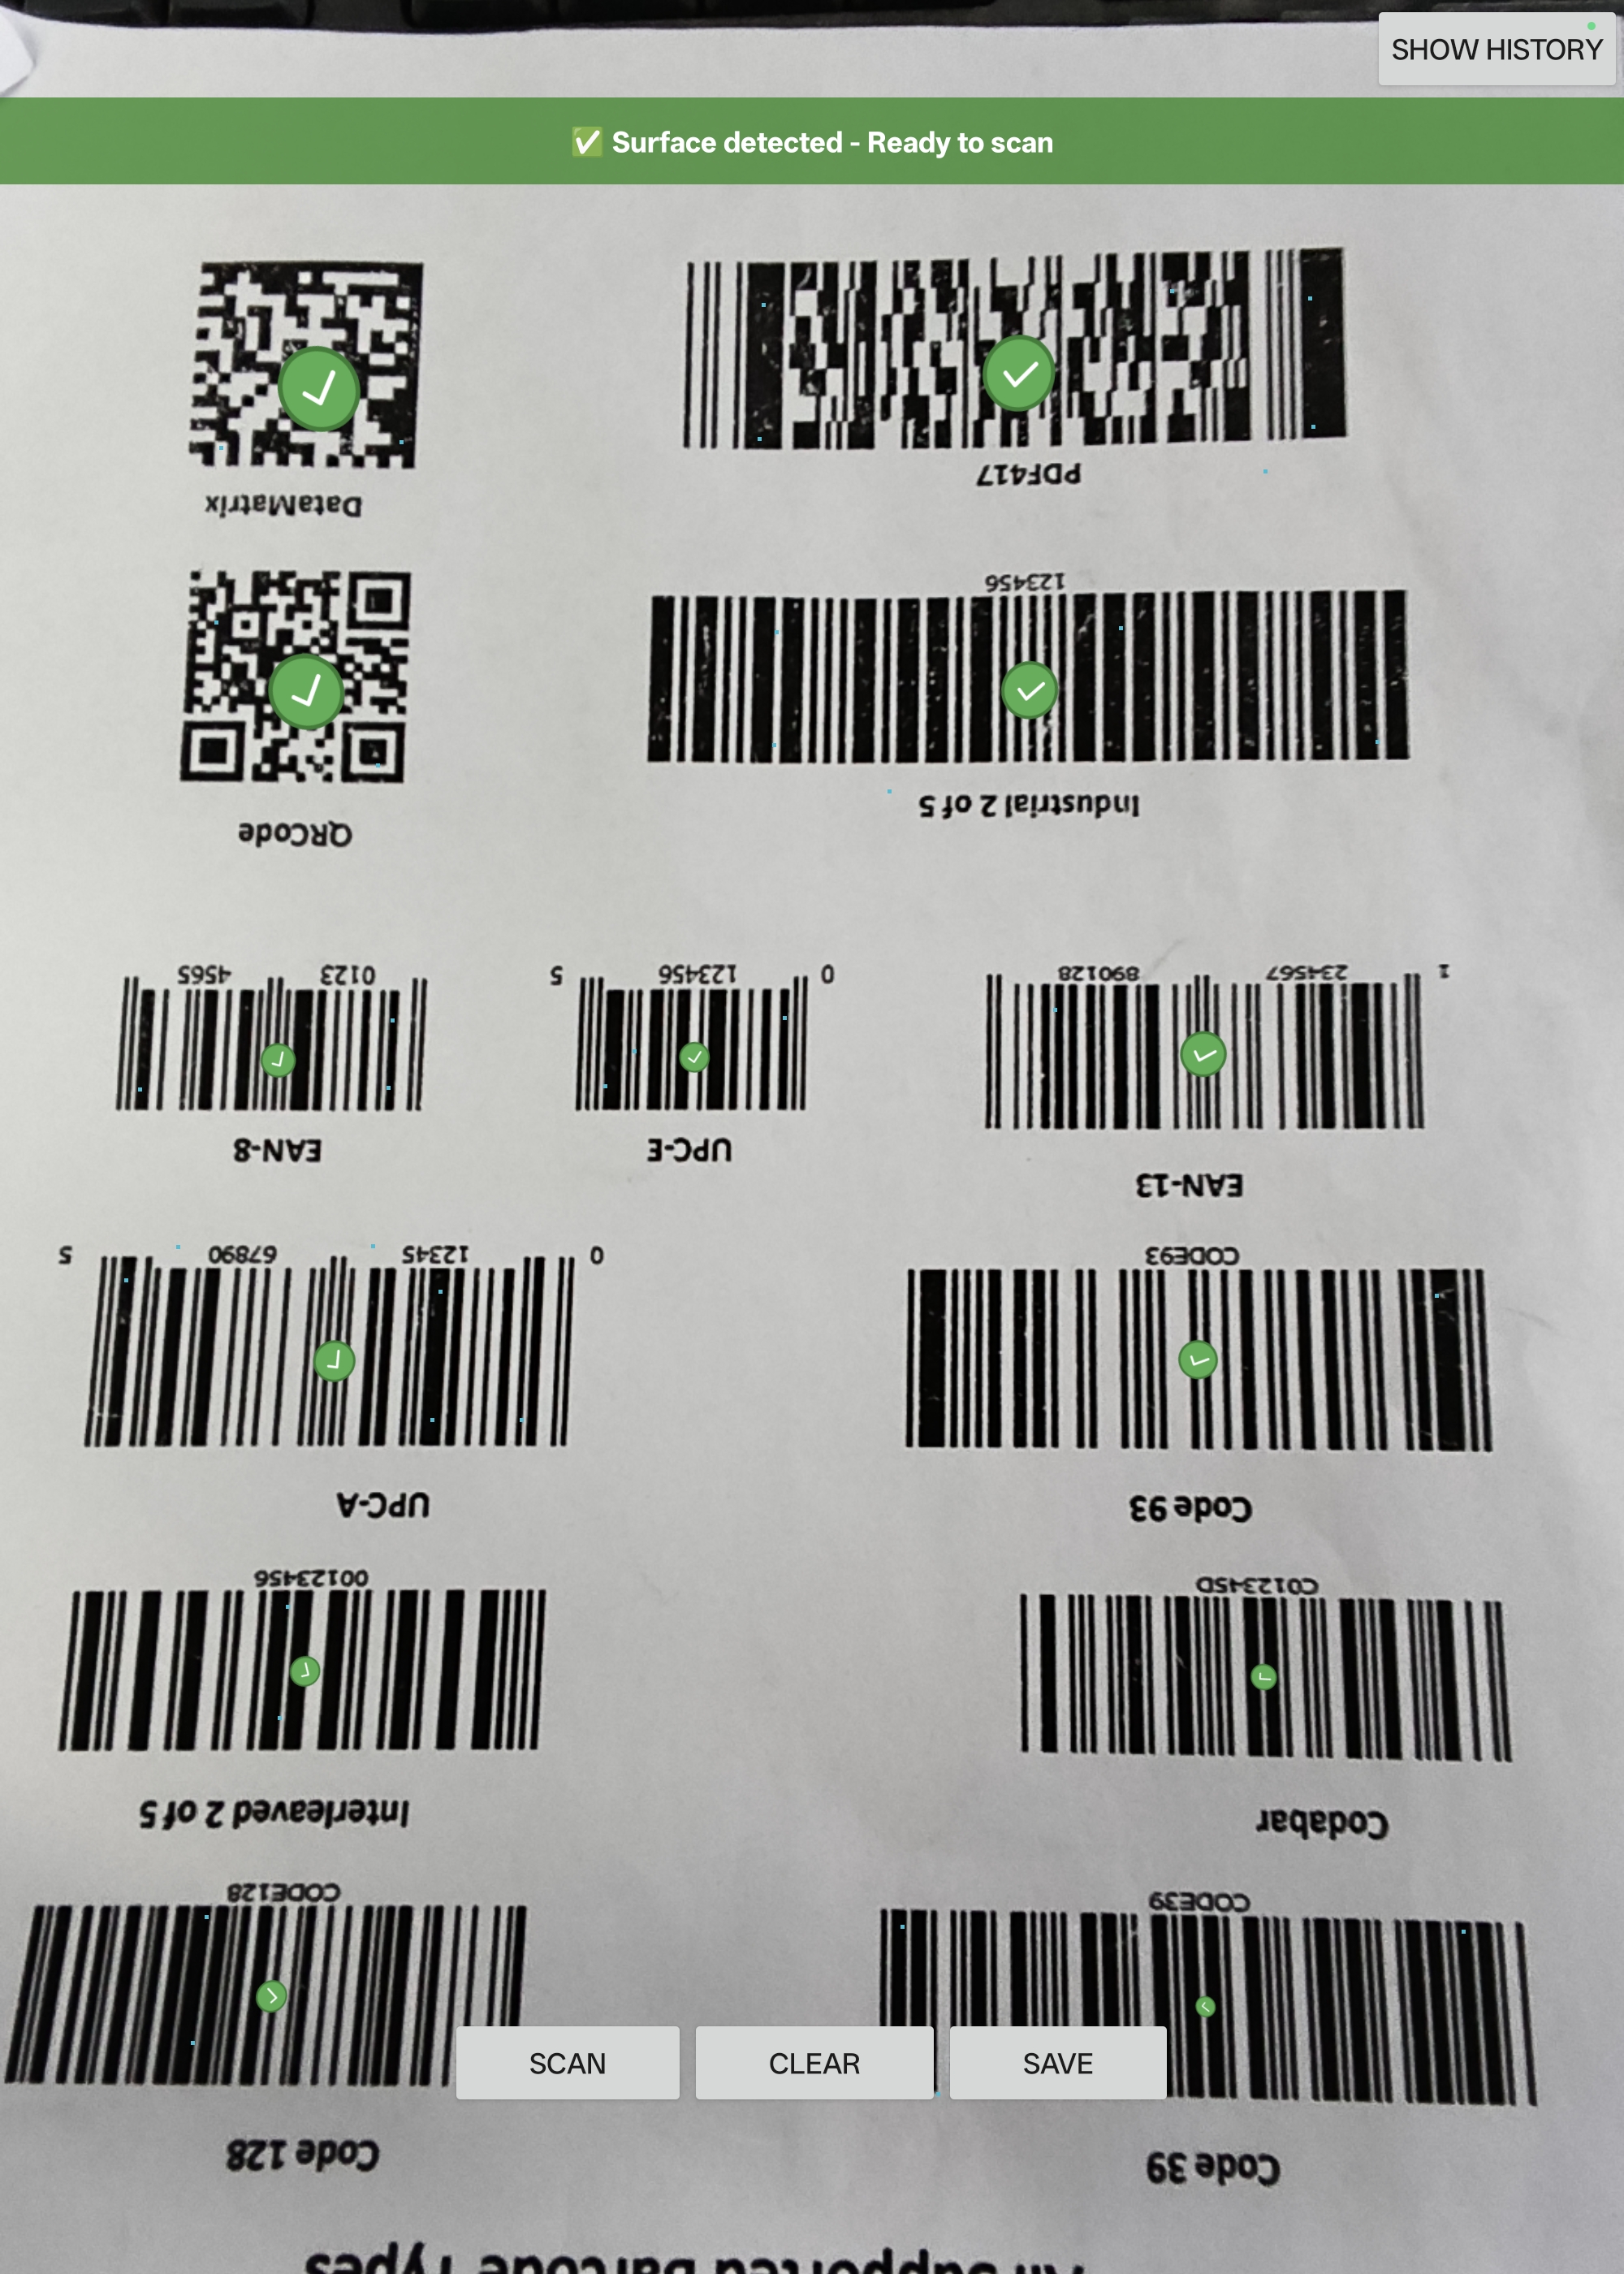
Spatial barcode scanning with ARCore changes everything:
- Scan once, anchor forever: When a barcode is detected, an AR marker is anchored to its physical location in 3D space
- Persistent visualization: Walk away and come back - the markers remain exactly where you placed them
- Battery efficient: After initial scanning, no continuous detection is needed - anchors persist without ongoing processing
- Easy review: Simply move your device around to see all previously scanned barcodes with their anchored markers
- Spatial awareness: Clearly distinguish between identical barcodes at different physical locations
- Position tracking: The system remembers where each barcode was found, not just what was scanned
The key advantage: With spatial scanning, you scan each barcode once, and its AR marker stays anchored to that physical location. You can move around freely, review all scanned items by looking at their markers, and easily identify what’s been scanned and what hasn’t - all without draining your battery through continuous scanning.
Let’s build this enhanced system by combining ARCore’s spatial understanding with Dynamsoft’s powerful barcode recognition.
About the Technologies
Google ARCore
ARCore is Google’s platform for building augmented reality experiences on Android. It provides three essential capabilities:
- Motion tracking: Understanding the device’s position and orientation in 3D space
- Environmental understanding: Detecting horizontal and vertical surfaces (planes)
- Light estimation: Adapting virtual objects to match real-world lighting
Dynamsoft Capture Vision SDK
The Dynamsoft Capture Vision SDK (DCV) is a comprehensive solution for barcode scanning, document capture, and data extraction. Key features include:
- Support for 30+ barcode formats (QR Code, DataMatrix, PDF417, Code 128, EAN/UPC, etc.)
- High-speed batch scanning for multiple barcodes
- Advanced image processing for challenging lighting conditions
- Cross-platform support (Android, iOS, Windows, Linux, macOS, Web)
- Free 30-day trial license available
Project Setup
This tutorial will guide you through building the spatial barcode scanner from scratch, starting with Google’s ARCore ML sample as the foundation.
Step 1: Get the ARCore ML Sample
Clone Google’s ARCore ML sample repository:
git clone https://github.com/googlesamples/arcore-ml-sample.git
cd arcore-ml-sample
Open the project in Android Studio and ensure it builds successfully.
Step 2: Add Dynamsoft Capture Vision SDK
-
Add the Dynamsoft Maven repository to your project’s
build.gradle(project level):allprojects { repositories { google() mavenLocal() mavenCentral() maven { url "https://download2.dynamsoft.com/maven/aar" } } } -
Add the SDK dependency to
app/build.gradle:dependencies { // Existing dependencies... implementation 'com.google.ar:core:1.24.0' // Add Dynamsoft Barcode Reader Bundle implementation 'com.dynamsoft:barcodereaderbundle:11.2.3000' } -
Sync the project with Gradle files to download the dependencies.
Step 3: Update the Data Model
Modify DetectedObjectResult.kt to include barcode format and marker size:
data class DetectedObjectResult(
  val confidence: Float,
  val label: String,
  val centerCoordinate: Pair<Int, Int>,
  val content: String,
  val format: String = "",
  val size: Float = 0.05f
)
Implementing the Spatial Barcode Scanner
Step 1: Initialize the License
In MainActivity.kt, initialize the Dynamsoft license in the onCreate() method.
import com.dynamsoft.license.LicenseManager

override fun onCreate(savedInstanceState: Bundle?) {
    super.onCreate(savedInstanceState)

    LicenseManager.initLicense("YOUR-LICENSE-KEY", this) { isSuccessful, e ->
        runOnUiThread {
            if (!isSuccessful) {
                e?.printStackTrace()
                Log.e(TAG, "Failed to verify the license: $e")
            }
        }
    }

    // ... rest of onCreate
}
Step 2: Create the Barcode Detection Engine
In AppRenderer.kt, create a CaptureVisionRouter instance for barcode detection:
import com.dynamsoft.cvr.CaptureVisionRouter
import com.dynamsoft.core.basic_structures.ImageData
import com.dynamsoft.core.basic_structures.EnumImagePixelFormat
import com.dynamsoft.cvr.EnumPresetTemplate

var router: CaptureVisionRouter? = null

fun bindView(view: MainActivityView) {
    // Create an instance of Dynamsoft Capture Vision Router
    router = CaptureVisionRouter(activity)

    this.view = view

    // ... rest of bindView
}
Step 3: Implement Plane Detection Guidance
One of the most critical improvements for stable AR experiences is ensuring plane detection before allowing scans. Add visual feedback to guide users:
// Track plane detection status
var planeDetected = false

// In bindView(), initially disable scan button
view.scanButton.isEnabled = false
view.updatePlaneStatus(false)

// In onDrawFrame(), check for detected planes
val planes = session.getAllTrackables(Plane::class.java)
val hasTrackedPlane = planes.any { it.trackingState == TrackingState.TRACKING }

if (hasTrackedPlane && !planeDetected) {
    planeDetected = true
    view.post {
        view.scanButton.isEnabled = true
        view.updatePlaneStatus(true)
    }
} else if (!hasTrackedPlane && planeDetected) {
    planeDetected = false
    view.post {
        view.scanButton.isEnabled = false
        view.updatePlaneStatus(false)
    }
}
Add the status update method to MainActivityView.kt:
fun updatePlaneStatus(planeDetected: Boolean) {
    if (planeDetected) {
        planeStatusText.text = "✅ Surface detected - Ready to scan"
        planeStatusText.setBackgroundColor(android.graphics.Color.argb(180, 0, 128, 0))
    } else {
        planeStatusText.text = "🔍 Move device slowly to detect surface..."
        planeStatusText.setBackgroundColor(android.graphics.Color.argb(180, 255, 165, 0))
    }
}
Step 4: Scan Barcodes with Spatial Awareness
Locate the launch(Dispatchers.IO) block in AppRenderer.kt and implement barcode detection with position tracking:
if (router != null) {
    var bytes = ByteArray(cameraImage.planes[0].buffer.remaining())
    cameraImage.planes[0].buffer.get(bytes)

    val imageData = ImageData()
    imageData.bytes = bytes
    imageData.width = cameraImage.width
    imageData.height = cameraImage.height
    imageData.stride = cameraImage.planes[0].rowStride
    imageData.format = EnumImagePixelFormat.IPF_GRAYSCALED

    val capturedResult = router!!.capture(imageData, EnumPresetTemplate.PT_READ_BARCODES)
    val decodedBarcodesResult = capturedResult.decodedBarcodesResult

    objectResults = emptyList()
    if (decodedBarcodesResult != null) {
        val items = decodedBarcodesResult.items
        if (items != null && items.isNotEmpty()) {
            val tmp: MutableList<DetectedObjectResult> = mutableListOf()
            for (item in items) {
                val points = item.location.points

                // Calculate center point for anchor placement
                val (x1, y1) = points[0].x to points[0].y
                val (x2, y2) = points[1].x to points[1].y
                val (x3, y3) = points[2].x to points[2].y
                val (x4, y4) = points[3].x to points[3].y
                val centerX = (x1 + x2 + x3 + x4) / 4
                val centerY = (y1 + y2 + y3 + y4) / 4

                val content = item.text
                val format = item.formatString
                val label = "●"

                // Calculate adaptive marker size based on barcode dimensions
                val width = kotlin.math.sqrt(((x2 - x1) * (x2 - x1) + (y2 - y1) * (y2 - y1)).toDouble()).toFloat()
                val height = kotlin.math.sqrt(((x4 - x1) * (x4 - x1) + (y4 - y1) * (y4 - y1)).toDouble()).toFloat()
                val barcodePixelSize = kotlin.math.min(width, height)
                val imageWidth = cameraImage.width.toFloat()
                val normalizedSize = barcodePixelSize / imageWidth
                val markerSize = normalizedSize * 0.15f

                val detectedObjectResult = DetectedObjectResult(
                    100f, label, centerX.toInt() to centerY.toInt(),
                    content, format, markerSize
                )
                tmp.add(detectedObjectResult)
            }
            objectResults = tmp
        }
    }
}
Step 5: Implement Position-Based Duplicate Filtering

To scan multiple identical barcodes at different positions, implement spatial duplicate detection:
// Track scanned positions (content, x, y)
val scannedPositions = Collections.synchronizedList(mutableListOf<Triple<String, Float, Float>>())
val MIN_POSITION_DISTANCE = 100f // pixels

// In anchor creation logic
val isDuplicatePosition = scannedPositions.any { (content, x, y) ->
    if (content != obj.content) return@any false
    val distance = kotlin.math.sqrt(
        ((atX - x) * (atX - x) + (atY - y) * (atY - y)).toDouble()
    ).toFloat()
    distance < MIN_POSITION_DISTANCE
}

if (!isDuplicatePosition) {
    scannedPositions.add(Triple(obj.content, atX.toFloat(), atY.toFloat()))
    // Create anchor and add to history
}
Step 6: Implement 3D Anchor Collision Detection
Prevent overlapping markers when scanning the same location multiple times:
val MIN_ANCHOR_DISTANCE = 0.05f // 5 cm in meters

// Check for 3D spatial collision
val isTooCloseToExistingAnchor = arLabeledAnchors.any { existingAnchor ->
    if (existingAnchor.anchor.trackingState != TrackingState.TRACKING) return@any false
    val existingPose = existingAnchor.anchor.pose
    val distance = calculatePoseDistance(newAnchorPose, existingPose)
    distance < MIN_ANCHOR_DISTANCE
}

if (isTooCloseToExistingAnchor) {
    hasAnchorCollision = true
    anchor.detach() // Clean up the anchor
    return@mapNotNull null
}

// Helper function to calculate 3D distance
private fun calculatePoseDistance(pose1: Pose, pose2: Pose): Float {
    val dx = pose1.tx() - pose2.tx()
    val dy = pose1.ty() - pose2.ty()
    val dz = pose1.tz() - pose2.tz()
    return kotlin.math.sqrt((dx * dx + dy * dy + dz * dz).toDouble()).toFloat()
}
Step 7: Enhanced History with Barcode Format

Display both barcode format and content in the history panel:
// Store history with format: "[FORMAT] content"
val historyKey = "${obj.format}_${obj.content}_${scannedPositions.size}"
val historyValue = "[${obj.format}] ${obj.content}"
history[historyKey] = historyValue
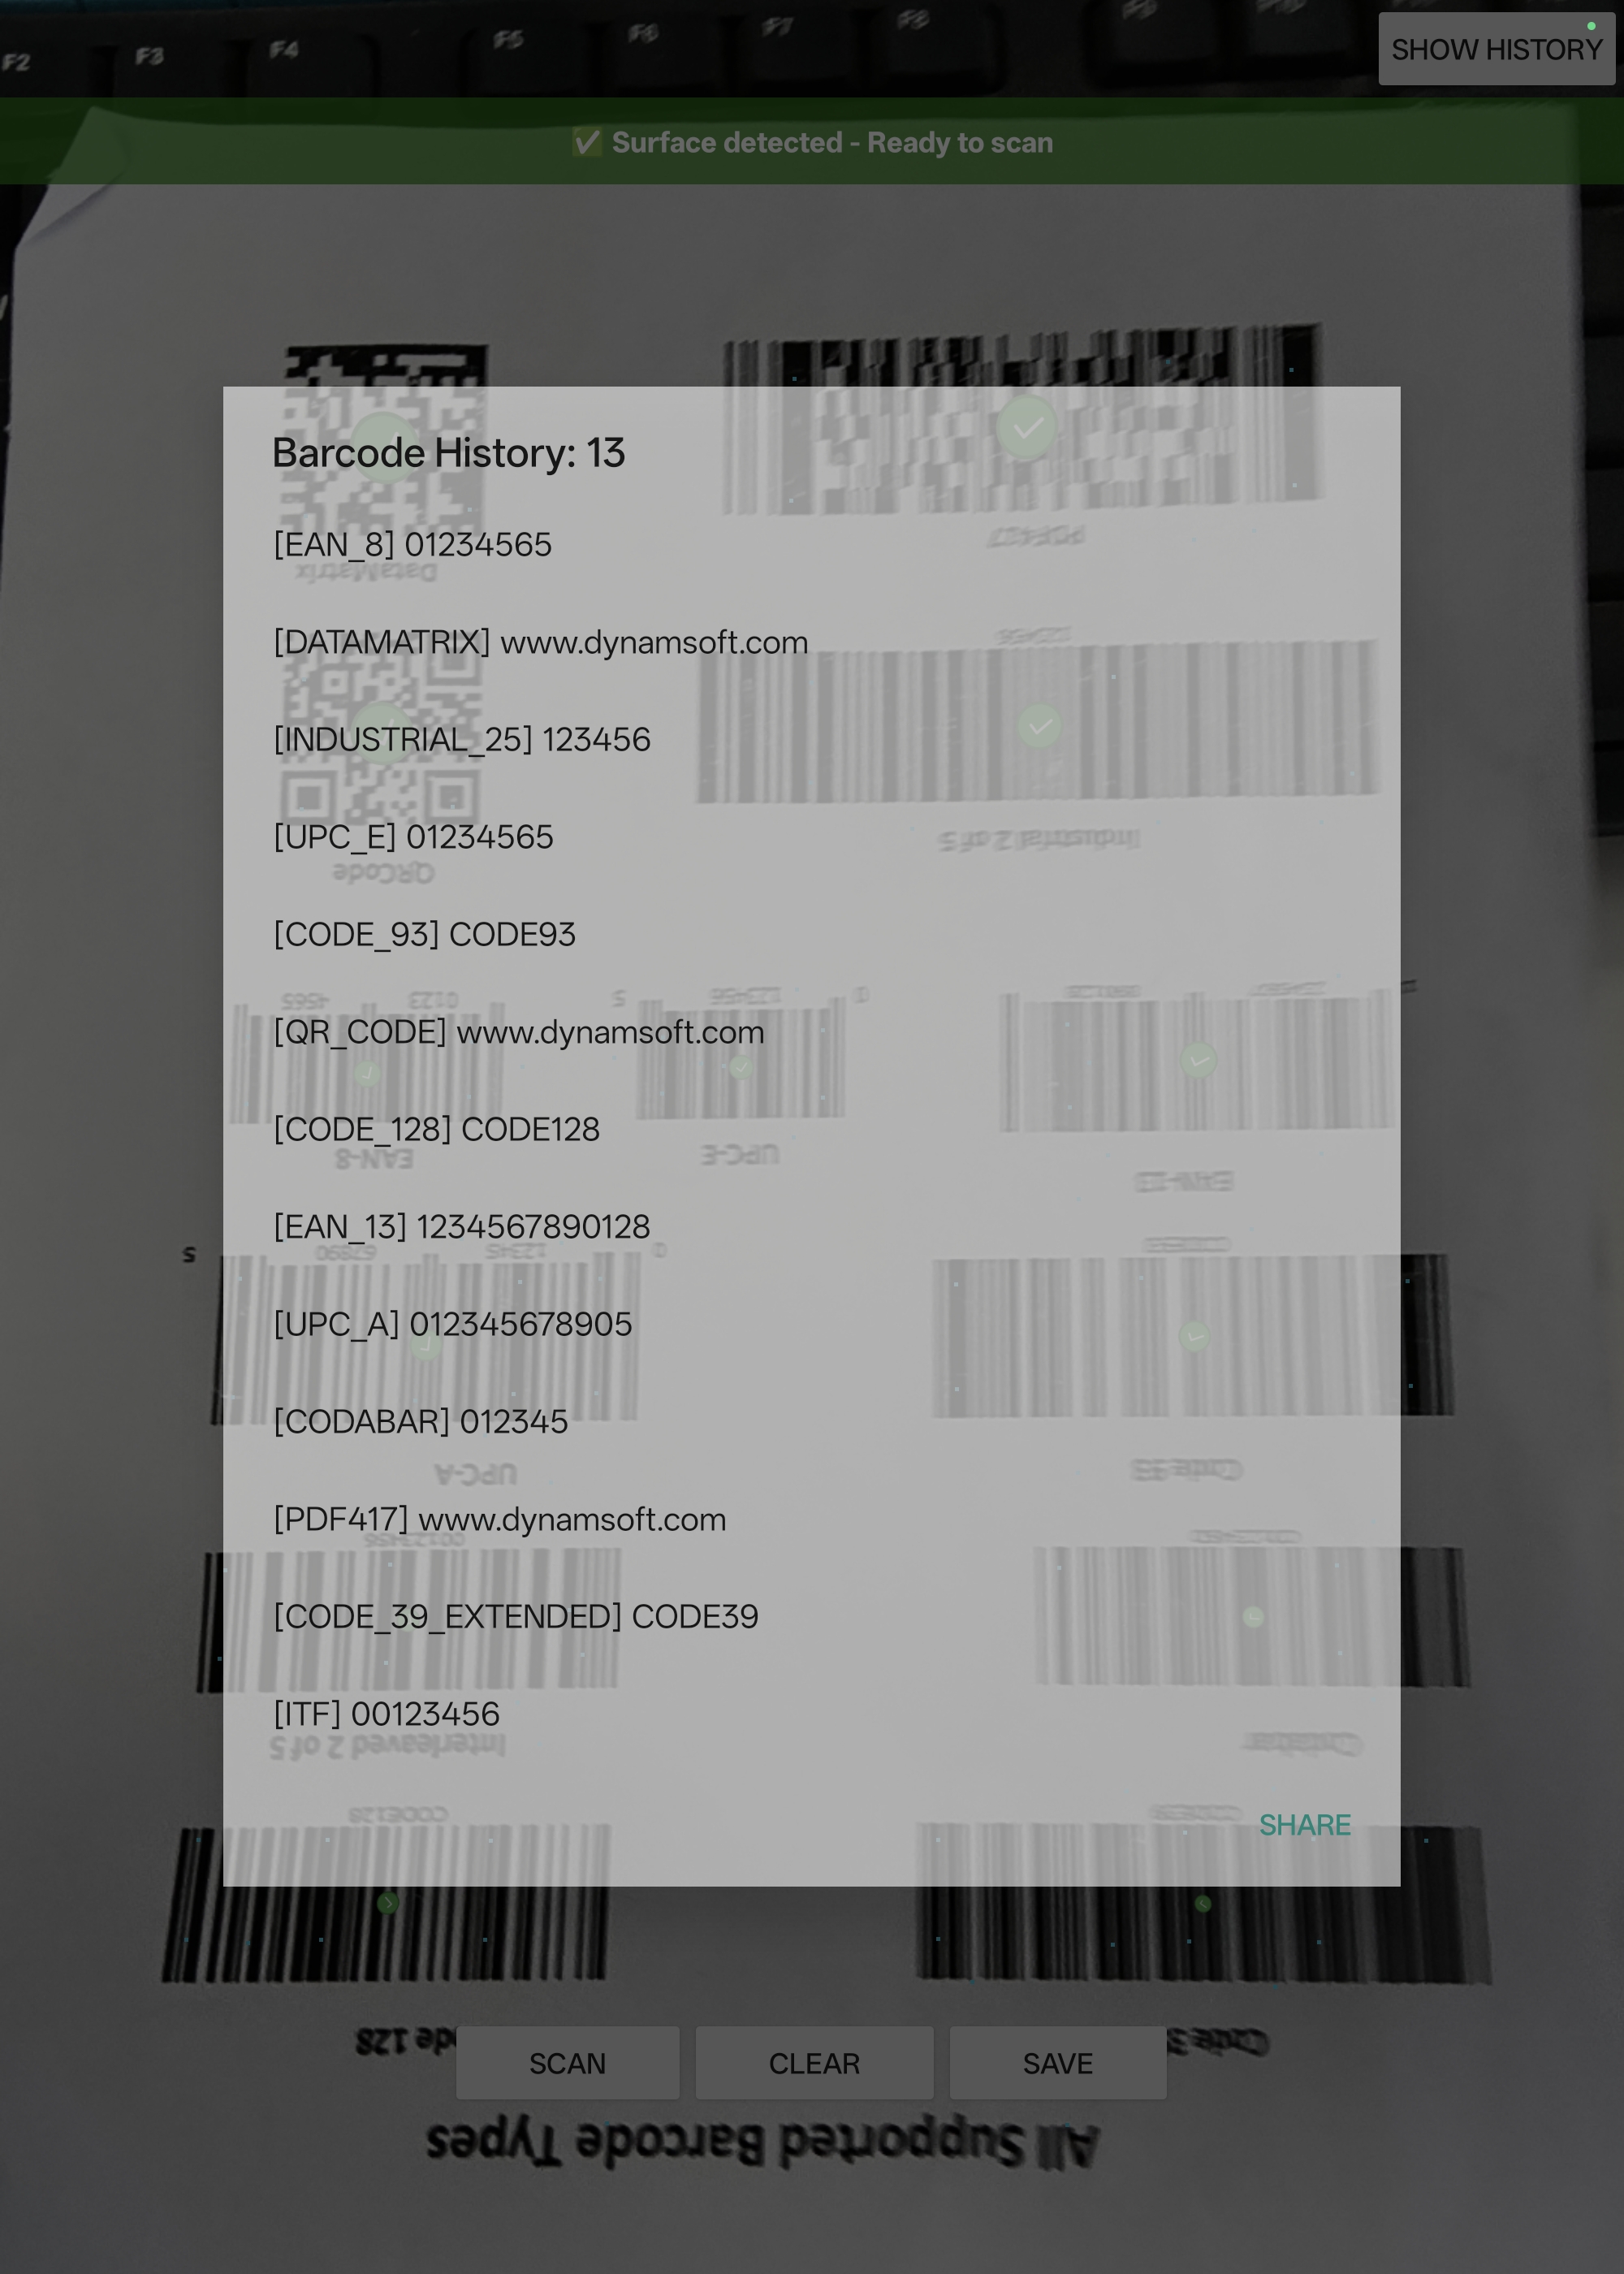
The history dialog displays entries like:
[QR_CODE] https://example.com[CODE_128] ABC123[EAN_13] 1234567890123
Real-World Applications
This spatial barcode scanner is ideal for:
- Warehouse Management: Track inventory positions on shelves with precise 3D localization
- Healthcare: Label medical supplies, medications, and equipment with spatial awareness
- Retail: Interactive product information displays anchored to physical items
- Manufacturing: Quality control tracking across assembly lines
- Asset Management: Spatial cataloging of equipment and resources
Source Code
https://github.com/yushulx/android-camera-barcode-mrz-document-scanner/tree/main/examples/ARCore


