


How to Build a Web Document Scanner with Node.js, Express, and Jade
Node.js, Express, and Jade are technologies often used together to build web applications. Node.js runs the server, handling HTTP requests and responses. Express is used to simplify the routing and middleware setup, managing everything from routes to handling requests and views. Jade is used as the templating engine within Express. It compiles templates into HTML that is sent to the client. This tutorial builds a simple browser-based document scanner that uses Dynamic Web TWAIN to acquire images from a TWAIN-compatible scanner and upload them to a Node.js Express server via Jade templates.
What you’ll build: A browser-based document scanning app that acquires images from a TWAIN-compatible scanner and uploads them to a Node.js Express server, using Jade templates for the front end and Dynamic Web TWAIN SDK for scanner access.
Key Takeaways
- Dynamic Web TWAIN provides a JavaScript API to control TWAIN scanners directly from the browser, enabling document capture without native desktop apps.
- Express and Jade (now Pug) offer a lightweight Node.js stack for serving scanner-enabled web pages with minimal setup.
- The
dwtnpm package bundles all required Dynamic Web TWAIN resources; static file serving in Express makes integration straightforward. - Multer middleware handles multipart file uploads on the server side, receiving scanned images as JPEG via HTTP POST.
Common Developer Questions
How do I scan documents from a browser using Node.js and Express?
Serve the scanner page through Express, load Dynamic Web TWAIN in the Jade template, and let the browser call the SDK’s scan APIs directly against the local scanner service. Node.js only hosts the page and receives uploads; it does not talk to the scanner hardware itself.
How do I upload scanned images from Dynamic Web TWAIN to a Node.js server?
Use HTTPUploadThroughPostEx from the client and post the scanned JPEG to an Express upload route. On the server side, use middleware such as Multer to parse the multipart upload and save the received file.
How do I integrate Dynamic Web TWAIN with Express and Jade (Pug) templates?
Expose the dwt package resources as static files in Express, include the SDK script from the Jade layout, and set ResourcesPath to the same served folder. That gives the template both the viewer script and the runtime assets it needs to initialize scanning.
Prerequisites
- Get a 30-day free trial license for Dynamic Web TWAIN
- Node.js
- Express
- Jade
Step 1: Create a Web Project with the Express Generator
Setting up a project with Express is straightforward:
-
Install the Express generator globally using the following command:
npm install express-generator -g -
Create a new project with the command below:
express Dynamic-Web-TWAIN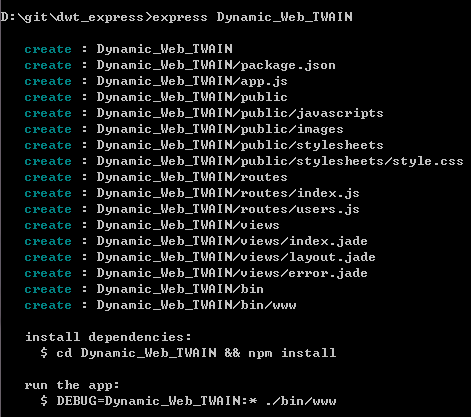
-
Navigate to your project directory and install the necessary dependencies:
 cd Dynamic-Web-TWAIN
 npm install
Your simple web app is now ready. Start the server by running:
npm start
Then, open http://localhost:3000/ in your web browser to view the default page.
Step 2: Integrate Dynamic Web TWAIN with Express and Jade
To begin, install the necessary packages, dwt for scanning documents and multer for handling file uploads:
npm install dwt multer --save
- dwt: A Node.js module containing Dynamic Web TWAIN.
- multer: A Node.js middleware for handling multipart/form-data, used for uploading files.
Configure Static Resources in Express
Configure the path for static resources in app.js to include the Dynamic Web TWAIN resources located in the node_modules folder:
const express = require('express');
const path = require('path');
const app = express();

app.use(express.static(path.join(__dirname, 'node_modules/dwt/dist/')));
Set Up the Jade Template with Dynamic Web TWAIN
Include the Dynamic Web TWAIN JavaScript files in the views/layout.jade file:
doctype html
html
  head
    title= title
    link(rel='stylesheet', href='/stylesheets/style.css')
    script(src='dynamsoft.webtwain.min.js')
  body
    block content
In views/index.jade, initialize the Dynamic Web TWAIN object. Be sure to replace LICENSE-KEY with your actual license key:
script(type='text/javascript').
        var DWObject;
        window.onload = function () {
            if (Dynamsoft) {
                Dynamsoft.DWT.AutoLoad = false;
                Dynamsoft.DWT.UseLocalService = true;
                Dynamsoft.DWT.Containers = [{ ContainerId: 'dwtcontrolContainer', Width: '640px', Height: '640px' }];
                Dynamsoft.DWT.RegisterEvent('OnWebTwainReady', Dynamsoft_OnReady);
                // https://www.dynamsoft.com/customer/license/trialLicense/?product=dcv&package=cross-platform
                Dynamsoft.DWT.ProductKey = 'LICENSE-KEY';
                Dynamsoft.DWT.ResourcesPath = '/';
                Dynamsoft.DWT.Load();
            }

        };

        function Dynamsoft_OnReady() {
            DWObject = Dynamsoft.DWT.GetWebTwain('dwtcontrolContainer');
        }
The ResourcesPath property specifies the path of dynamsoft.webtwain.min.js.
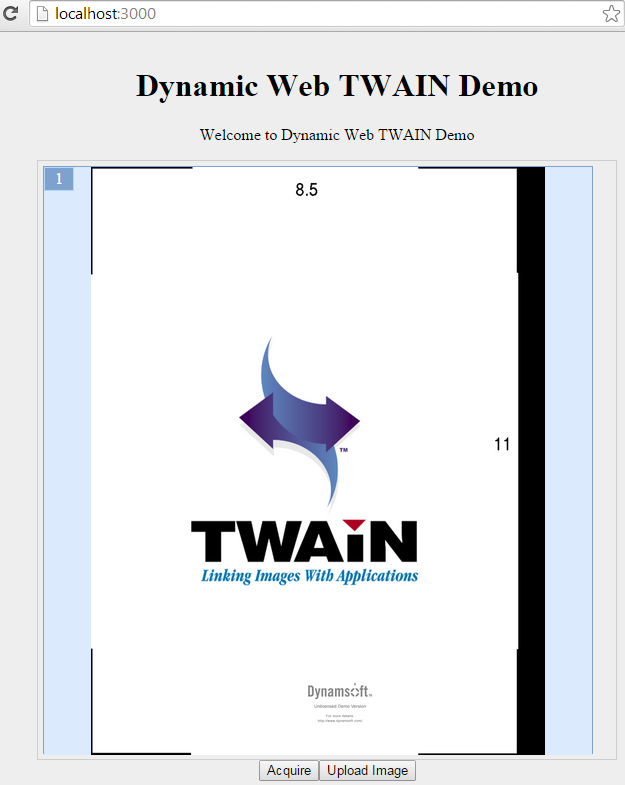
Design the Scanning Page Layout
The layout is designed as follows:
extends layout
block content
  h1= title
  p Welcome to #{title}
  #dwtcontrolContainer
  input(
    type='button'
    value='Acquire'
    onclick='AcquireImage()'
  )
  input(
    id='btnUpload'
    type='button'
    value='Upload Image'
    onclick='btnUpload_onclick()'
  )
- dwtcontrolContainer: An ID for a div element that contains the Dynamic Web TWAIN control.
- Buttons for acquiring and uploading images.
Implement Scan and Upload Button Events
The button click events are implemented as follows:
function AcquireImage() {
    if (DWObject) {
        DWObject.SelectSourceAsync().then(function () {
            return DWObject.AcquireImageAsync({
                IfCloseSourceAfterAcquire: true // Scanner source will be closed automatically after the scan.
            });
        }).catch(function (exp) {
            alert(exp.message);
        });
    }
}

function btnUpload_onclick() {
  if (DWObject) {
    DWObject.HTTPPort = 3000;
    var CurrentPathName = unescape(location.pathname);
    var CurrentPath = CurrentPathName.substring(0, CurrentPathName.lastIndexOf("/") + 1);
    var strActionPage = CurrentPath + "upload";
    var strHostIP = "localhost";
    var sFun = function(){
        alert('successful');
    }, fFun = function(){

    };
    DWObject.HTTPUploadThroughPostEx(
        strHostIP,
        DWObject.CurrentImageIndexInBuffer,
        strActionPage,
        "test.jpg",
        1,// JPEG
    sFun, fFun
    );
  }
}
Handle File Uploads with Multer
To upload files, we need to automatically create an upload folder in the project root directory. Add the following code to app.js:
const fs = require('fs');
const uploadDir = path.join(__dirname, 'upload');

if (!fs.existsSync(uploadDir)) {
  fs.mkdirSync(uploadDir);
}
Then create an upload.js file in the routes folder to handle POST requests:
var express = require('express');
var router = express.Router();
var multer = require('multer');

const storage = multer.diskStorage({
    destination: function (req, file, cb) {
        cb(null, './upload')
    },
    filename: function (req, file, cb) {
        cb(null, file.originalname)
    }
})

const upload = multer({ storage: storage })

router.post('/', upload.single('RemoteFile'), function (req, res, next) {
    res.send();
});

module.exports = router;
Finally, import the upload module in app.js:
var upload = require('./routes/upload');
app.use('/upload', upload);
Start the Server and Test the App
Now, the application setup is complete. Run the server with:
npm start
Visit http://localhost:3000 in your web browser to see the application in action.
Common Issues and Edge Cases
- Scanner not detected in the browser: Ensure that Dynamsoft Service is installed and running on the client machine. Dynamic Web TWAIN requires the local service to communicate with TWAIN-compatible scanners. If the service is missing,
SelectSourceAsync()will fail silently or throw an error. - Upload route returns 404 or hangs: Verify that
upload.jsis correctly required inapp.jsand mounted at/upload. Also confirm theuploaddirectory exists — without it, Multer will throw anENOENTerror. - Jade deprecation warnings in npm: The Jade package was renamed to Pug in 2015. While the syntax shown in this tutorial still works with the
jadenpm package, new projects should usepuginstead. The template syntax is identical.