


How to Build an Offline Flutter Document Scanner App with Auto Edge Detection for Android and iOS
Mobile document scanning has become a baseline feature for productivity apps — think expense reports captured from receipts, signed contracts photographed in a meeting room, or ID documents registered at a service counter. Building such a feature from scratch, handling perspective correction, edge detection, and multi-format export, is a significant engineering effort.
In this tutorial we will walk through building DocScan, a Flutter document scanner that runs on both Android and iOS. The app is powered by the Dynamsoft Capture Vision SDK, which provides on-device, real-time document boundary detection, deskewing, and image-processing capabilities.
What you’ll build: A cross-platform Flutter document scanner for Android and iOS that performs offline, on-device auto edge detection, perspective correction, manual quad-corner editing, color-mode switching, and PNG export — using the Dynamsoft Capture Vision SDK.
Key Takeaways
- This tutorial demonstrates how to build an offline Flutter document scanner for Android and iOS using the Dynamsoft Capture Vision SDK with no server-side processing.
- The
CaptureVisionRouter,CameraEnhancer, andCapturedResultReceiverare the three core SDK objects that wire together camera input, document detection, and result delivery. - Enabling
MultiFrameResultCrossFilterwith cross-verification eliminates unstable single-frame detections and ensures only confirmed document boundaries trigger capture. - Manual corner adjustment is handled by
ImageEditorView, letting users refine the auto-detected quadrilateral before exporting the final PNG — critical for low-contrast or imperfect lighting conditions.
Common Developer Questions
How do I integrate an offline document scanner SDK into a Flutter app for Android and iOS?
Add the Capture Vision Flutter package, configure Android and iOS camera permissions, initialize the license once, and then connect CameraEnhancer, CaptureVisionRouter, and a result receiver inside your scan page. That gives you an on-device document scanner without any server round-trip.
How do I prevent false detections when the Flutter document scanner picks up table edges or background patterns?
Enable MultiFrameResultCrossFilter and turn on cross-verification so the SDK only accepts boundaries that remain consistent across consecutive frames. The tutorial calls this out as the main defense against single-frame false positives from structured backgrounds.
Why does getOriginalImage() return null after calling stopCapturing() in Flutter document scanning?
Because the router clears its intermediate result buffer when capture stops, you must fetch the original image before calling stopCapturing(). The article explicitly reorders those calls so getOriginalImage(result.originalImageHashId) runs while the result is still available.
This article is Part 3 in a 3-Part Series.
Demo Video: Flutter Document Scanner
Prerequisites
- Flutter SDK ≥ 3.8
- Dart SDK ≥ 3.8
- Android Studio or VS Code Latest
- Xcode (for iOS builds) Latest
- Get a 30-day free trial license for the Dynamsoft Capture Vision SDK to test the scanner on a real device.
Understand the Project Structure Before You Start
Before diving into code, it is helpful to understand the final file layout:
lib/
├── main.dart          # App entry point, Material 3 theme, home screen
├── scan_page.dart     # Live camera + real-time document detection
├── result_page.dart   # Preview, colour-mode switching, PNG export
├── edit_page.dart     # Manual quad-corner drag adjustment
├── constants.dart     # App-wide constants (license key, padding, etc.)
└── app_theme.dart     # Centralised Material 3 light/dark theme
Each Dart file has a single, clearly scoped responsibility. This separation makes unit testing and future feature additions straightforward.
Step 1: Create the Flutter Project and Add the Capture Vision Package
Start by creating a new Flutter project:
flutter create --org com.dynamsoft.flutter scan_document
cd scan_document
Open pubspec.yaml and add the two required packages:
dependencies:
  flutter:
    sdk: flutter
  dynamsoft_capture_vision_flutter: ^3.2.5000
  path_provider: ^2.1.5
Run flutter pub get to fetch them.
Step 2: Configure Camera Permissions for Android and iOS
Configure Android Camera Permissions
Open android/app/src/main/AndroidManifest.xml and add permissions before the <application> tag:
<uses-feature android:name="android.hardware.camera" android:required="true" />
<uses-permission android:name="android.permission.CAMERA" />
<uses-permission android:name="android.permission.WRITE_EXTERNAL_STORAGE"
    android:maxSdkVersion="28" />
<uses-permission android:name="android.permission.READ_EXTERNAL_STORAGE"
    android:maxSdkVersion="32" />
Because the Dynamsoft Capture Vision SDK requires API 21 or higher, update android/app/build.gradle.kts:
defaultConfig {
    applicationId = "com.dynamsoft.flutter.scan_document"
    minSdk = 21
    targetSdk = flutter.targetSdkVersion
    versionCode = flutter.versionCode
    versionName = flutter.versionName
}
Configure iOS Camera Permissions
Add camera and photo-library usage descriptions to ios/Runner/Info.plist:
<key>NSCameraUsageDescription</key>
<string>DocScan needs camera access to scan documents.</string>
<key>NSPhotoLibraryUsageDescription</key>
<string>DocScan saves scanned documents to your photo library.</string>
Step 3: Centralize App Configuration with constants.dart
Hardcoding the license key directly into the scanner widget makes it difficult to rotate keys or run CI builds with a different key. Create lib/constants.dart:
class AppConstants {
  AppConstants._();

  /// Replace with your own license from https://www.dynamsoft.com/customer/license/trialLicense/?product=dcv&package=cross-platform
  static const String licenseKey = 'YOUR_LICENSE_KEY_HERE';

  static const String appName = 'DocScan';
  static const double defaultPadding = 16.0;
  static const double fabSize = 64.0;
  static const Duration snackBarDuration = Duration(seconds: 4);
  static const String exportFilePrefix = 'docscan_';
  static const String exportFileExtension = '.png';
}
Step 4: Define the Material 3 App Theme in app_theme.dart
Material 3 provides a robust theming system. Create lib/app_theme.dart that returns both a light and a dark ThemeData:
import 'package:flutter/material.dart';
import 'constants.dart';

class AppTheme {
  AppTheme._();

  static const Color primaryColor = Color(0xFFFF6D00);

  static ThemeData get light {
    final base = ColorScheme.fromSeed(
      seedColor: primaryColor,
      brightness: Brightness.light,
    );
    return ThemeData(
      useMaterial3: true,
      colorScheme: base,
      appBarTheme: AppBarTheme(
        backgroundColor: base.primary,
        foregroundColor: base.onPrimary,
      ),
      elevatedButtonTheme: ElevatedButtonThemeData(
        style: ElevatedButton.styleFrom(
          backgroundColor: primaryColor,
          foregroundColor: Colors.white,
          padding: const EdgeInsets.symmetric(horizontal: 32, vertical: 14),
          shape: RoundedRectangleBorder(
              borderRadius: BorderRadius.circular(8)),
        ),
      ),
    );
  }

  static ThemeData get dark {
    final base = ColorScheme.fromSeed(
      seedColor: primaryColor,
      brightness: Brightness.dark,
    );
    return ThemeData(useMaterial3: true, colorScheme: base);
  }
}
Step 5: Build the Home Screen in main.dart
The entry point locks the app to portrait mode and renders a feature-list home screen:
void main() {
  WidgetsFlutterBinding.ensureInitialized();
  SystemChrome.setPreferredOrientations([
    DeviceOrientation.portraitUp,
    DeviceOrientation.portraitDown,
  ]);
  runApp(const DocScanApp());
}

class DocScanApp extends StatelessWidget {
  const DocScanApp({super.key});

  @override
  Widget build(BuildContext context) {
    return MaterialApp(
      title: AppConstants.appName,
      debugShowCheckedModeBanner: false,
      theme: AppTheme.light,
      darkTheme: AppTheme.dark,
      themeMode: ThemeMode.system,
      navigatorObservers: [routeObserver],
      home: const HomeScreen(),
    );
  }
}
The RouteObserver is a global singleton that the ScannerPage subscribes to. This enables the camera to pause automatically when another screen is pushed on top of it and resume when that screen is popped — a common pitfall that causes battery drain and camera resource conflicts if not handled.
Step 6: Implement the Live Camera Scanner Page
The scanner page is the heart of the application. It wires together three SDK objects:
CameraEnhancer— manages the device camera streamCaptureVisionRouter— runs the document-detection algorithmCapturedResultReceiver— receives detection results asynchronously
Initialize the SDK and Camera
Future<void> _initSdk() async {
  _cvr = CaptureVisionRouter.instance
    ..addResultFilter(
      MultiFrameResultCrossFilter()
        ..enableResultCrossVerification(
          EnumCapturedResultItemType.deskewedImage.value,
          true,
        ),
    );

  _receiver = CapturedResultReceiver()
    ..onProcessedDocumentResultReceived = _onResult;

  final (isSuccess, message) =
      await LicenseManager.initLicense(AppConstants.licenseKey);
  if (!isSuccess) { /* show error */ return; }

  await _cvr.setInput(_camera);
  _cvr.addResultReceiver(_receiver);
  await _camera.open();
  await _cvr.startCapturing(EnumPresetTemplate.detectAndNormalizeDocument);
}
The MultiFrameResultCrossFilter is critical for a good user experience. Without it, the receiver fires on every frame, including unstable or blurry frames. Enabling enableResultCrossVerification causes the SDK to wait until the same document boundary is confirmed across multiple consecutive frames before firing the callback.
Handle Captured Document Results
Future<void> _onResult(ProcessedDocumentResult result) async {
  if (_isProcessing) return;
  final item = result.deskewedImageResultItems?.firstOrNull;
  if (item == null) return;

  final bool autoVerified =
      item.crossVerificationStatus == EnumCrossVerificationStatus.passed;
  if (!autoVerified && !_isCapturing) return;

  _isCapturing = false;
  _isProcessing = true;

  // Fetch intermediate image BEFORE stopping capture
  final originalImage = await _cvr
      .getIntermediateResultManager()
      .getOriginalImage(result.originalImageHashId);

  await _cvr.stopCapturing();
  _camera.close();

  if (mounted && item.imageData != null && originalImage != null) {
    await Navigator.push(
      context,
      MaterialPageRoute(
        builder: (_) => ResultPage(
          deskewedImage: item.imageData!,
          originalImage: originalImage,
          sourceDeskewQuad: item.sourceDeskewQuad,
        ),
      ),
    );
  }
  _isProcessing = false;
}
Important:
getOriginalImage()must be called beforestopCapturing(). Once capturing stops the intermediate result buffer is cleared.
Manage Camera Lifecycle with RouteAware
Subscribe to RouteAware callbacks to pause and resume the camera automatically:
@override
void didPushNext() {
  _cvr.stopCapturing();
  _camera.close();
}

@override
void didPopNext() {
  _isProcessing = false;
  _camera.open();
  _cvr.startCapturing(EnumPresetTemplate.detectAndNormalizeDocument);
}

@override
void dispose() {
  routeObserver.unsubscribe(this);
  _cvr.stopCapturing();
  _camera.close();
  _cvr.removeResultReceiver(_receiver);
  _cvr.removeAllResultFilters();
  super.dispose();
}
Build the Scanner UI
The camera view fills the screen. A gradient overlay at the bottom contains the capture button:
Stack(
  fit: StackFit.expand,
  children: [
    CameraView(cameraEnhancer: _camera),
    Positioned(
      left: 0, right: 0, bottom: 0,
      child: /* gradient + capture button */,
    ),
  ],
)
Step 7: Build the Document Result Preview Page
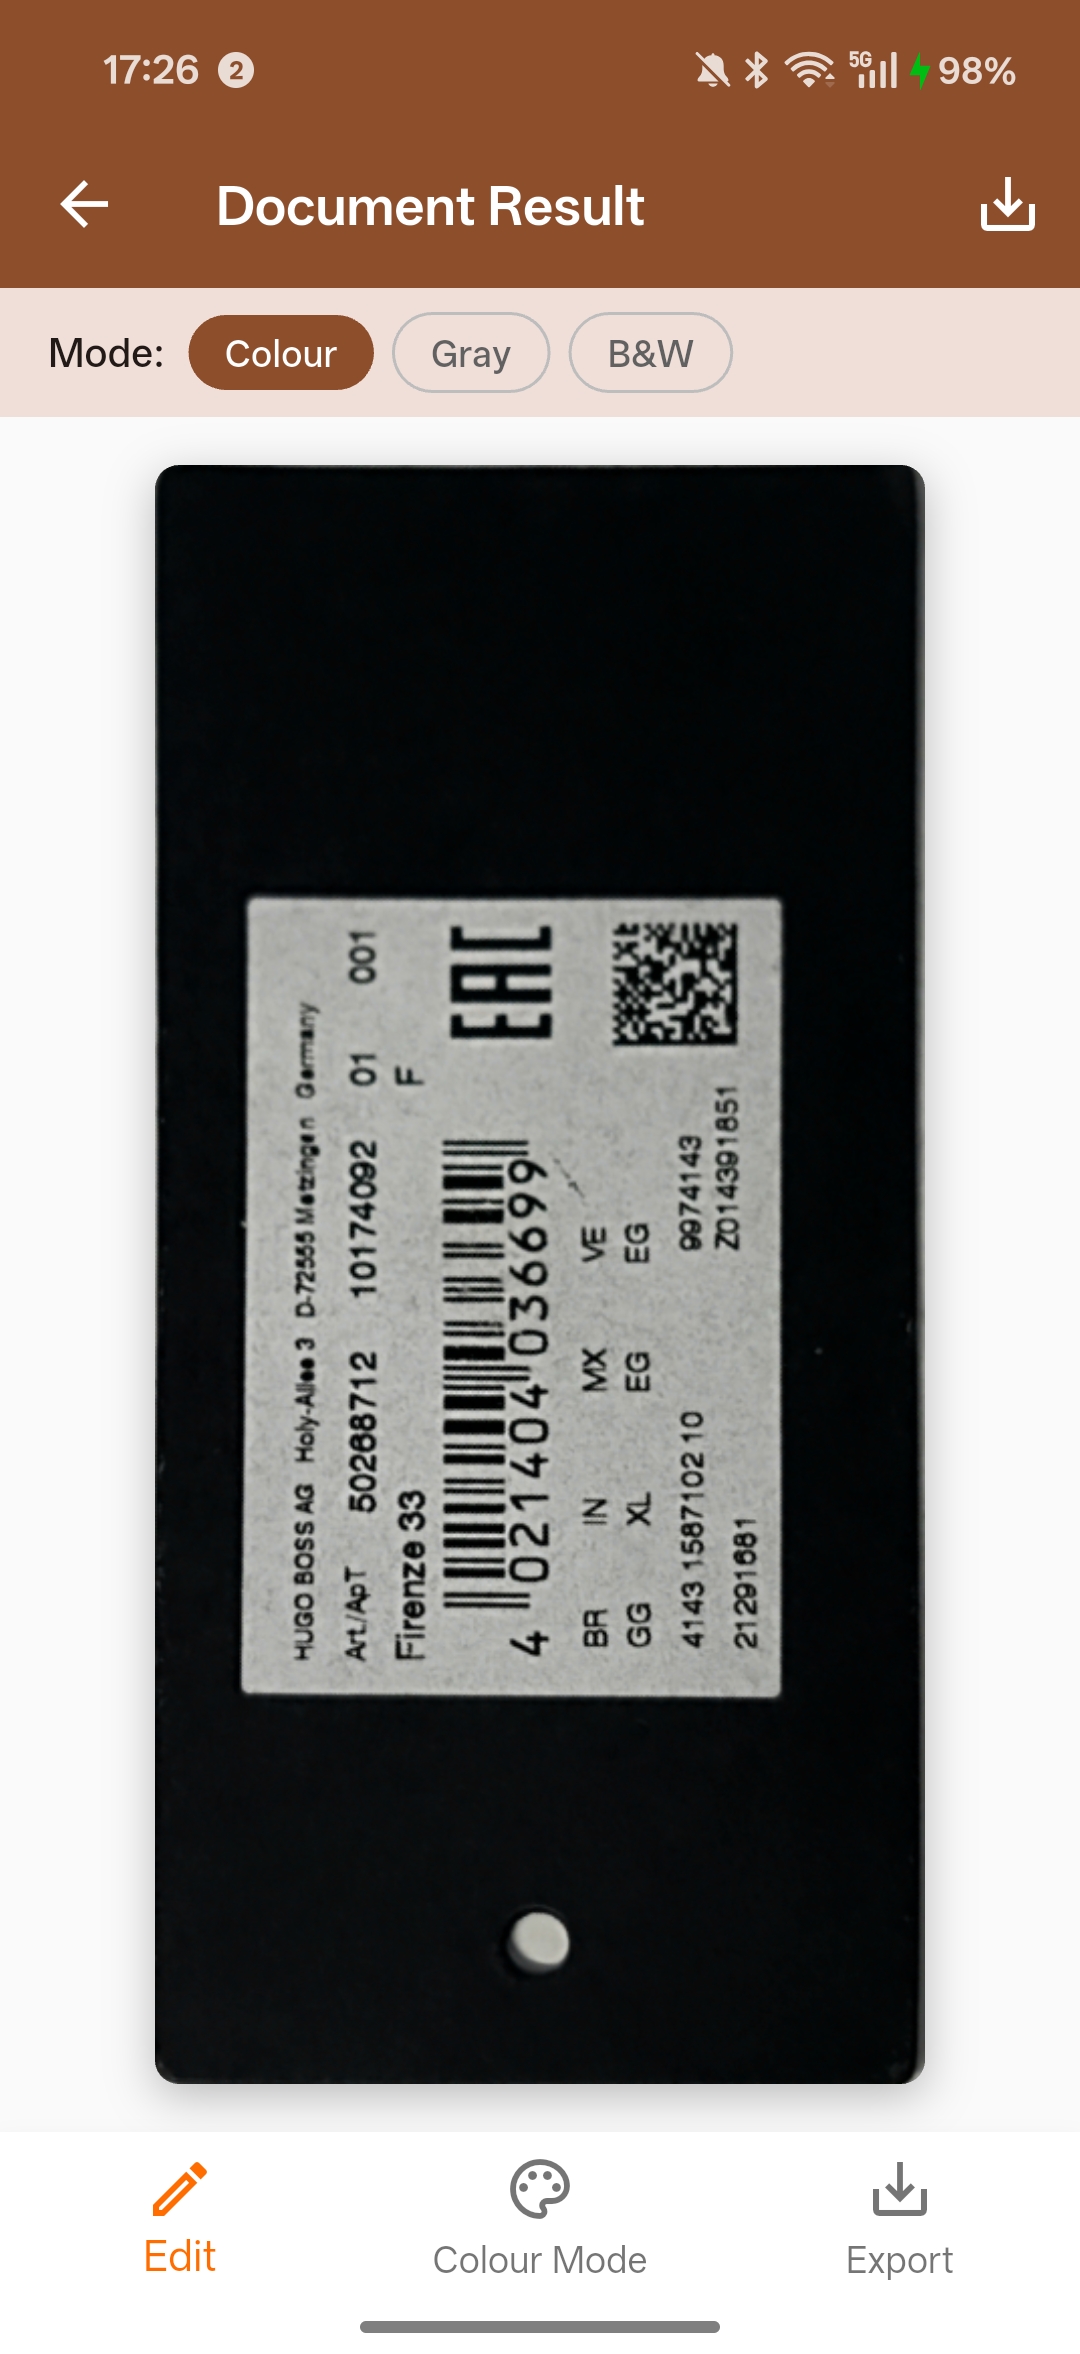
Once a document is captured, ResultPage shows a preview and lets the user:
- Switch between color, grayscale, and binary (B&W) modes
- Go back to EditPage to re-adjust the crop
- Export the final image as a PNG
Apply Color Mode Conversion
Future<void> _changeColourMode(_ColourMode mode) async {
  setState(() => _isConverting = true);
  try {
    ImageData? converted;
    switch (mode) {
      case _ColourMode.colour:
        converted = _deskewedColorfulImage;
      case _ColourMode.grayscale:
        converted = await ImageProcessor().convertToGray(_deskewedColorfulImage);
      case _ColourMode.binary:
        converted = await ImageProcessor()
            .convertToBinaryLocal(_deskewedColorfulImage, compensation: 15);
    }
    if (mounted && converted != null) {
      setState(() { _showingImage = converted!; _currentMode = mode; });
    }
  } finally {
    if (mounted) setState(() => _isConverting = false);
  }
}
The compensation parameter in convertToBinaryLocal controls the threshold offset. A value of 15 works well for most printed documents scanned under ambient lighting.
Export the Scanned Document as PNG
Future<void> _exportImage() async {
  final directory = Platform.isAndroid
      ? (await getExternalStorageDirectory())!
      : await getApplicationDocumentsDirectory();

  final filePath =
      '${directory.path}/${AppConstants.exportFilePrefix}'
      '${DateTime.now().millisecondsSinceEpoch}'
      '${AppConstants.exportFileExtension}';

  await ImageIO().saveToFile(_showingImage, filePath, true);
}
Step 8: Build the Manual Crop Edit Page
ImageEditorView from the SDK renders the original camera frame and overlays a draggable quadrilateral that the user can reposition:
ImageEditorView(
  imageData: widget.originalImageData,
  drawingQuadsByLayer: {
    EnumDrawingLayerId.ddn: [widget.quad],
  },
  onPlatformViewCreated: (controller) {
    _controller = controller;
  },
),
When the user confirms, getSelectedQuad() returns the adjusted corners, and cropAndDeskewImage() re-processes the original image with the new quadrilateral:
final selectedQuad = await _controller!.getSelectedQuad();
final croppedImageData = await ImageProcessor()
    .cropAndDeskewImage(widget.originalImageData, selectedQuad);
Navigator.pop(context, {
  'croppedImageData': croppedImageData,
  'updatedQuad': selectedQuad,
});
Step 9: Build and Run on Device
Run a Debug Build on a Connected Android Device
flutter devices          # find your device ID
flutter run -d <id>
Build a Release APK
flutter build apk --release
The compiled APK is at build/app/outputs/flutter-apk/app-release.apk.
Common Issues & Edge Cases
- Camera freezes when returning from the result screen: Ensure
didPopNext()calls both_camera.open()and_cvr.startCapturing(). The most common root cause is forgetting to subscribe toRouteObserveror calling only one of the two methods. getOriginalImage()returnsnull: This method must be called beforestopCapturing(). Once capturing stops, the intermediate result buffer is cleared. Reorder calls sogetOriginalImage()is invoked with the validoriginalImageHashIdbefore you stop the router.- Document boundary detected on table edges or background patterns: Enable
MultiFrameResultCrossFilterwithenableResultCrossVerificationset totrue. Only boundaries confirmed across multiple consecutive frames will fire the result callback, filtering out single-frame false positives caused by structured backgrounds.