How to Scan Barcodes to Save Books to Notion
Notion is an all-in-one workspace for us to use the computer. It is basically a note-taking app but it is more than that with great customizability.
In this article, we are going to build a web app to scan ISBN barcodes to get the info of books and save them to a Notion database via APIs. Dynamsoft Barcode Reader is used for barcode scanning.
Check out the demo video to see what it does:
Scan Barcodes to Save Books to Notion
Let’s do this in steps.
Build an ISBN Web Barcode Scanner
We need to build an ISBN web barcode scanner to get the ISBN of books and retrieve their detailed info via APIs like Google’s book API. We’ve talked about how to build one in the previous article. We can build our barcode scanner for Notion based on it. In this article, we are going to focus more on the Notion integration.
Save the Book to Notion
We need to create an integration to access Notion via API.
Create a New Integration
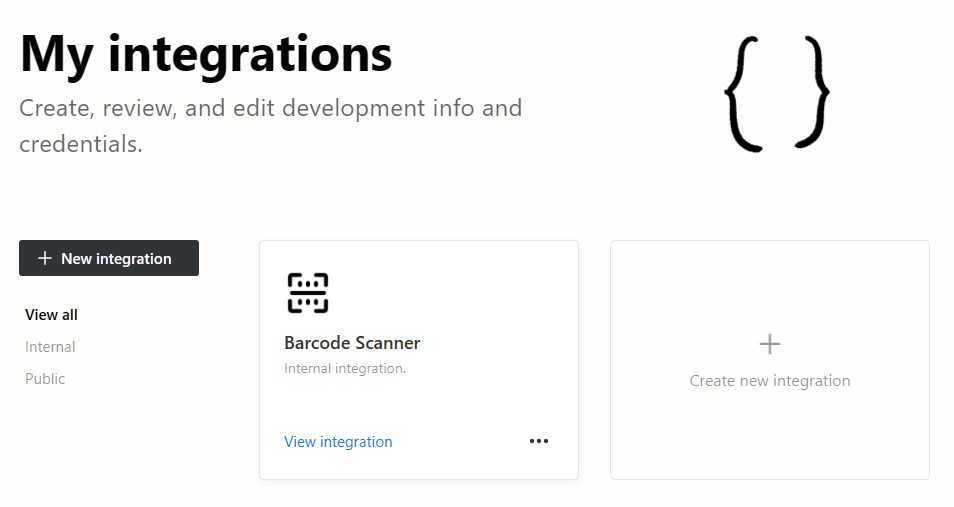
Visit My integrations and create a new internal integration.

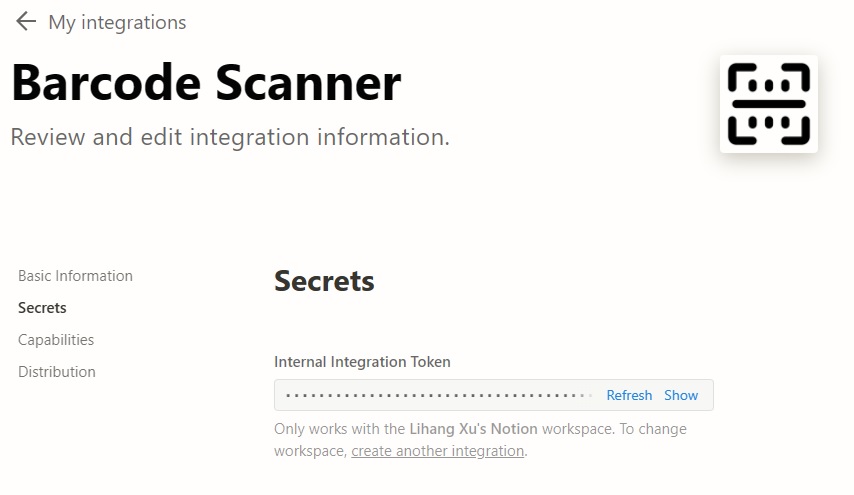
We can then get the secret for accessing our Notion workspace via API.

Create a New Database
Create a new database for saving the books with properties like authors, page count and ISBN.

We can get the database ID by checking its link.

Connect the Integration to the Database
Connect the integration to the database so that it can modify the database.

Create a New Book via API
Next, we need to add a book to the database via the pages API.
Because the API is not accessible from the browser due to CORS, we need to create a backend server to send the request.
Here, we use Python Flask to do this:
@app.route('/notion', methods=['POST'])
def send_to_notion():
    if request.method == 'POST':
        data = request.get_json()
        endpoint = "https://api.notion.com/v1/pages"
        secret = data["secret"]
        pay_load = json.loads(data["pay_load"])
        headers = {
                    'Authorization': 'Bearer '+secret,
                    'Content-Type': 'application/json',
                    'Notion-Version': '2022-06-28'
                  }
        r = requests.post(endpoint, json=pay_load, headers=headers)
        return r.text
    else:
        return "Method not allowed", 400
Then, in the web app, use XMLHttpRequest to send the request. The JSON body is compiled in the web app. The secret and database ID are input by the user.
function sendToNotion(rowValues){
  let endpoint = './notion';
  const secret = document.getElementById("secretInput").value;
  const databaseID = document.getElementById("databaseInput").value;
  localStorage.setItem('notion_secret', secret);
  localStorage.setItem('notion_database_id', databaseID);
  const thumbnailLink = rowValues[0];
  const title = rowValues[1];
  const authors = rowValues[2];
  const pageCount = rowValues[3];
  const ISBN = rowValues[4];
  const payload_for_notion = `{
    "parent": { "database_id": "`+databaseID+`" },
    "cover": {
      "type": "external",
      "external": {
        "url": "`+thumbnailLink+`"
      }
    },
    "properties": {
      "Name": {
        "title": [
          {
            "text": {
              "content": "`+title+`"
            }
          }
        ]
      },
      "Authors": {
        "rich_text": [
          {
            "text": {
              "content": "`+authors+`"
            }
          }
        ]
      },
      "ISBN": {
        "rich_text": [
          {
            "text": {
              "content": "`+ISBN+`"
            }
          }
        ]
      },
      "Page Count": {
        "rich_text": [
          {
            "text": {
              "content": "`+pageCount+`"
            }
          }
        ]
      }
    }
  }`
  const payload = {"secret":secret,"pay_load":payload_for_notion}
  let xhr = new XMLHttpRequest();
  xhr.open('POST', endpoint);
  xhr.setRequestHeader('content-type', 'application/json');
  xhr.onreadystatechange = function(){
    if(xhr.readyState === 4){
      console.log(xhr.responseText);
      updateStatus("");
      alert("Sent");
    }
  }
  xhr.onerror = function(){
    console.log("error");
    updateStatus("");
    alert("failed");
  }
  xhr.send(JSON.stringify(payload));
  updateStatus("Sending...");
}
Source Code
Get the source code of the demo to have a try:


