


How to Scan Documents Inside a Shadow DOM Web Component with Dynamic Web TWAIN
Shadow DOM is a web standard designed to encapsulate HTML and CSS into web components. It allows for the creation of separate DOM trees and specifies how these trees interact with each other in a document. Polymer is a library developed by Google to make it easier to create reusable web components. It utilizes Shadow DOM as a core part of its architecture. This article shares how to integrate Dynamic Web TWAIN into a Polymer project for implementing document scanning functions in web browsers.
What you’ll build: A browser-based document scanning application that runs inside a Shadow DOM web component, using Polymer and the Dynamic Web TWAIN SDK to acquire scanned images from TWAIN-compatible scanners.
Key Takeaways
- Dynamic Web TWAIN can be embedded inside Shadow DOM by binding the viewer to a
shadowRootelement instead of the globaldocument. - The
CreateDWTObjectExmethod withViewer.bind(this.shadowRoot.querySelector(...))is the key pattern for Shadow DOM integration. - Polymer’s
ready()lifecycle hook is the correct place to initialize the Dynamic Web TWAIN object so that the Shadow DOM tree is fully rendered. - This approach applies to any Shadow DOM-based framework, not only Polymer — the same
shadowRootbinding pattern works with Lit, vanilla Web Components, and other libraries.
Common Developer Questions
How do I scan documents inside a Shadow DOM web component?
Initialize Dynamic Web TWAIN inside the component’s ready() lifecycle and bind the viewer with this.shadowRoot.querySelector('#dwtcontrolContainer') instead of using a global document lookup. Once the object is created, the scan flow works the same way as a normal browser integration.
Why does Dynamic Web TWAIN not render when used inside Shadow DOM, and how do I fix it?
The usual failure is binding to document.getElementById() instead of querying inside shadowRoot, which leaves the SDK with no valid target element. Fix it by creating the object after the Shadow DOM tree is ready and always binding against the encapsulated container.
How do I bind the Dynamic Web TWAIN viewer to a shadowRoot element instead of the main document?
Use CreateDWTObjectEx() and pass the element returned by this.shadowRoot.querySelector(...) into the viewer bind step. That keeps all viewer rendering inside the component boundary instead of leaking into the main document.
Prerequisites
-
Polymer CLI:
npm i -g polymer-cli -
Get a 30-day free trial license for Dynamic Web TWAIN
Step 1: Scaffold a Polymer Project
mkdir polymer-document-scan
cd polymer-document-scan
polymer init polymer-3-starter-kit
npm start
Step 2: Install the Dynamic Web TWAIN SDK
In the project directory, install the SDK:
npm install dwt
Step 3: Include the Dynamic Web TWAIN Script in index.html
<script src="node_modules/dwt/dist/dynamsoft.webtwain.min.js"></script>
Step 4: Add the Scanner UI to the Polymer Component Template
Add a div element and a button element to the HTML template in src/my-view1.js:
class MyView1 extends PolymerElement {
  MyView1() {
    this.dwtObj;
    this.deviceList = [];
  }
  static get template() {
    return html`
      <style include="shared-styles">
        :host {
          display: block;

          padding: 10px;
        }
      </style>

      <div class="card">
        <h1>Web Document Scan</h1>
        <select size="1" id="source" style="position: relative; width: 220px;"></select>
        <div id="dwtcontrolContainer"></div>
        <button on-click="handleClick">scan</button>
      </div>
    `;
  }

  handleClick() {
    if (DWObject) {

    }
  }
}
- The
divelement with the IDdwtcontrolContaineris used to initialize the Dynamic Web TWAIN object. - The
buttonelement with thehandleClickevent triggers the document scanning process.
Step 5: Initialize Dynamic Web TWAIN Inside the Shadow DOM
Instantiate a Dynamic Web TWAIN object with a valid license key and the div element in the ready() method:
ready() {
    super.ready();
    // TODO: initialization
    this.initializeDWT();
  }

  initializeDWT() {
    if (Dynamsoft) {
      Dynamsoft.DWT.AutoLoad = true;
      Dynamsoft.DWT.UseLocalService = true;
      // https://www.dynamsoft.com/customer/license/trialLicense/?product=dcv&package=cross-platform
      Dynamsoft.DWT.ProductKey = 'LICENSE-KEY';
      Dynamsoft.DWT.ResourcesPath = 'node_modules/dwt/dist/';
      Dynamsoft.DWT.CreateDWTObjectEx({ WebTwainId: 'Viewer' }, (obj) => {
        this.dwtObj = obj;
        obj.Viewer.bind(this.shadowRoot.querySelector('#dwtcontrolContainer'));
        obj.Viewer.width = 560;
        obj.Viewer.height = 600;
        obj.Viewer.show();

        let select = this.shadowRoot.querySelector('#source');
        let deviceList = this.deviceList = [];
        obj.GetDevicesAsync().then(function (devices) {
          for (var i = 0; i < devices.length; i++) {
            let option = document.createElement('option');
            option.value = devices[i].displayName;
            option.text = devices[i].displayName;
            deviceList.push(devices[i]);
            select.appendChild(option);
          }
        }).catch(function (exp) {
          alert(exp.message);
        });

      }, function (e) {
        console.log(e)
      });
    }
  }
Note: You must set the ResourcesPath to the path where the Dynamic Web TWAIN resources are located. The CreateDWTObjectEx method creates a Dynamic Web TWAIN object. The bindmethod binds the object to the div element. The GetDevicesAsync method is used to retrieve the list of available devices.
Step 6: Trigger Document Scanning on Button Click
Implement the handleClick method to trigger the document scanning process:
handleClick() {
    var obj = this.dwtObj;
    if (obj) {
      obj.SelectDeviceAsync(this.deviceList[this.shadowRoot.querySelector('#source').selectedIndex]).then(function () {
        return obj.AcquireImageAsync({
          IfShowUI: false,
          IfCloseSourceAfterAcquire: true
        });
      }).catch(function (exp) {
        alert(exp.message);
      });
    }
  }
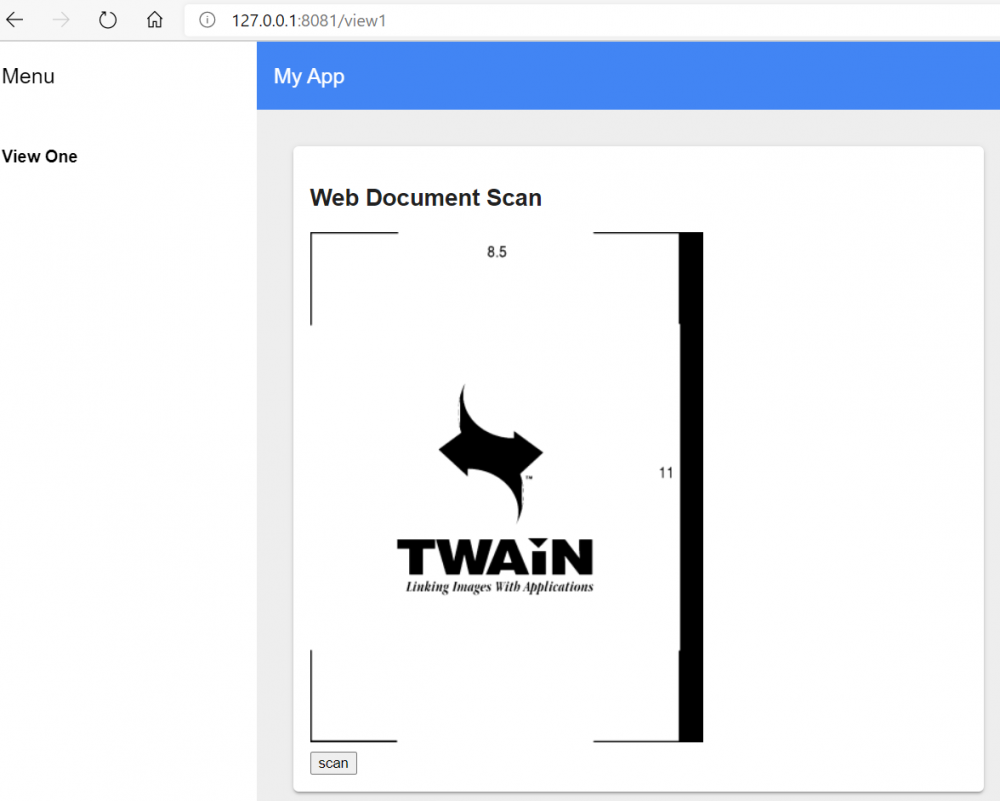
Step 7: Run and Test the Scanning App
npm start
Open a web browser and navigate to http://localhost:8081/ to see the document scanning app implemented in Polymer.
Common Issues and Edge Cases
- Dynamic Web TWAIN viewer does not appear inside Shadow DOM: This happens when you use
document.getElementByIdinstead ofthis.shadowRoot.querySelector. Shadow DOM encapsulation prevents global DOM queries from finding elements inside the component. Always usethis.shadowRoot.querySelector('#dwtcontrolContainer')when binding the viewer. - Scanner list is empty or
GetDevicesAsyncreturns no devices: Ensure the Dynamsoft Service is installed and running on the client machine. Dynamic Web TWAIN requires its local service for TWAIN scanner communication. Check thatUseLocalServiceis set totrue. - Resource files fail to load (404 errors for
.wasmor worker files): Verify thatDynamsoft.DWT.ResourcesPathpoints to the correctnode_modules/dwt/dist/directory relative to your servedindex.html. Path mismatches are the most common setup failure.