


How to Build a Barcode, MRZ & Document Scanner Web App with React and JavaScript
Modern web applications increasingly need to capture and process identity documents, QR codes, and barcodes directly in the browser. The Dynamsoft Capture Vision (DCV) SDK provides vision pipelines for barcode reading, MRZ (Machine-readable Zone) recognition, and document boundary detection—all running client-side in WebAssembly.
This tutorial shows you how to build a fully featured React application around the DCV SDK. You will learn how to manage SDK lifecycle state with hooks, wire up live camera streams and file uploads, and create an interactive document editor—all within a clean component architecture.
Demo Video: React Barcode, MRZ & Document Scanner
Prerequisites
Before you start, make sure you have:
- Node.js 18+ and npm 9+
- A free Dynamsoft trial license key
Project Structure
react/
├── index.html                  # Vite entry – loads Dynamsoft CDN bundle
├── vite.config.js
├── package.json
├── public/
│   └── full.json               # DCV template
└── src/
    ├── main.jsx                # React tree bootstrap
    ├── App.jsx                 # Root component (all logic lives here)
    ├── App.css                 # Responsive stylesheet
    └── utils/
        └── mrzUtils.js         # MRZ field extraction helper
Loading the Dynamsoft SDK
The DCV bundle is a large WebAssembly module. Loading it via CDN in index.html before React bootstraps avoids blocking the JavaScript module graph and gives the browser time to cache the binary:
<!-- index.html -->
<script src="https://cdn.jsdelivr.net/npm/dynamsoft-capture-vision-bundle@3.2.5000/dist/dcv.bundle.min.js"></script>
After the script executes, window.Dynamsoft is available. Your React code can access it at any point after DOMContentLoaded—which is after React’s ReactDOM.createRoot() call—so there is no race condition.
Tip: For a fully self-hosted distribution, download the bundle and serve it from
public/. Update the<script src>accordingly.
Managing SDK State with React Hooks
The most important architectural decision is separating UI state (React useState) from SDK object references (React useRef). SDK objects like CaptureVisionRouter are mutable and do not need to trigger re-renders; keeping them in refs avoids unnecessary component updates.
// UI state – trigger re-renders when changed
const [isSDKReady, setIsSDKReady]         = useState(false);
const [isLoading, setIsLoading]           = useState(false);
const [scanMode, setScanMode]             = useState('barcode'); // 'barcode' | 'mrz' | 'document'
const [inputSource, setInputSource]       = useState('file');   // 'file' | 'camera'
const [detectionResult, setDetectionResult] = useState('');

// SDK object refs – mutated without triggering re-renders
const cvrRef           = useRef(null); // CaptureVisionRouter
const parserRef        = useRef(null); // CodeParser
const cameraEnhancerRef = useRef(null); // CameraEnhancer
const globalPointsRef  = useRef(null); // Detected quad points
const isDetectingRef   = useRef(false); // Camera scan status
The scanMode value is needed both in React render logic (driving the radio button UI) and inside asynchronous SDK callbacks. Keeping a scanModeRef that mirrors the state ensures callbacks always read the latest value without stale closures:
const scanModeRef = useRef('barcode');
useEffect(() => {
  scanModeRef.current = scanMode;
}, [scanMode]);
Activating the SDK License
The activate function initializes all required DCV modules. Wrap the entire block in a try/catch and guard with window.Dynamsoft before accessing any APIs:
const activate = useCallback(async () => {
  const Dynamsoft = window.Dynamsoft;
  if (!Dynamsoft) return alert('SDK not loaded yet.');

  setIsLoading(true);
  try {
    // 1. Activate the license
    await Dynamsoft.License.LicenseManager.initLicense(licenseKey, true);

    // 2. Preload WASM binaries for DBR, DLR, and DDN
    Dynamsoft.Core.CoreModule.loadWasm(['DBR', 'DLR', 'DDN']);

    // 3. Create code parser and load MRZ travel document specs
    parserRef.current = await Dynamsoft.DCP.CodeParser.createInstance();
    await Dynamsoft.DCP.CodeParserModule.loadSpec('MRTD_TD1_ID');
    await Dynamsoft.DCP.CodeParserModule.loadSpec('MRTD_TD3_PASSPORT');
    // … additional specs

    // 4. Pre-load the neural network models required for MRZ recognition
    await Dynamsoft.CVR.CaptureVisionRouter.appendDLModelBuffer('MRZCharRecognition');
    await Dynamsoft.CVR.CaptureVisionRouter.appendDLModelBuffer('MRZTextLineRecognition');

    // 5. Create the main router and attach a result receiver
    cvrRef.current = await Dynamsoft.CVR.CaptureVisionRouter.createInstance();
    cvrRef.current.addResultReceiver({
      onCapturedResultReceived: (result) => showCameraResult(result),
    });

    setIsSDKReady(true);
  } catch (ex) {
    alert('Activation failed: ' + ex.message);
  }
  setIsLoading(false);
}, [licenseKey]);
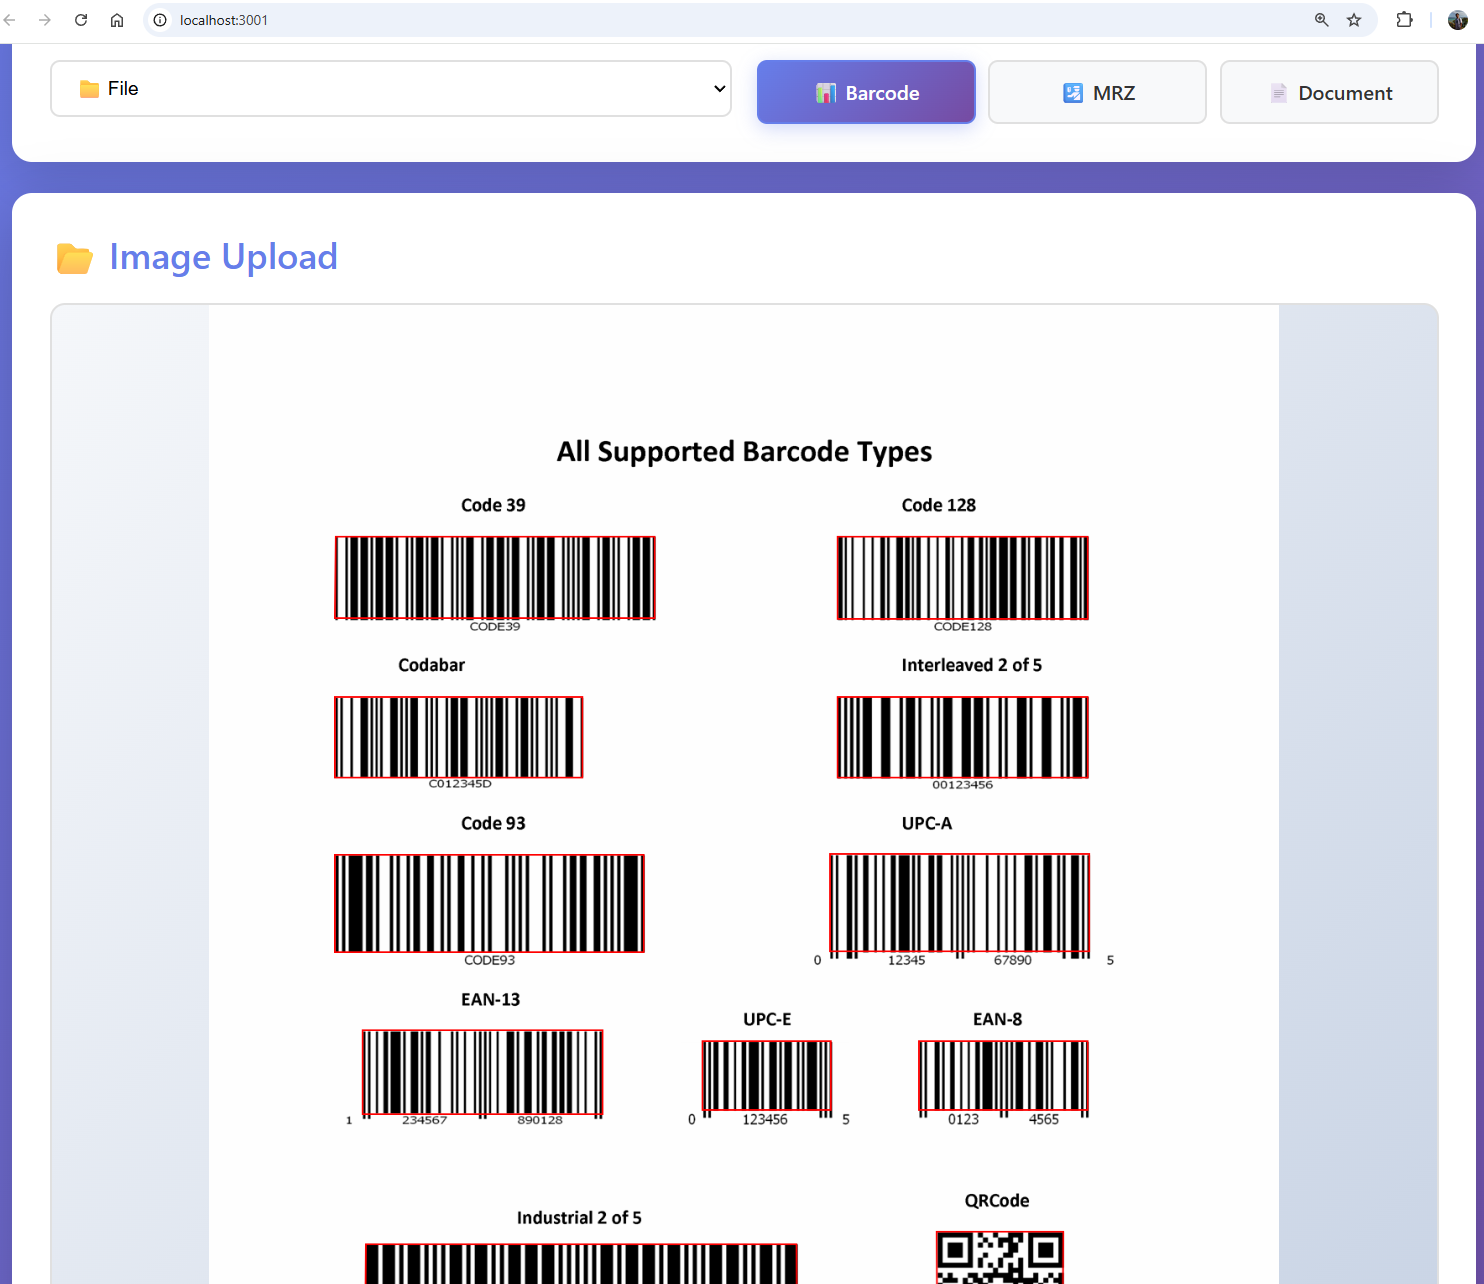
File-Based Scanning
When a user selects or drops an image file, the rendering pipeline is:
FileReader.readAsDataURL→ base64 string- Set
<img>via a ref and wait foronload - Resize the overlay
<canvas>to match the image dimensions - Call
cvr.capture(imgSrc, template)with the chosen template - Iterate
result.items, draw bounding outlines on the canvas, populate the result textarea
const loadImage2Canvas = useCallback((base64Image) => {
  imageFileRef.current.src = base64Image;
  imgRef.current.src = base64Image;

  imgRef.current.onload = async () => {
    const { width, height } = imgRef.current;
    overlayCanvasRef.current.width  = width;
    overlayCanvasRef.current.height = height;
    setShowImageContainer(true);

    const ctx = overlayCanvasRef.current.getContext('2d');
    ctx.clearRect(0, 0, width, height);

    const mode   = scanModeRef.current;
    const cvr    = cvrRef.current;
    let result;

    if (mode === 'barcode') {
      await cvr.resetSettings();
      result = await cvr.capture(imgRef.current.src, 'ReadBarcodes_Default');
    } else if (mode === 'mrz') {
      await cvr.initSettings('./full.json'); // loads custom MRZ template
      result = await cvr.capture(imgRef.current.src, 'ReadMRZ');
    } else if (mode === 'document') {
      await cvr.resetSettings();
      result = await cvr.capture(imgRef.current.src, 'DetectDocumentBoundaries_Default');
    }

    showFileResult(mode, ctx, result);
  };
}, [isSDKReady]);
In the JSX, trigger loadImage2Canvas from a file <input onChange>, drag-and-drop events, and the clipboard paste handler:
// File input
<input type="file" accept="image/*" onChange={(e) => {
  const fr = new FileReader();
  fr.onload = (ev) => loadImage2Canvas(ev.target.result);
  fr.readAsDataURL(e.target.files[0]);
}} />

// Paste
useEffect(() => {
  const handler = (e) => {
    for (const item of e.clipboardData.items) {
      if (item.kind === 'file') {
        const fr = new FileReader();
        fr.onload = (ev) => loadImage2Canvas(ev.target.result);
        fr.readAsDataURL(item.getAsFile());
      }
    }
  };
  document.addEventListener('paste', handler);
  return () => document.removeEventListener('paste', handler);
}, [loadImage2Canvas]);
Live Camera Scanning
Camera management has three phases: init, start, stop. Initialize CameraEnhancer once when the user switches to camera mode; never re-create it on scan mode changes.
const initCamera = useCallback(async () => {
  const Dynamsoft = window.Dynamsoft;
  const cameraView = await Dynamsoft.DCE.CameraView.createInstance();
  cameraViewSDKRef.current = cameraView;

  const ce = await Dynamsoft.DCE.CameraEnhancer.createInstance(cameraView);
  cameraEnhancerRef.current = ce;

  const allCams = await ce.getAllCameras();
  camerasRef.current = allCams;
  setCameraList(allCams.map(c => c.label)); // update dropdown

  // Mount the camera view UI element into the React-managed DOM node
  cameraViewContainerRef.current.appendChild(cameraView.getUIElement());

  if (allCams.length > 0) {
    ce.setPixelFormat(10); // optimal format for vision processing
    await ce.selectCamera(allCams[0]);
    await ce.open();
  }
}, []);
Mounting the SDK’s UI element directly into a React ref (cameraViewContainerRef) lets the camera render without React diffing the internal camera DOM. On unmount (switching back to file mode), call ce.close() and empty the container’s innerHTML.
const startScanning = useCallback(async () => {
  const cvr = cvrRef.current;
  const ce  = cameraEnhancerRef.current;
  const mode = scanModeRef.current;

  isDetectingRef.current = true;
  cvr.setInput(ce); // wire camera frames into the processing pipeline

  if (mode === 'mrz') {
    await cvr.initSettings('./full.json');
    cvr.startCapturing('ReadMRZ');
  } else if (mode === 'barcode') {
    await cvr.resetSettings();
    cvr.startCapturing('ReadBarcodes_Default');
  } else if (mode === 'document') {
    await cvr.resetSettings();
    const params = await cvr.getSimplifiedSettings('DetectDocumentBoundaries_Default');
    params.outputOriginalImage = true; // required for capture + rectification
    await cvr.updateSettings('DetectDocumentBoundaries_Default', params);
    cvr.startCapturing('DetectDocumentBoundaries_Default');
  }
}, []);
MRZ Parsing
After the ReadMRZ template recognises text lines from the image, the raw string (e.g. P<GBRTRAVELLER<<FIRSTNAME<<<<<<<) is passed to CodeParser.parse(). The result exposes typed getters for each ICAO 9303 field:
// src/utils/mrzUtils.js
export function extractMrzInfo(result) {
  const info = {};
  const type  = result.getFieldValue('documentCode');

  info['Document Type']  = JSON.parse(result.jsonString).CodeType;
  info['Issuing State']  = result.getFieldValue('issuingState');
  info['Surname']        = result.getFieldValue('primaryIdentifier');
  info['Given Name']     = result.getFieldValue('secondaryIdentifier');
  info['Passport Number'] = type === 'P'
    ? result.getFieldValue('passportNumber')
    : result.getFieldValue('documentNumber');

  // Convert two-digit year to four-digit year
  let birthYear = result.getFieldValue('birthYear');
  birthYear = parseInt(birthYear) > (new Date().getFullYear() % 100)
    ? '19' + birthYear : '20' + birthYear;
  info['Date of Birth (YYYY-MM-DD)'] =
    `${birthYear}-${result.getFieldValue('birthMonth')}-${result.getFieldValue('birthDay')}`;

  return info;
}
Supported travel document formats:
| Spec | Description |
|---|---|
MRTD_TD1_ID |
ID card (3-line, 30 chars each) |
MRTD_TD2_ID |
ID card (2-line, 36 chars each) |
MRTD_TD3_PASSPORT |
Passport booklet |
MRTD_TD3_VISA |
Visa (TD3 format) |
Document Editor with Canvas Interaction
When a document boundary is detected, the app opens a modal editor where users can drag the four corner points to refine the crop before rectification. This is implemented with pure canvas event listeners attached via a setTimeout callback after the editor state is set to visible:
const openEditor = (imageDataUrl) => {
  setEditorImageSrc(imageDataUrl);
  setShowEditor(true);

  // Target canvas renders after next paint; attach drag listeners then
  setTimeout(() => {
    const canvas = targetCanvasRef.current;
    const ctx    = canvas.getContext('2d');
    drawQuad(ctx, canvas, globalPointsRef.current);
    canvas.addEventListener('mousedown',  (e) => updatePoint(e, ctx, canvas));
    canvas.addEventListener('touchstart', (e) => updatePoint(e, ctx, canvas));
  }, 100);
};
updatePoint computes canvas-space coordinates from client-space events (accounting for CSS object-fit: contain scaling) and enables dragging the nearest corner:
function updatePoint(e, ctx, canvas) {
  const delta = 20; // px hit radius
  const coords = getCanvasCoords(e, canvas);

  for (let i = 0; i < globalPointsRef.current.length; i++) {
    const pt = globalPointsRef.current[i];
    if (Math.hypot(pt.x - coords.x, pt.y - coords.y) < delta) {
      const drag = (ev) => {
        ev.preventDefault();
        const c = getCanvasCoords(ev, canvas);
        pt.x = c.x;
        pt.y = c.y;
        drawQuad(ctx, canvas, globalPointsRef.current);
      };
      canvas.addEventListener('mousemove', drag);
      canvas.addEventListener('mouseup', () =>
        canvas.removeEventListener('mousemove', drag), { once: true });
      break;
    }
  }
}
After the user confirms the crop boundary, cvr.capture(src, 'NormalizeDocument_Default') produces an CRIT_ENHANCED_IMAGE item with the perspective-corrected document as a canvas element.
Running the Application
cd react
npm install
npm run dev          # development server on http://localhost:3000
npm run build        # production build → dist/
npm run preview      # preview production build locally
Source Code
https://github.com/yushulx/javascript-barcode-qr-code-scanner/tree/main/examples/react