


How to Implement Web Document Scanning in ASP.NET Core MVC with Dynamic Web TWAIN
ASP.NET Core enables C# server-side applications to run on Windows, Linux, and macOS. In this tutorial, we will go through the steps of building a web document scanning application with ASP.NET Core and Dynamic Web TWAIN SDK.
What you’ll build: A cross-platform web document scanning application using ASP.NET Core MVC and Dynamic Web TWAIN SDK that lets users scan physical documents from a TWAIN-compatible scanner and upload them as JPG, PDF, or TIFF files to a C# backend.
Key Takeaways
- Dynamic Web TWAIN integrates with ASP.NET Core MVC via a JavaScript front-end and a C#
FileControllerAPI endpoint to enable full scan-to-upload workflows. - The
Dynamsoft.DWT.UseLocalService = trueflag activates the local scanning service, enabling access to physical TWAIN scanners from a browser. - ASP.NET Core MVC projects can be scaffolded on any platform using the .NET CLI (
dotnet new webapp), making this solution cross-platform by default. - This pattern applies to enterprise document management, healthcare intake forms, and any workflow requiring digitized physical documents.
Common Developer Questions
- How do I implement web document scanning in ASP.NET Core using a TWAIN scanner?
- How do I upload scanned documents as PDF or TIFF from JavaScript to a C# controller?
- How do I configure Dynamic Web TWAIN resource files and static file serving in ASP.NET Core MVC?
This article is Part 1 in a 5-Part Series.
- Part 1 - How to Implement Web Document Scanning in ASP.NET Core MVC with Dynamic Web TWAIN
- Part 2 - How to Upload Scanned Documents in Node.js with Dynamic Web TWAIN
- Part 3 - How to Upload Scanned Documents to a Go Server with Dynamic Web TWAIN
- Part 4 - How to Build an Online Document Scanner with Python Django and Dynamic Web TWAIN
- Part 5 - Integrate a Document Scanner API in a Laravel PHP Project
Prerequisites
- .NET SDK installed (6.0 or later)
- A TWAIN-compatible document scanner (for physical scanning; you can also load images from disk)
- Download the Dynamic Web TWAIN SDK
- Get a 30-day free trial license for Dynamic Web TWAIN
Step 1: Scaffold an ASP.NET Core MVC Project
There are two ways to scaffold a new ASP.NET Core MVC project: one is using Visual Studio, and the other is using the .NET Core CLI. The former is available only for Windows users, while the latter is accessible on all platforms.
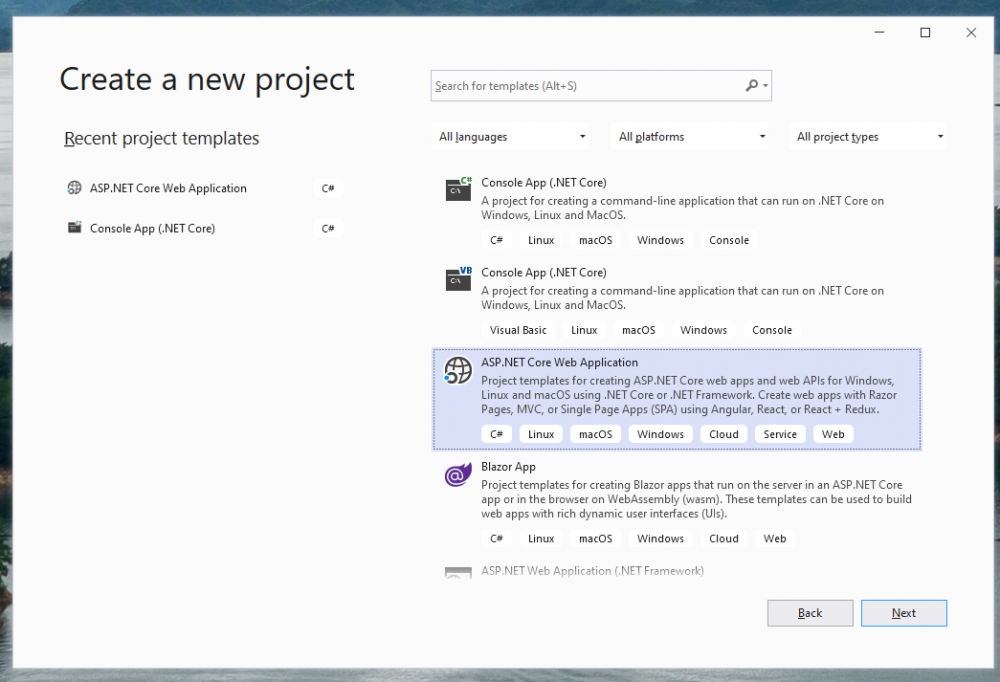
Create the Project in Visual Studio
-
Create a new project using the ASP.NET Core Web Application template.
-
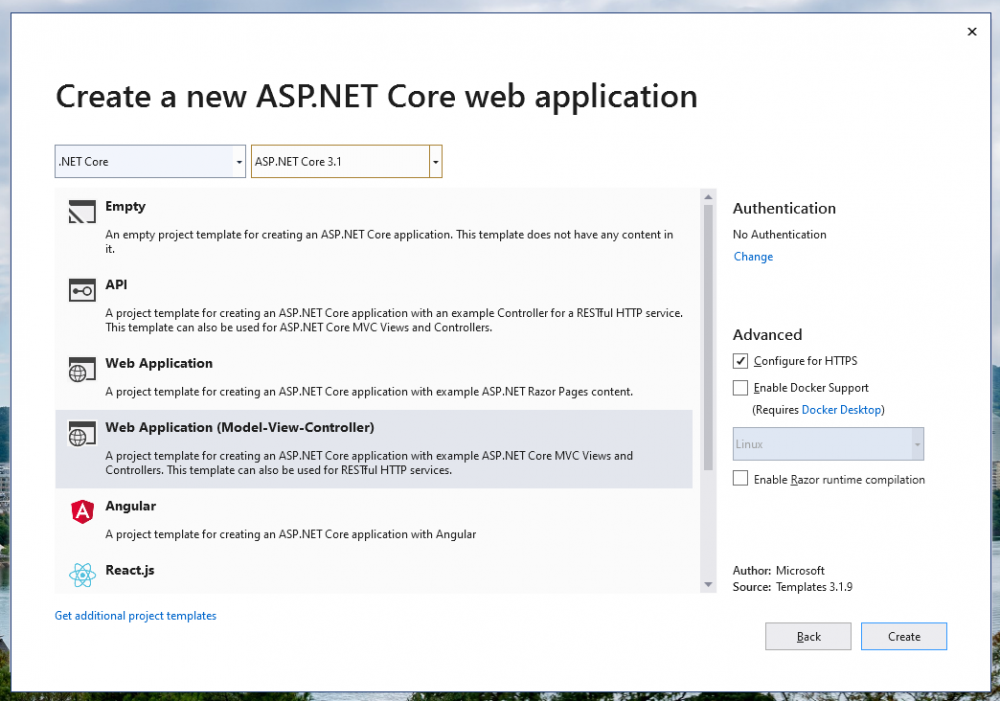
Initialize the project with the Web Application(Model-View-Controller) template.
Create the Project with the .NET CLI
Open a terminal and enter the following command to create a project:
dotnet new webapp -o dwtDotNet --no-https
This command generates a .NET Core application using the webapp template, suitable for ASP.NET Core MVC projects, with the name dwtDotNet, and disables HTTPS by default.
Step 2: Configure Dynamic Web TWAIN in Your ASP.NET Core Project
-
Download the Dynamic Web TWAIN SDK and copy the
node_modules\dwt\distfolder to your project directory.npm install dwt -
Configure the Dynamic Web TWAIN resource files in
Startup.cs:app.UseStaticFiles(new StaticFileOptions { FileProvider = new PhysicalFileProvider( Path.Combine(env.ContentRootPath, "RESOURCE-FILES-FOLDER")), RequestPath = "/lib/dwt" });The
/lib/dwtis the resource finding path, which will be used later in JavaScript.
Step 3: Implement Document Scanning and Upload
The project structure is shown as follows:
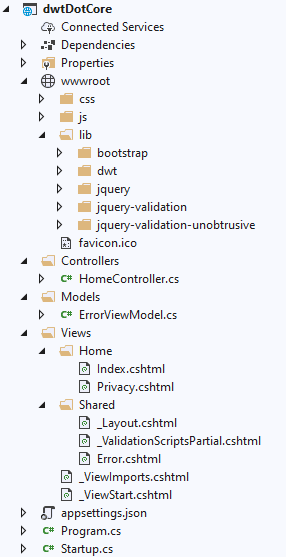
In the Model-View-Controller (MVC) app, the controller handles requests and returns the corresponding views. The model represents the business abstraction. For this project, since there’s no data to store, models and a database are not required.
Note: To scaffold the project with the CLI, you can install dotnet-aspnet-codegenerator for generating controllers and views.
Document scanning functionality will be implemented in Index.cshtml, and document uploading will be handled in HomeController.cs.
Build the Scan and Upload UI in Index.cshtml
-
Build the user interface (UI) within the
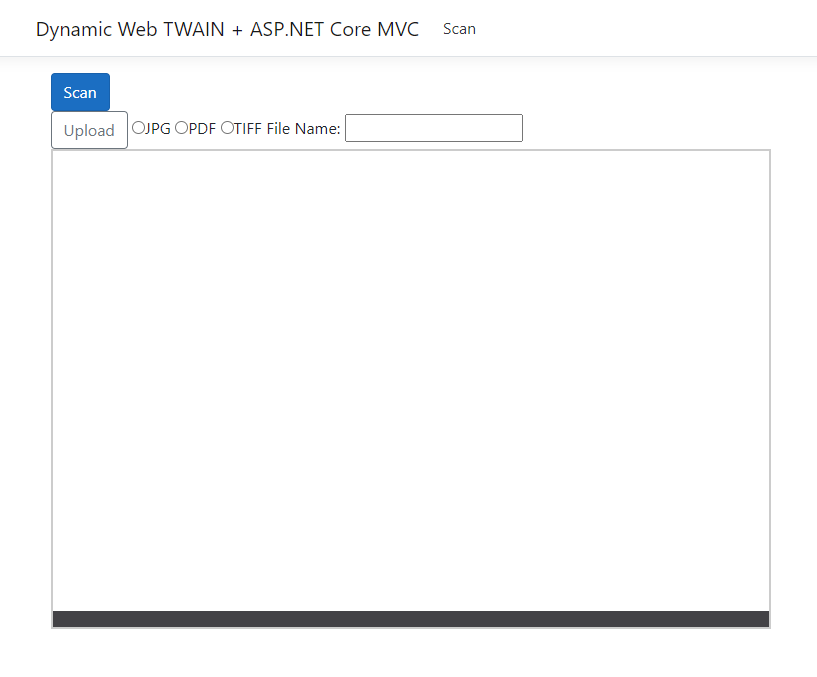
Index.cshtmlfile. Include a first button for scanning documents and a second button for uploading documents. Add radio buttons to allow the user to select the format of the document to be uploaded. Provide an input box for specifying the name of the uploaded document.<div class="container-fluid"> <div id="control-panel"> <button class="btn btn-primary" onclick="AcquireImage()">Scan</button> <br /> <button class="btn btn-outline-secondary" onclick="Upload()">Upload</button> <input type="radio" value="jpg" name="format"/>JPG <input type="radio" value="pdf" name="format"/>PDF <input type="radio" value="tif" name="format"/>TIFF <label for="filename-input">File Name: </label> <input type="text" id="filename-input"/> </div> <div id="dwt-container"> </div> </div> -
Include the Dynamic Web TWAIN JavaScript files in your project.
<script src="~/lib/dwt/dynamsoft.webtwain.min.js"></script> -
Initialize a Dynamic Web TWAIN object using a valid license key.
<script> var DWObj; var viewerWidth = 960, viewerHeight = 960; var containerName = 'dwt-container'; Dynamsoft.DWT.ResourcesPath = 'lib/dwt'; Dynamsoft.DWT.ProductKey = "LICENSE-KEY"; // https://www.dynamsoft.com/customer/license/trialLicense/?product=dcv&package=cross-platform function initDWT() { Dynamsoft.DWT.UseLocalService = true; Dynamsoft.DWT.AutoLoad = true; Dynamsoft.DWT.Containers = [{ ContainerId: containerName, Width: viewerWidth, Height: viewerHeight }]; Dynamsoft.DWT.RegisterEvent('OnWebTwainReady', function () { DWObj = Dynamsoft.DWT.GetWebTwain(containerName); if (DWObj) { DWObj.Width = viewerWidth; DWObj.Height = viewerHeight; DWObj.MouseShape = true; } }); } initDWT(); </script> -
Implement functionality to scan documents.
 <script>
     function AcquireImage() {
         if (DWObj) {
             if (DWObj.UseLocalService) {
                 DWObj.SelectSourceAsync().then(function () {
                     return DWObj.AcquireImageAsync({
                         IfCloseSourceAfterAcquire: true
                     });
                 }).catch(function (exp) {
                     alert(exp.message);
                 });
             } else {
                 DWObj.LoadImageEx('', -1)
             }
         }
     }
 </script>
Upload Scanned Documents to the ASP.NET Core Server
To facilitate document file uploading, it’s necessary to implement JavaScript code on the front-end and C# code on the back-end.
-
Incorporate the specified JavaScript into the
Index.cshtmlfile to enable the uploading of the scanned document to the server.function Upload() { const host = location.hostname const protocol = location.protocol const uploadPath = '/api/File' let uploadFileName = document.getElementById('filename-input').value const port = location.port || (protocol === 'https:' ? 443 : 80) var formatSelector = document.getElementsByName('format') let format = (selector => { let select = '' selector.forEach(e => { if (e.checked) { select = e.value } }) uploadFileName = uploadFileName + '.' + select switch (select) { case 'jpg': { return Dynamsoft.DWT.EnumDWT_ImageType.IT_JPG } case 'pdf': { return Dynamsoft.DWT.EnumDWT_ImageType.IT_PDF } case 'tif': { return Dynamsoft.DWT.EnumDWT_ImageType.IT_TIF } } })(formatSelector) let uploadFormat = Dynamsoft.DWT.EnumDWT_UploadDataFormat.Binary if (DWObj) { DWObj.HTTPPort = port DWObj.IfSSL = true let indices = DWObj.SelectedImagesIndices DWObj.HTTPUpload( protocol + '//' + host + ':' + port + uploadPath, indices, format, uploadFormat, uploadFileName, () => { alert('success') }, (errCode, errStr, res) => { console.error(`${errCode}: ${errStr}. Server return: ${ res }`) } ) } } -
Add a new controller dedicated to managing the file upload process.
The C# code is written as follows:
 [Route("api/[controller]")]
 [ApiController]
 public class FileController : ControllerBase
 {
     // POST api/<FileController>
     [HttpPost]
     public async Task<IActionResult> Upload()
     {
         var files = Request.Form.Files;
         var path = Path.Combine(Directory.GetCurrentDirectory(), "Upload");
         if (!Directory.Exists(path))
         {
             try
             {
                 Directory.CreateDirectory(path);
             }
             catch (Exception e)
             {
                 Debug.WriteLine(e.StackTrace.ToString());
                 return Unauthorized("not able to create");
             }
         }
         foreach (var uploadFile in files)
         {
             var fileName = uploadFile.FileName;
             using (var stream = System.IO.File.Create(Path.Combine(path, fileName)))
             {
                 await uploadFile.CopyToAsync(stream);
             }
         }
         return Ok();
     }
 }
Step 4: Test the ASP.NET Core Document Scanning Application
-
Launch the application.
-
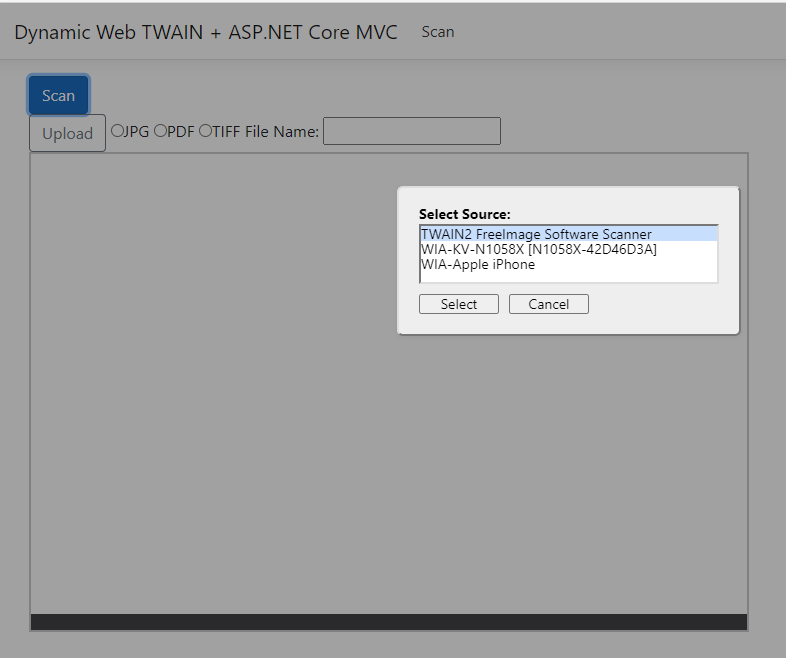
Click on the “Scan” button to start the scanning process.
-
Scan documents from the available source.

-
Upload the scanned document to the server. After uploading, check your designated upload folder to view the files you’ve uploaded.
Common Issues and Edge Cases
- Dynamsoft Service not detected: If the scan button does nothing or throws an error, ensure the Dynamsoft Service is installed and running on the client machine. The
UseLocalService = trueflag requires this background service to access TWAIN scanners from the browser. - Static resource 404 errors: If the Dynamic Web TWAIN viewer fails to load, verify that the
UseStaticFilesmiddleware inStartup.cs(orProgram.csin .NET 6+) correctly maps thedistfolder to/lib/dwt. Mismatched paths are the most common setup issue. - Upload fails with large multi-page TIFFs: The default ASP.NET Core request size limit (30 MB) may reject large scans. Increase it by configuring
KestrelServerOptions.Limits.MaxRequestBodySizeor the[RequestSizeLimit]attribute on the controller action.
Source Code
https://github.com/yushulx/web-twain-document-scan-management/tree/main/examples/asp_dotnet_upload