




Start Your First Scan
Follow these steps to perform a basic batch barcode scan. We are using screenshots on Android for illustration. The iOS version’s usage is similar.
-
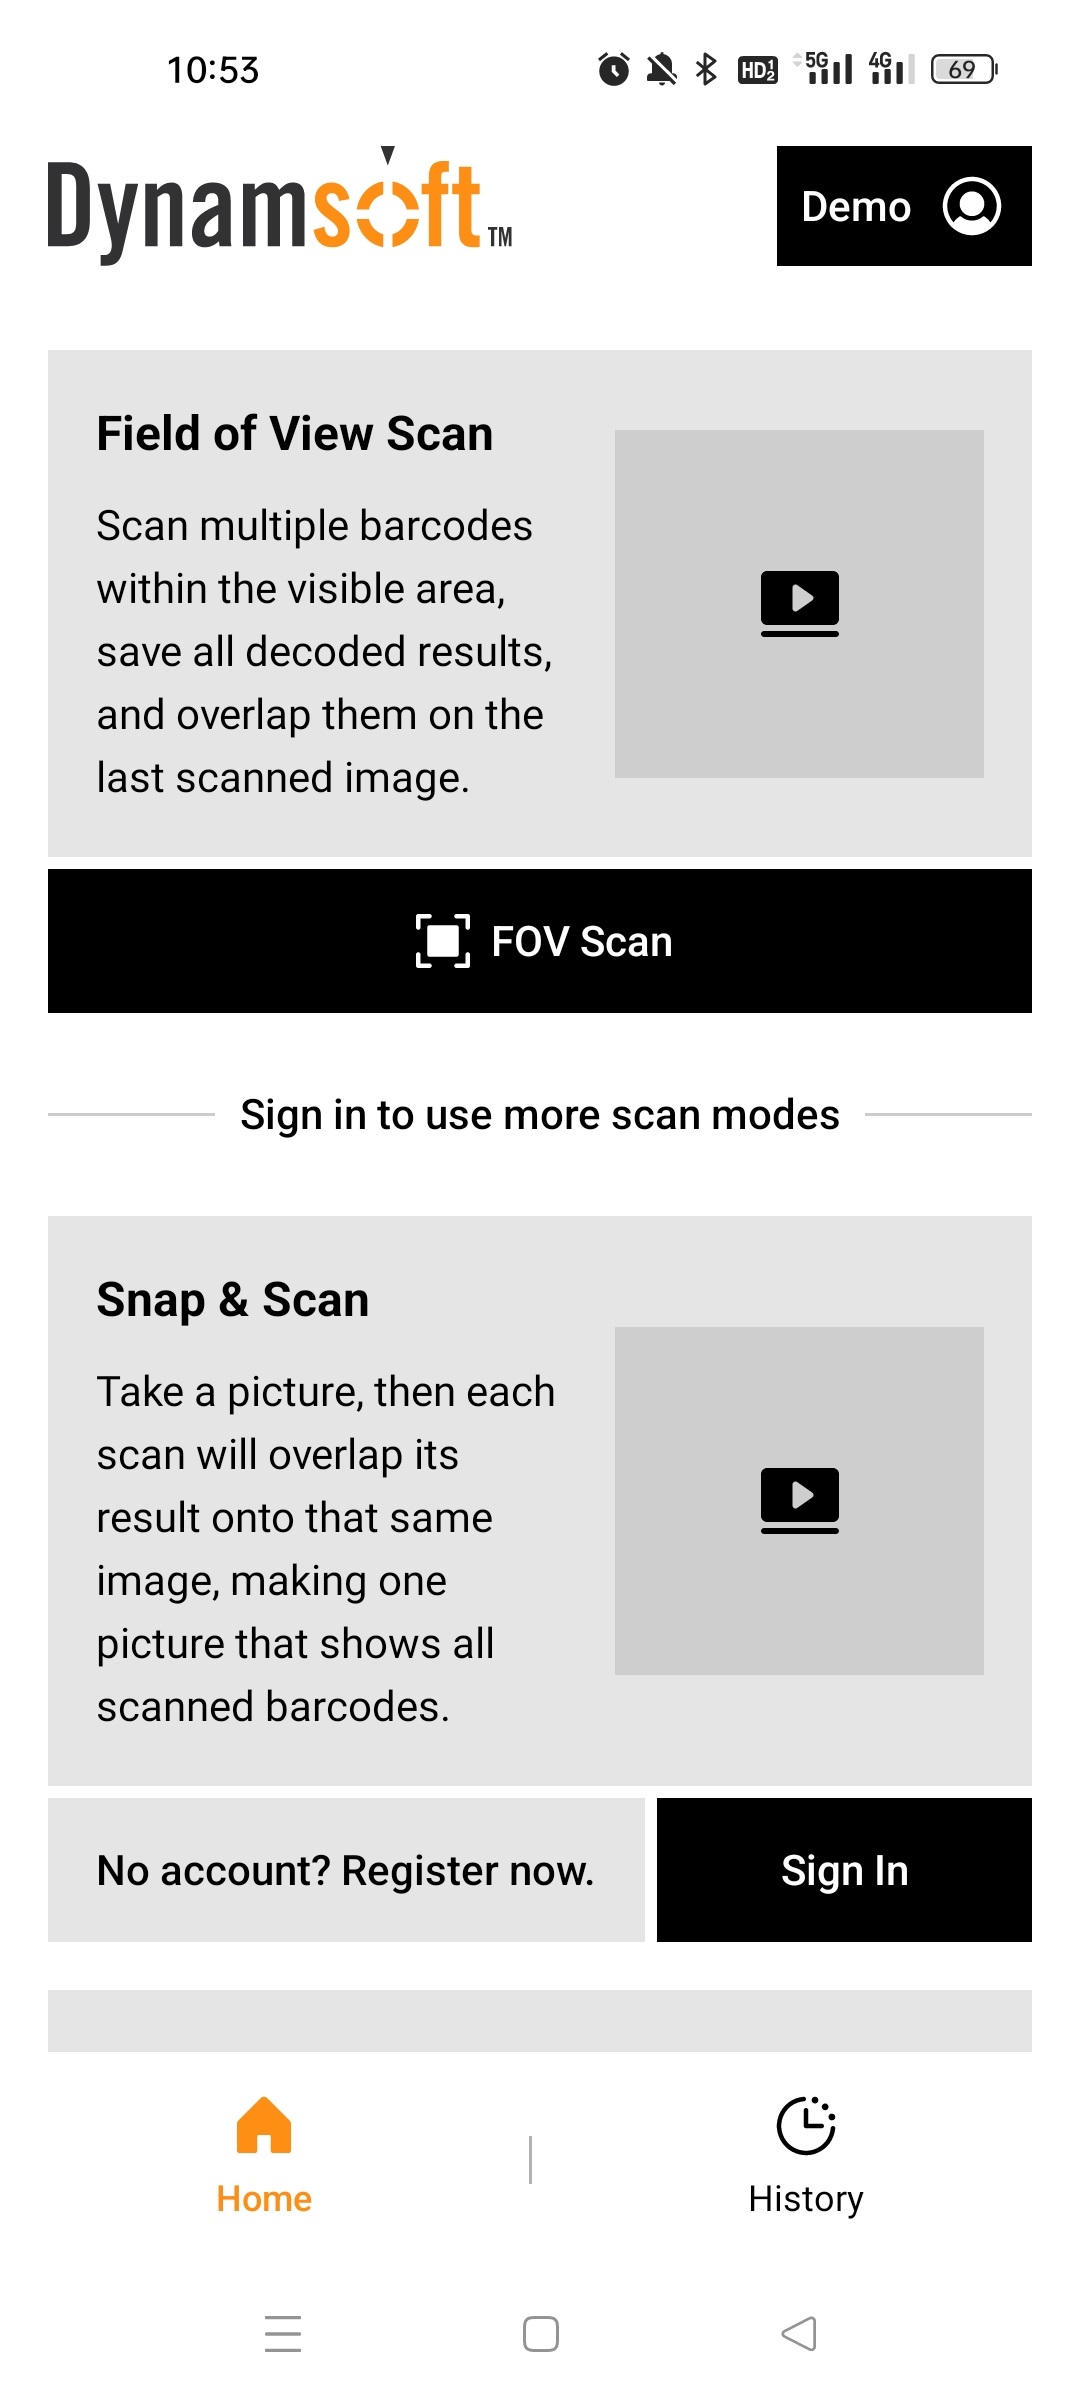
Open your app and you will see the following page.
-
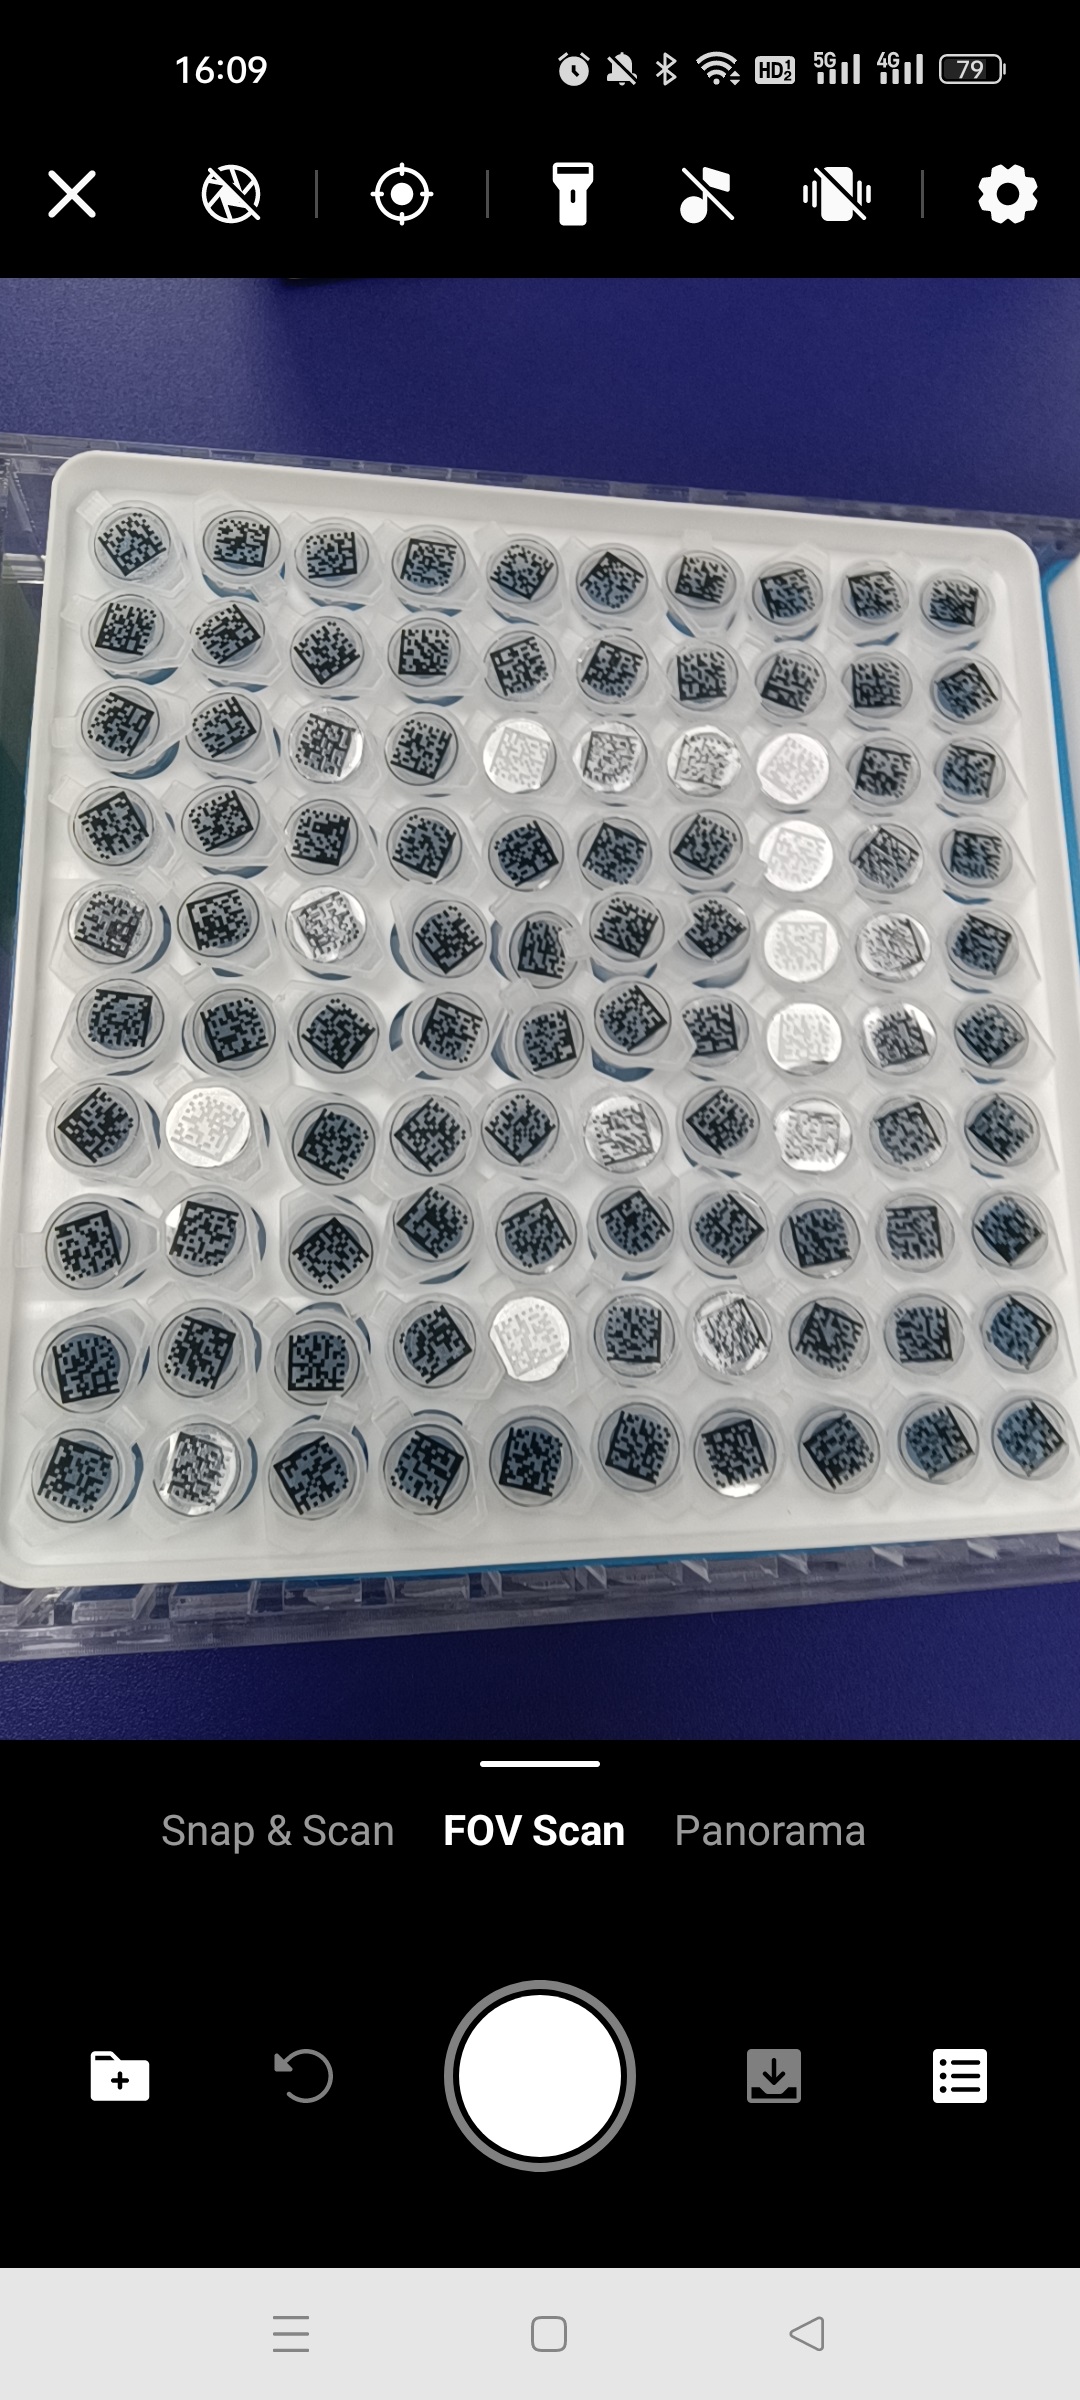
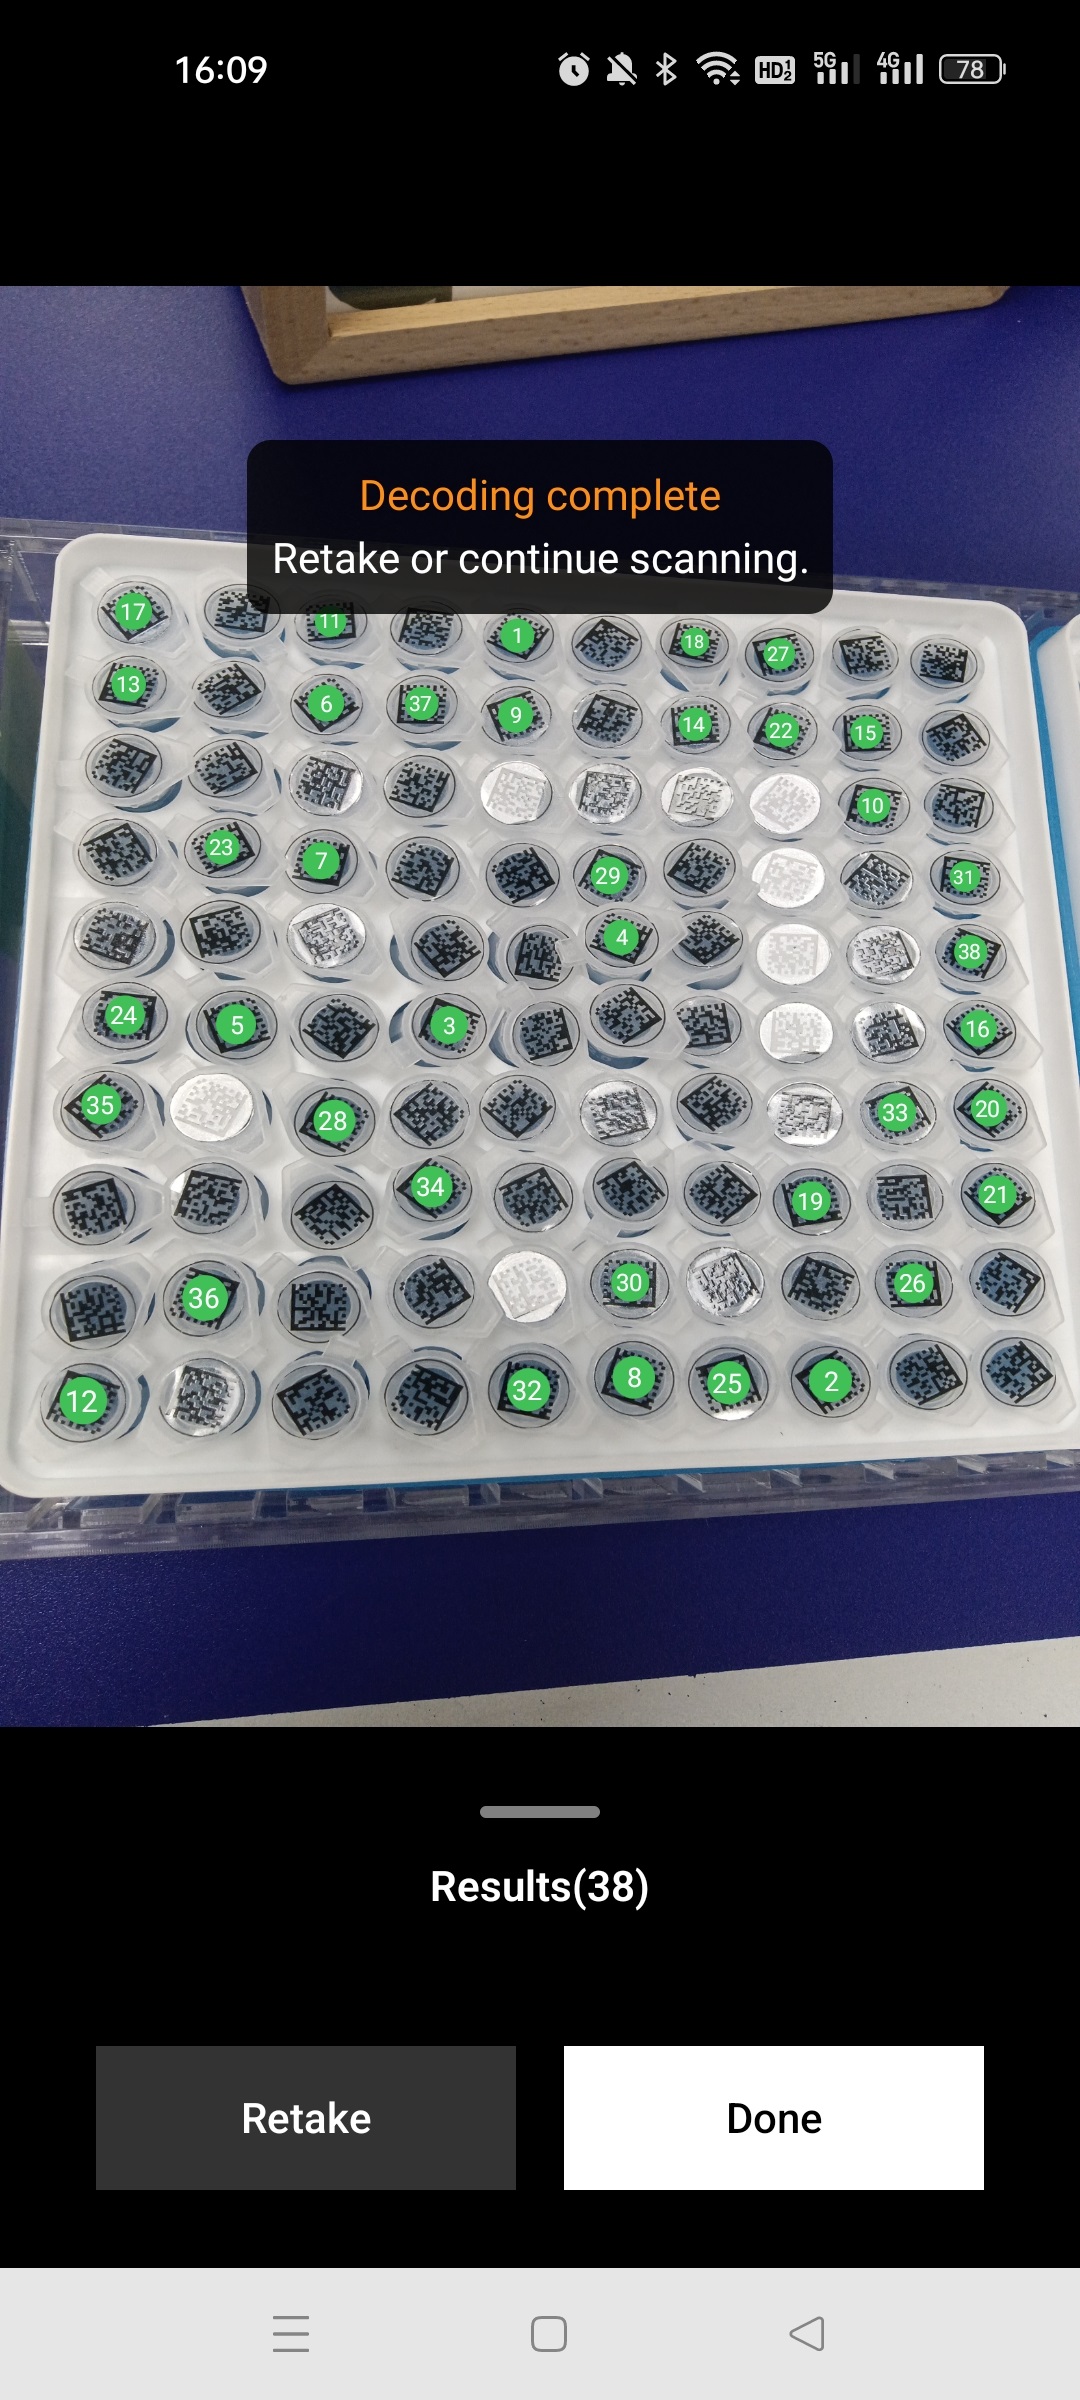
Enter Field of View (FOV) scanning mode, press the shutter button to capture a photo and start scanning. The app will show the decoding result from the captured photo. Press “Continue” to scan more barcodes.
-
After pressing “Continue”, the app will reenter the live capturing interface, with the previous decoding result displayed in the bottom‑left corner.
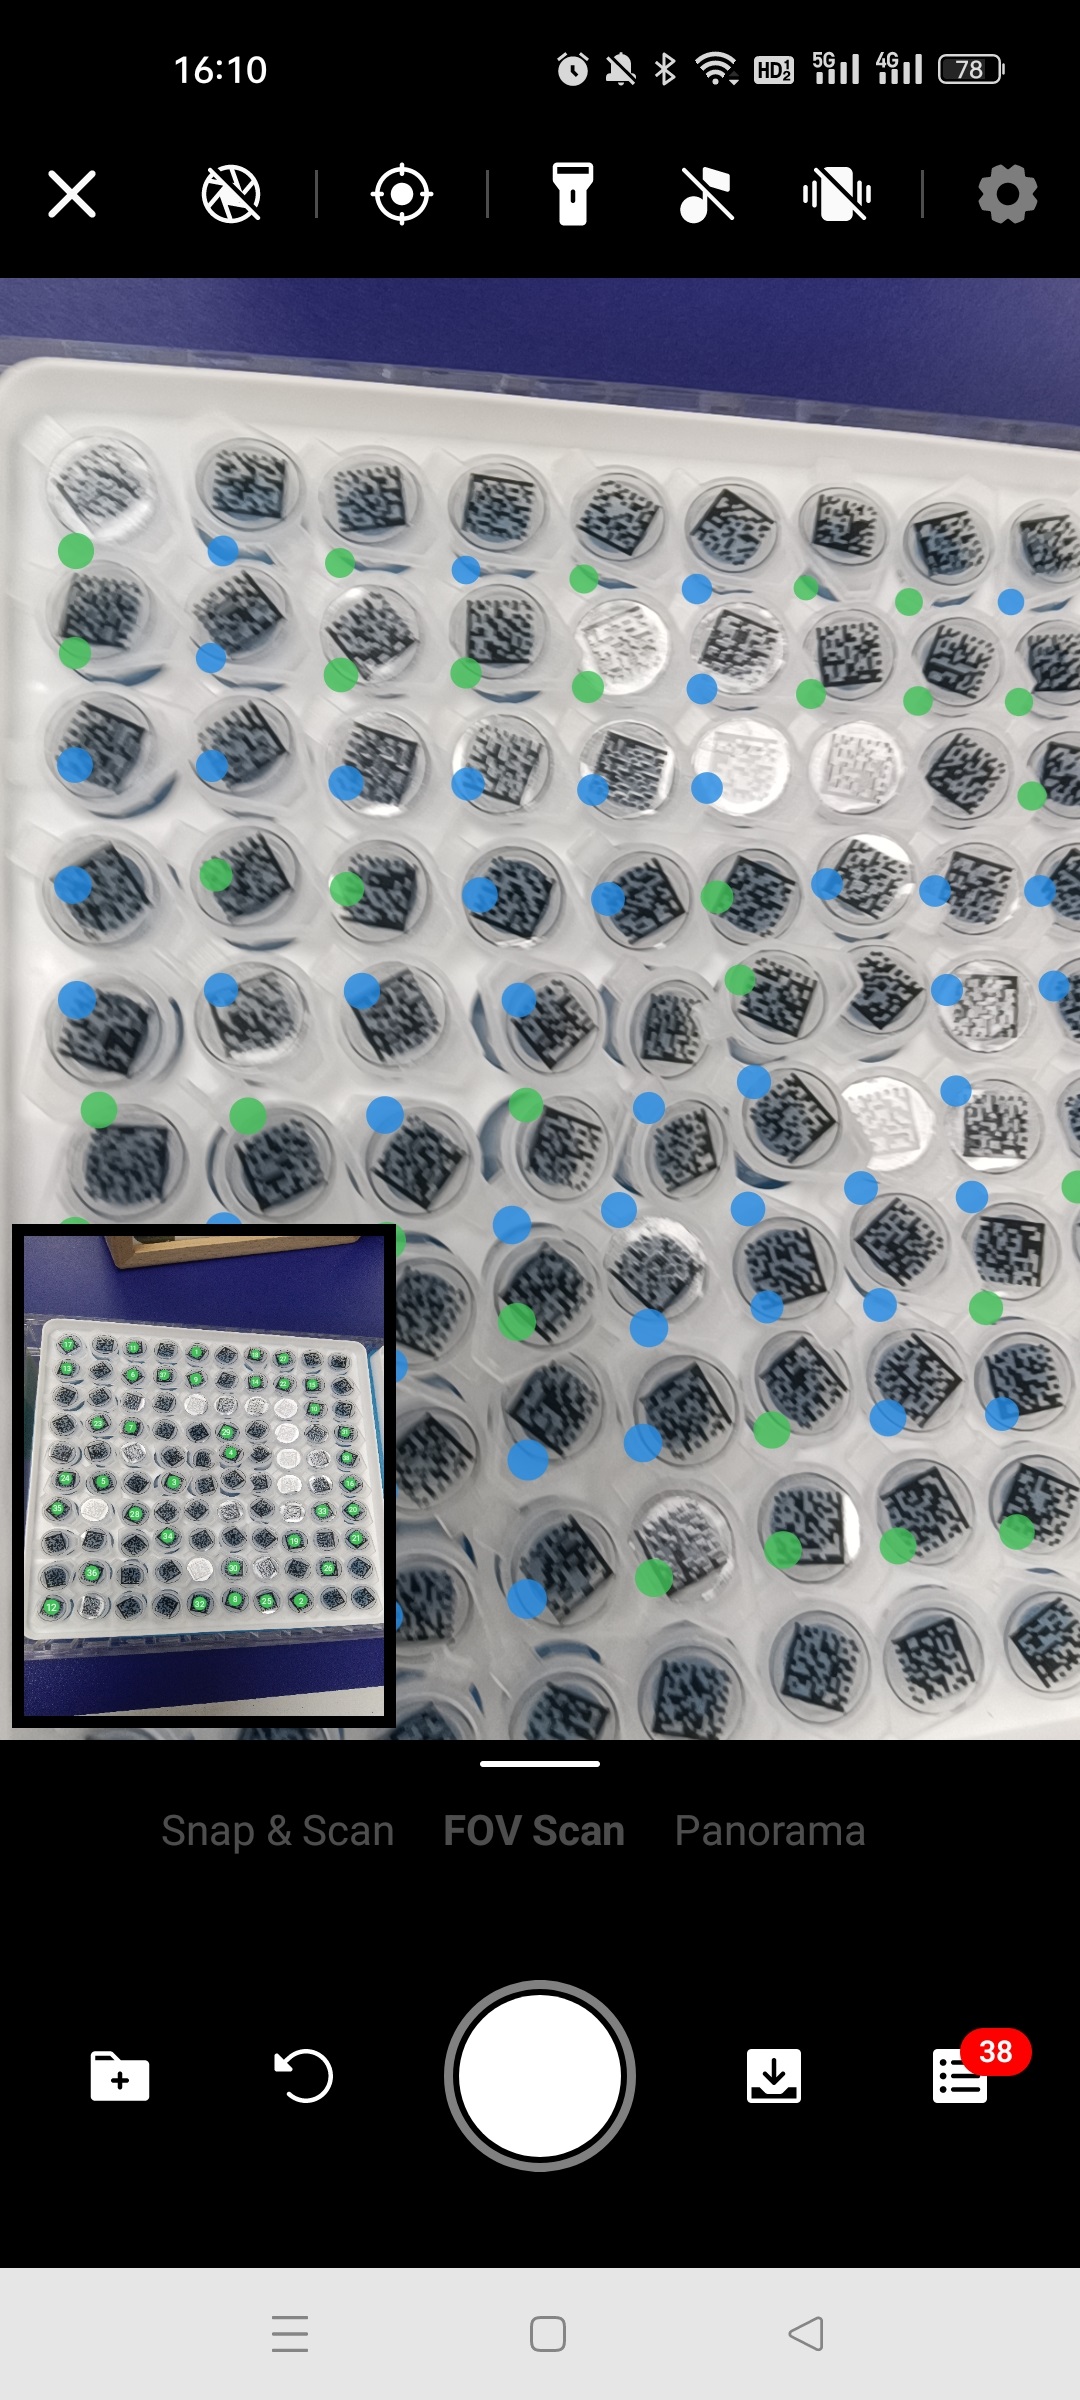
Barcodes will be highlighted in different colors:
- Already recognized: green.
- Newly recognized: light blue.
-
Press the shutter button again. The app will take another photo and try decoding. The recognized barcodes (from the photo as well as camera frames) will be drawn on this last captured photo.
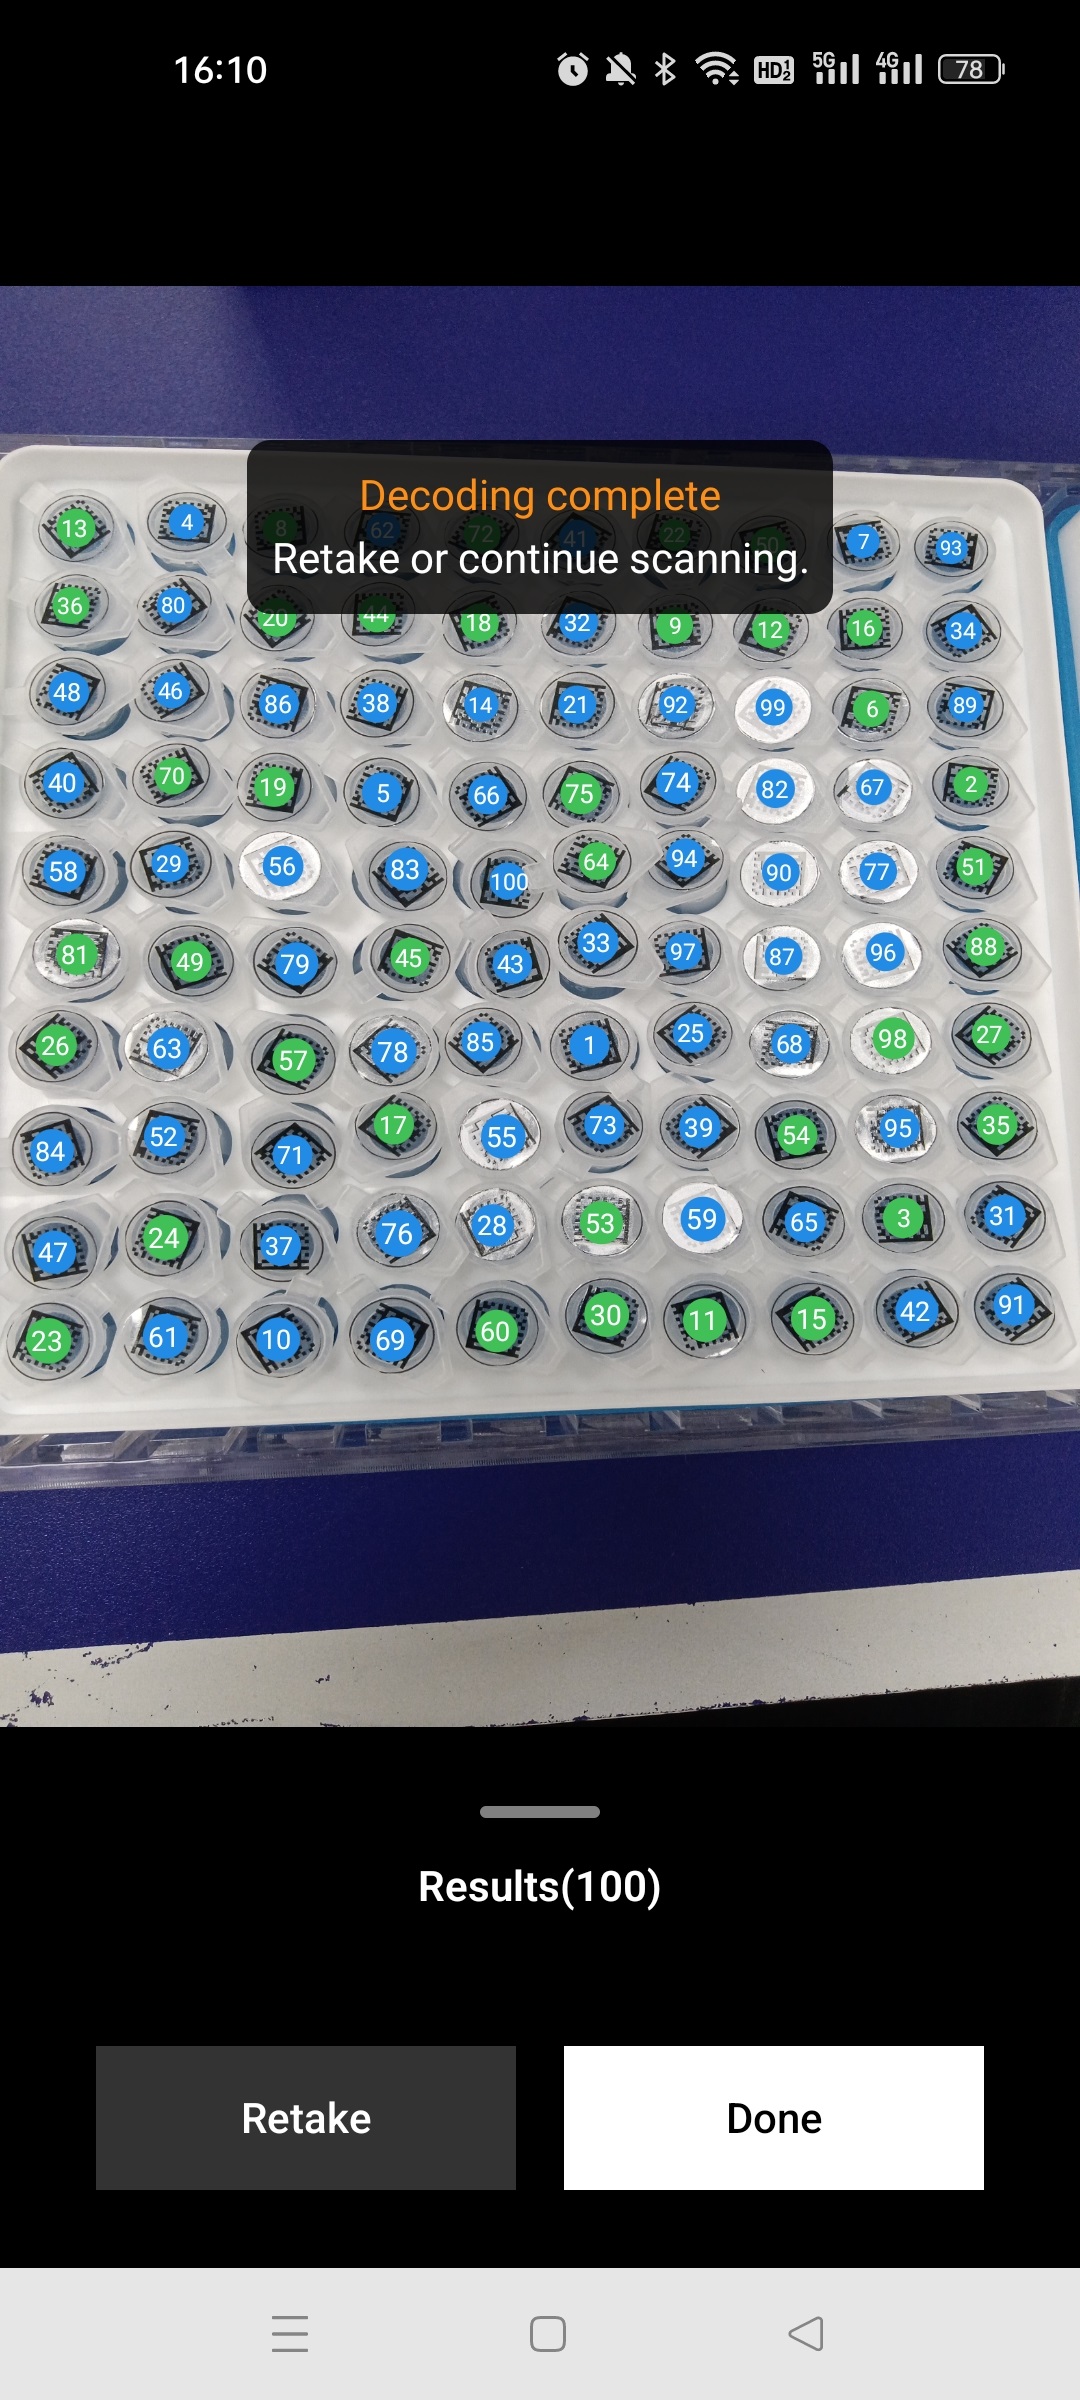
-
Press “Done” to enter the result viewing page. You can view the whole image with recognized barcodes, edit, verify and save the result.
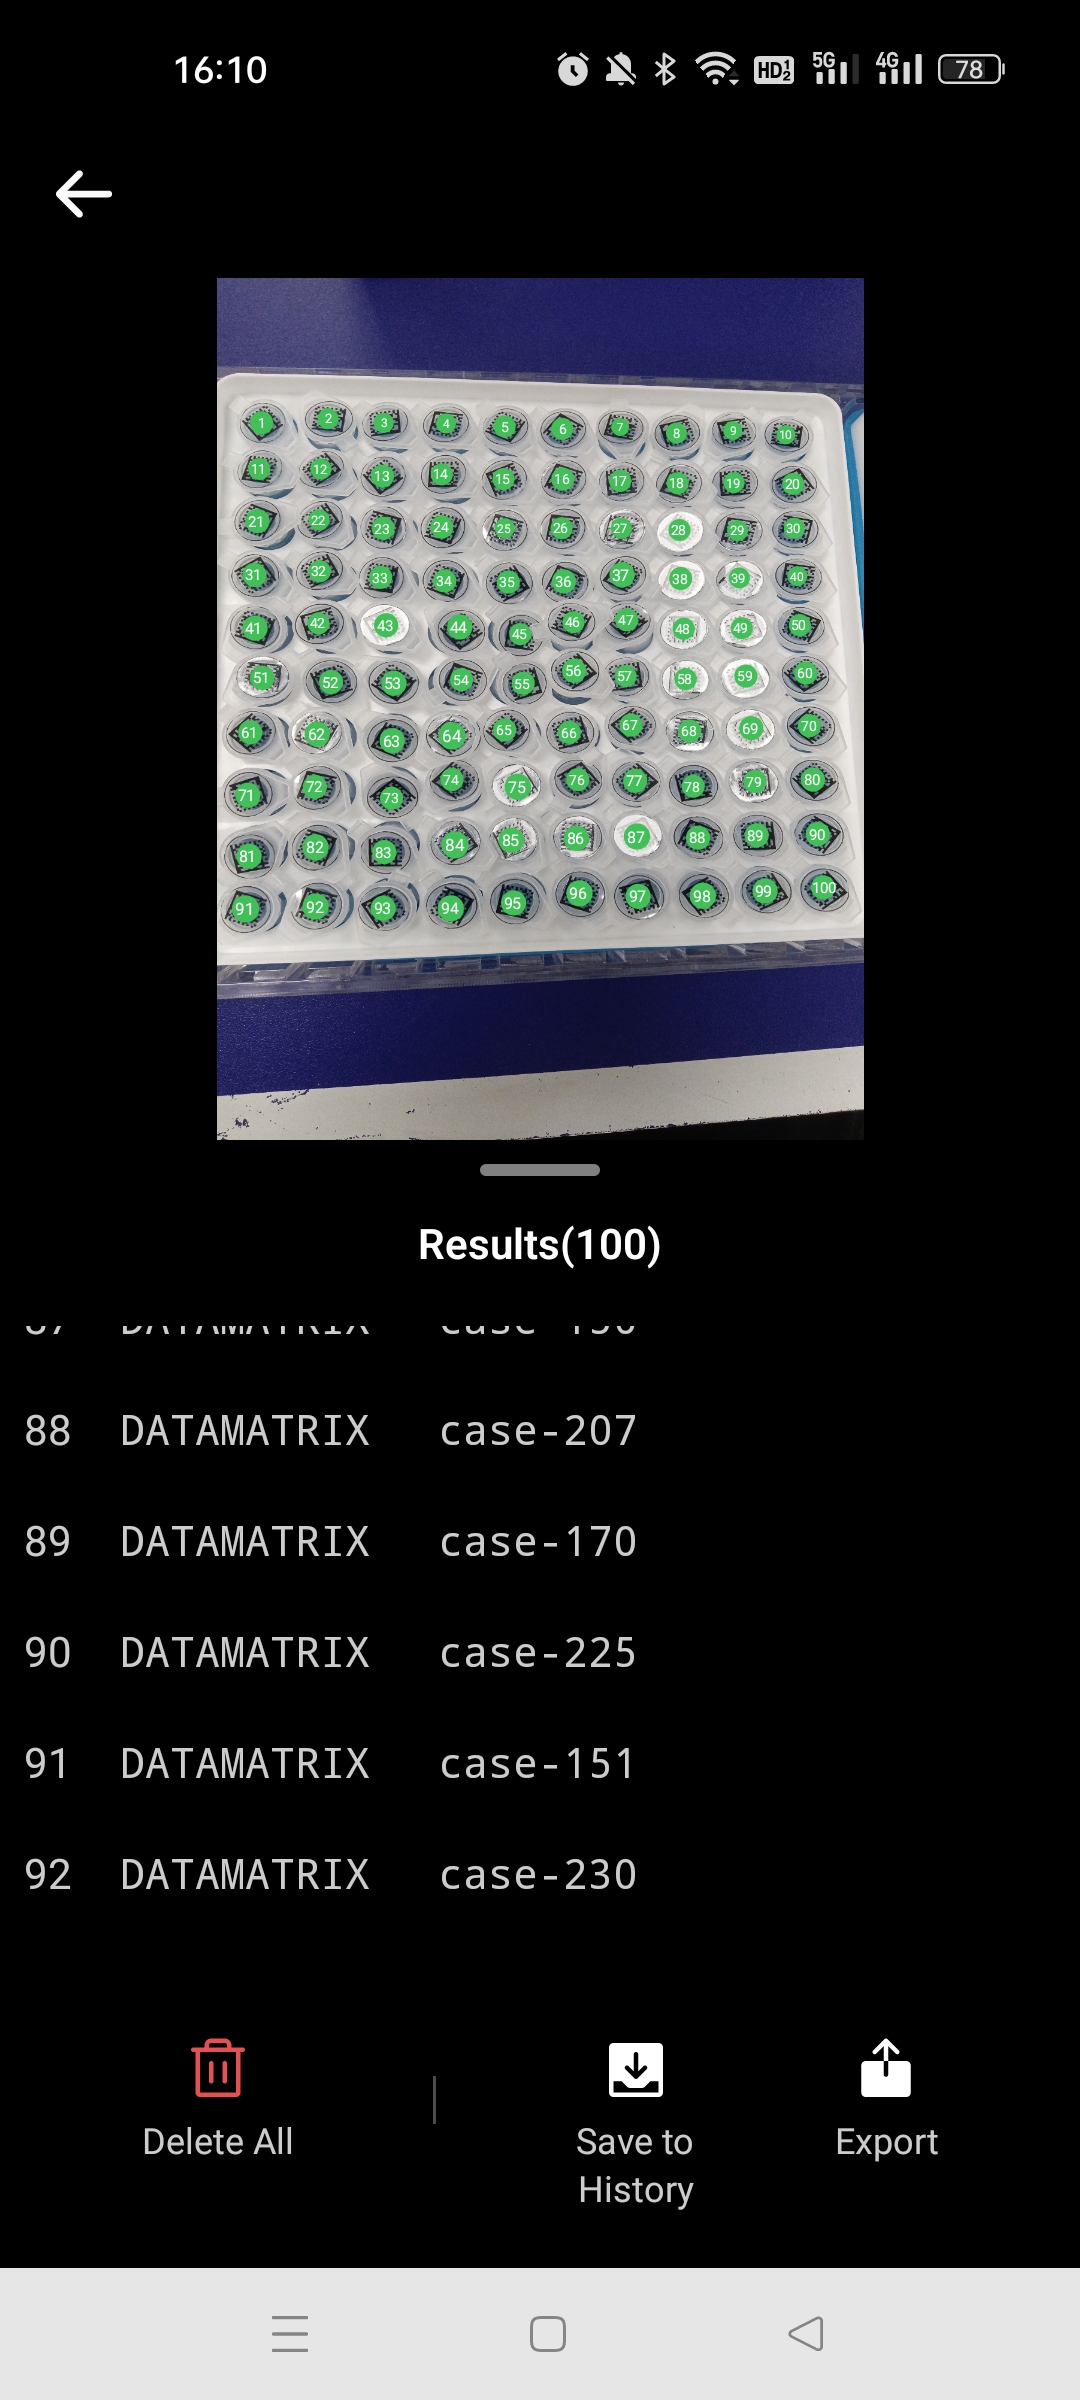
There are many export options:
- Save to local folder
- Save to OneDrive
- Share to third-party apps
It saves the whole image and a CSV of barcode results.
The export feature requires login.
Icon Reference
| Icon | Description |
|---|---|
 |
Auto capture at fixed interval. |
 |
Set barcodes in the watchlist. |
 |
Toggle flashlight. |
 |
Beep after successful scanning. |
 |
Vibrate after successful scanning. |
 |
Go to settings page. |
 |
Import images and barcodes. |
 |
Start a new scanning. |
 |
Capture a photo for decoding. |
 |
Save the scanning result. |
 |
Go to the result page. |
More Scanning Modes
Continue reading to learn other advanced scanning modes: Three Scanning Modes.
 Yes
Yes No
No