


How to Build a React Native Document Scanner with Auto-Detection, Crop, and Export
Turning a phone camera into a reliable document scanner requires accurate edge detection, perspective correction, and clean image output — all in real time. The Dynamsoft Capture Vision React Native SDK handles the heavy lifting, letting you ship a cross-platform document scanner for Android and iOS without writing any native code yourself.
What you’ll build: A React Native app that auto-detects document edges from the live camera feed, lets users fine-tune the crop with draggable corner handles, apply color modes (full color, grayscale, binary), and export the result as a high-quality PNG.
Demo Video: React Native Document Scanner in Action
Key Takeaways
- This tutorial demonstrates how to build a complete document scanning workflow — detect, crop, process, and export — in a single React Native app.
- The
dynamsoft-capture-vision-react-nativeSDK (v3.4.1000) provides camera control, real-time document boundary detection, perspective deskew, and image post-processing through a unified API. - Multi-frame cross-verification filters out false positives, ensuring only stable, high-confidence document detections trigger capture.
- This approach applies to receipt digitization, ID card capture, form processing, and any mobile workflow that replaces flatbed scanning.
Common Developer Questions
How do I detect and crop a document from the camera in React Native?
Set CameraEnhancer as the CaptureVisionRouter input, add MultiFrameResultCrossFilter cross-verification, and start PT_DETECT_AND_NORMALIZE_DOCUMENT. Trigger navigation only when cross-verification passes or the user requests manual capture.
How do I add grayscale and black-and-white modes to a mobile document scanner?
Open an editor screen with ImageEditorView, then switch color mode by assigning the deskewed image directly or converting it with convertToGray() and convertToBinaryLocal(). That keeps the crop workflow separate from post-processing while still letting users preview each mode before export.
How do I save a captured document as a PNG file on Android and iOS?
Save the current processed image with ImageIO.saveToFile() and choose TemporaryDirectoryPath on iOS or ExternalCachesDirectoryPath on Android. The same export step works after crop adjustment, grayscale conversion, or binary conversion.
Prerequisites
Before starting, make sure you have:
- Node.js 18+ and npm
- React Native CLI (not Expo) with React Native 0.79+
- Android Studio with an emulator or physical device (Android)
- Xcode 15+ with CocoaPods (iOS)
- A Dynamsoft Capture Vision trial or full license key
Get a 30-day free trial license at dynamsoft.com/customer/license/trialLicense
Step 1: Create the React Native Project and Install Dependencies
Start by creating a new React Native project (or use an existing one) and installing the required packages:
npx @react-native-community/cli init ScanDocument
cd ScanDocument
npm install dynamsoft-capture-vision-react-native @react-navigation/native @react-navigation/native-stack react-native-safe-area-context react-native-screens react-native-fs
For iOS, install the native pods:
cd ios && pod install && cd ..
The key dependency is dynamsoft-capture-vision-react-native (v3.4.1000), which bundles the camera enhancer, capture vision router, and document normalizer into a single React Native package.
Step 2: Initialize the License and Configure Navigation
The app entry point registers the root component in index.js:
import {AppRegistry} from 'react-native';
import App from './src/App';
import {name as appName} from './app.json';

AppRegistry.registerComponent(appName, () => App);
In App.tsx, set up a stack navigator with four screens and initialize the Dynamsoft license when the home screen mounts:
import {Quadrilateral, ImageData, LicenseManager} from 'dynamsoft-capture-vision-react-native';
import {createNativeStackNavigator, NativeStackScreenProps} from '@react-navigation/native-stack';
import {NavigationContainer} from '@react-navigation/native';

export type ScreenNames = ['Home', 'Scanner', 'Editor', 'NormalizedImage'];
export type RootStackParamList = Record<ScreenNames[number], undefined>;
export type StackNavigation = NativeStackScreenProps<RootStackParamList>;

const Stack = createNativeStackNavigator<RootStackParamList>();

function App(): React.JSX.Element {
  return (
    <SafeAreaProvider>
      <NavigationContainer>
        <Stack.Navigator initialRouteName="Home">
          <Stack.Screen name="Home" component={HomeScreen} options={{headerShown: false}} />
          <Stack.Screen name="Scanner" component={Scanner} options={{headerShown: false}} />
          <Stack.Screen name="Editor" component={Editor}
            options={{title: 'Adjust & Crop', headerStyle: {backgroundColor: '#2563EB'}, headerTintColor: '#fff'}} />
          <Stack.Screen name="NormalizedImage" component={NormalizedImage}
            options={{title: 'Review & Export', headerStyle: {backgroundColor: '#2563EB'}, headerTintColor: '#fff'}} />
        </Stack.Navigator>
      </NavigationContainer>
    </SafeAreaProvider>
  );
}
License initialization happens inside the HomeScreen component. Replace the license string with your own key:
useEffect(() => {
  LicenseManager.initLicense('LICENSE-KEY')
    .then(() => setLicenseReady(true))
    .catch(e => {
      console.error('Init license failed: ' + e.message);
      setError('License initialization failed.\n' + e.message);
      setLicenseReady(true);
    });
}, []);
Step 3: Detect and Capture Documents from the Camera Feed
The Scanner screen opens the camera, runs real-time document detection, and auto-captures when a stable document boundary is confirmed. The SDK’s CameraEnhancer, CaptureVisionRouter, and MultiFrameResultCrossFilter work together:
import {
  CameraEnhancer,
  CameraView,
  CaptureVisionRouter,
  EnumCapturedResultItemType,
  EnumCrossVerificationStatus,
  EnumPresetTemplate,
  MultiFrameResultCrossFilter,
} from 'dynamsoft-capture-vision-react-native';
Open the camera when the screen is focused and close it when it loses focus:
const cameraRef = useRef<CameraEnhancer>(CameraEnhancer.getInstance());
const cvrRef = useRef<CaptureVisionRouter>(CaptureVisionRouter.getInstance());

useFocusEffect(
  React.useCallback(() => {
    const camera = cameraRef.current;
    camera.open();
    return () => {
      camera.close();
    };
  }, []),
);
Wire the camera to the capture vision router and enable cross-frame verification to filter out false positives:
if (!sdkInitialized) {
  cvr.setInput(camera);
  const filter = new MultiFrameResultCrossFilter();
  filter.enableResultCrossVerification(EnumCapturedResultItemType.CRIT_DESKEWED_IMAGE, true);
  cvr.addFilter(filter);
  sdkInitialized = true;
}
Register a result receiver that fires when a deskewed document image is ready. The capture triggers either through cross-verification passing or a manual shutter tap:
receiverRef.current = cvr.addResultReceiver({
  onProcessedDocumentResultReceived: result => {
    if (
      result.deskewedImageResultItems &&
      result.deskewedImageResultItems.length > 0 &&
      (ifBtnClick.current || result.deskewedImageResultItems[0].crossVerificationStatus === EnumCrossVerificationStatus.CVS_PASSED)
    ) {
      ifBtnClick.current = false;
      global.originalImage = cvr.getIntermediateResultManager().getOriginalImage(result.originalImageHashId) as ImageData;
      global.deskewedImage = result.deskewedImageResultItems[0].imageData;
      global.sourceDeskewQuad = result.deskewedImageResultItems[0].sourceDeskewQuad;
      if (global.originalImage.width > 0 && global.originalImage.height > 0) {
        navigation.navigate('NormalizedImage');
      }
    }
  },
});

cvr.startCapturing(EnumPresetTemplate.PT_DETECT_AND_NORMALIZE_DOCUMENT);
Start capturing with the built-in PT_DETECT_AND_NORMALIZE_DOCUMENT template — no custom template configuration needed.
Step 4: Fine-Tune the Document Crop with Draggable Corners
The Editor screen uses ImageEditorView to display the original image with a draggable quadrilateral overlay. Users drag the corner handles to fine-tune the document boundary before confirming:
import {
  EnumDrawingLayerId,
  ImageData,
  ImageEditorView,
  ImageProcessor,
} from 'dynamsoft-capture-vision-react-native';

export function Editor({navigation}: StackNavigation) {
  const editorView = useRef<ImageEditorView>(null);

  useEffect(() => {
    if (editorView.current) {
      editorView.current.setOriginalImage(global.originalImage);
      editorView.current.setQuads([global.sourceDeskewQuad], EnumDrawingLayerId.DDN_LAYER_ID);
    }
  }, []);
When the user confirms, extract the selected quad and re-deskew the image:
const getSelectedQuadAndDeskew = async (): Promise<ImageData | null | undefined> => {
  if (!editorView.current) {
    return null;
  }
  const quad = await editorView.current.getSelectedQuad().catch(e => {
    console.error('getSelectedQuad error: ' + e.message);
    return null;
  });
  if (quad) {
    global.sourceDeskewQuad = quad;
    return new ImageProcessor().cropAndDeskewImage(global.originalImage, quad);
  } else {
    Alert.alert('No selection', 'Please select a quad to confirm.');
    return null;
  }
};
The ImageProcessor.cropAndDeskewImage() method applies perspective correction based on the four-corner quadrilateral, producing a clean, rectangular document image.
Step 5: Apply Color Modes and Export the Document as PNG
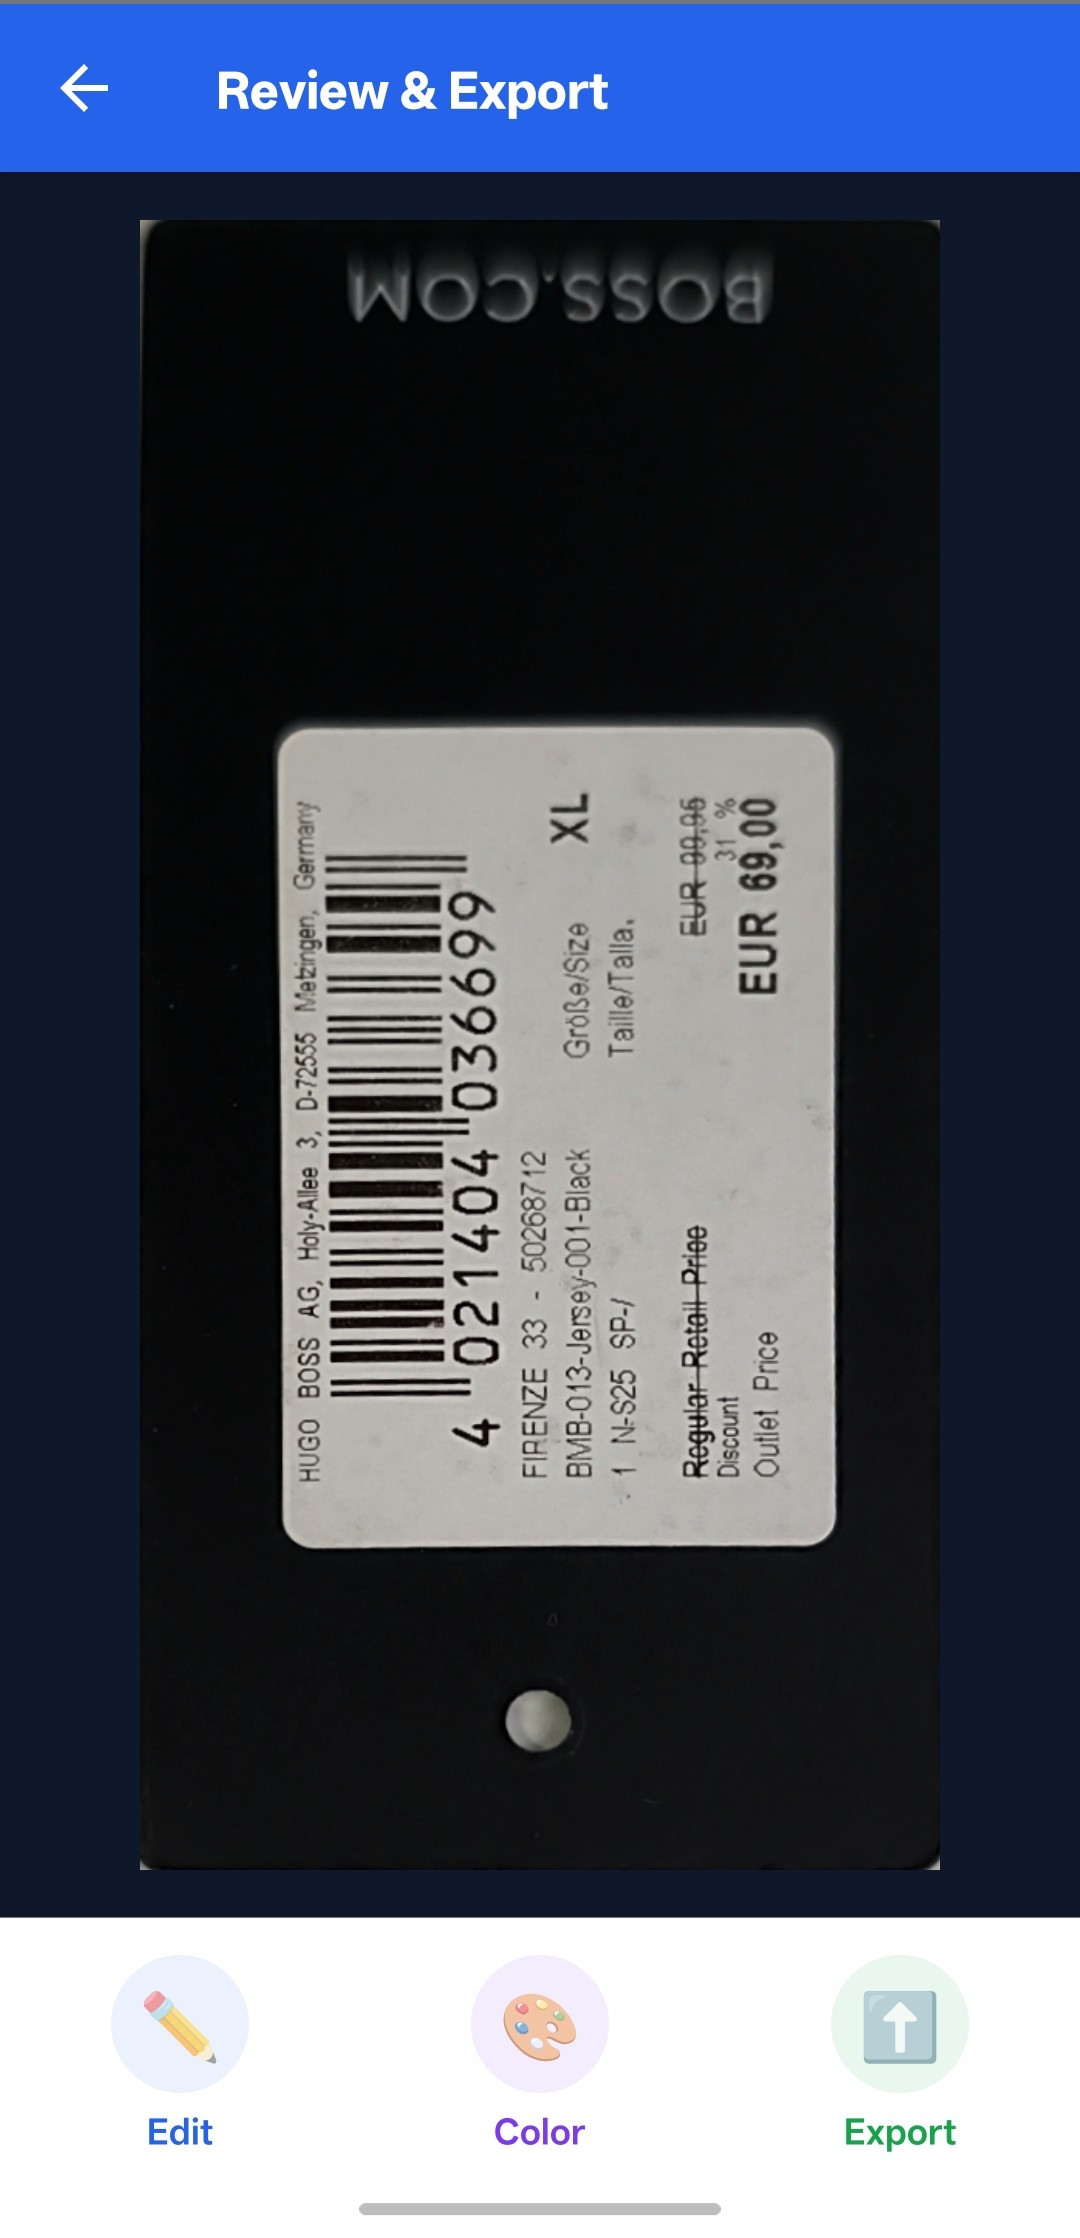
The NormalizedImage screen displays the deskewed result and provides three actions: edit (re-open the quad editor), change color mode, and export.
Convert between color, grayscale, and binary outputs using ImageProcessor:
import {
  ImageIO,
  ImageProcessor,
  imageDataToBase64,
} from 'dynamsoft-capture-vision-react-native';

const changeColorMode = (mode: string) => {
  if (global.showingImage && global.showingImage !== global.deskewedImage) {
    global.showingImage.release();
  }
  switch (mode) {
    case ColorMode.color:
      global.showingImage = global.deskewedImage;
      break;
    case ColorMode.grayscale:
      global.showingImage = new ImageProcessor().convertToGray(global.deskewedImage) ?? global.deskewedImage;
      break;
    case ColorMode.binary:
      global.showingImage =
        new ImageProcessor().convertToBinaryLocal(
          global.deskewedImage,
          /*blockSize = */ 0,
          /*compensation = */ 10,
          /*invert = */ false,
        ) ?? global.deskewedImage;
      break;
  }
  setBase64(imageDataToBase64(global.showingImage) ?? '');
};
Export the current image as a PNG using ImageIO.saveToFile(), writing to the platform-appropriate directory:
import {
  ExternalCachesDirectoryPath,
  TemporaryDirectoryPath,
} from 'react-native-fs';

const imageIO = new ImageIO();
const savedPath =
  (Platform.OS === 'ios'
    ? TemporaryDirectoryPath
    : ExternalCachesDirectoryPath) + `/document_${Date.now()}.png`;
imageIO.saveToFile(global.showingImage, savedPath, true);
Alert.alert('Saved ✓', 'Image saved to:\n' + savedPath);
Common Issues & Edge Cases
- License requires network access: The trial license validates online. The app will show a license error if the device has no internet connection at startup. Ensure
android.permission.INTERNETis in yourAndroidManifest.xml(it is by default). - Camera permission denied: The SDK calls
CameraEnhancer.requestCameraPermission()at runtime, but if the user denies it, the scanner screen shows an error overlay. Handle this gracefully by checking permission state before navigating to the scanner. - Memory management for image data: The code explicitly calls
.release()onImageDataobjects (showingImage,deskewedImage,originalImage) when they are no longer needed. Skipping this can cause native memory leaks, especially when repeatedly scanning documents.
Conclusion
This tutorial built a complete document scanning app in React Native using the Dynamsoft Capture Vision SDK — from live camera detection through interactive cropping to color processing and PNG export. The same codebase runs on both Android and iOS. For more SDK capabilities like barcode reading and MRZ recognition, see the Dynamsoft Capture Vision documentation.