


How to Build a Document Scanning Dataset for Edge Detection and Deep Learning
Handheld camera devices play a big part in the document scanning process as they are more portable, powerful and affordable. However, different from using a document scanner, using a camera imposes challenges like complex backgrounds, variations in light, and perspective distortions. Thus, it is necessary to use a document scanning algorithm to detect the document boundaries and crop the document images.
What you’ll build: A curated document scanning image dataset — combining real-world photos and synthetically blended images — using Python, OpenCV, and Dynamsoft Document Normalizer to auto-annotate document boundaries.
Key Takeaways
- Building a quality document scanning dataset requires both real-scene photos and synthetically augmented images to cover diverse backgrounds, lighting, and document types.
- OpenCV’s
bitwise_and,addWeighted, andseamlessClonemethods enable realistic background blending without manual pixel editing. - Dynamsoft Document Normalizer accelerates annotation by automatically detecting document quadrilaterals, which can then be verified manually.
- A synthetic dataset built with this approach can benchmark or train deep learning edge-detection models against real-world camera conditions.
Common Developer Questions
How do I create a custom document scanning dataset with Python and OpenCV?
Start by collecting real photos of documents under varied lighting, backgrounds, and document types, then store the detected document quadrilateral for each image as ground truth. This article expands the dataset further by blending documents with new backgrounds so the model sees more realistic capture conditions.
What is the best annotation format for document boundary quadrilaterals in edge detection models?
The format used here is a single line containing four corner points in order: x1,y1 x2,y2 x3,y3 x4,y4. It is compact, easy to generate automatically, and matches the four-point output expected by most document-detection and perspective-correction pipelines.
How do I synthesize realistic training images by blending documents onto different backgrounds?
Use OpenCV to combine a document image, its mask, and a target background with operations such as bitwise_and, addWeighted, or seamlessClone. That preserves document content while varying scene context, which is useful for training and benchmarking against more realistic camera captures.
To test the performance of the algorithm or train a deep learning model, it is necessary to build a document scanning dataset. There are some existing datasets:
-
SmartDoc 2015 – Challenge 1. The dataset contains camera frames in 1920x1080 and the corresponding mask images.
-
MIDV-500. This is a dataset of 50 types of ID documents.
The two datasets have some limitations. They lack richness in document contents and backgrounds. Some photos are too distorted and not suitable for capturing a high-quality document image.
A document scanning process via cameras can be defined in the following steps:
- detect the document boundaries in the camera preview.
- assess the quality of the capture conditions and help the user improve them.
- take a photo when the capture conditions are good.
- produce a document image cropped from the photo using methods like perspective transformation.
In this article, we are going to build a document scanning dataset which contains various photos taken in good conditions (step 3) on different backgrounds. It can be used to examine the performance of the document scanning algorithm in real scenarios.
Prerequisites
- Python 3.x with OpenCV (
pip install opencv-python) and NumPy installed - A camera or smartphone for capturing real-scene photos
- Get a 30-day free trial license for Dynamsoft Document Normalizer to auto-detect and annotate document boundaries
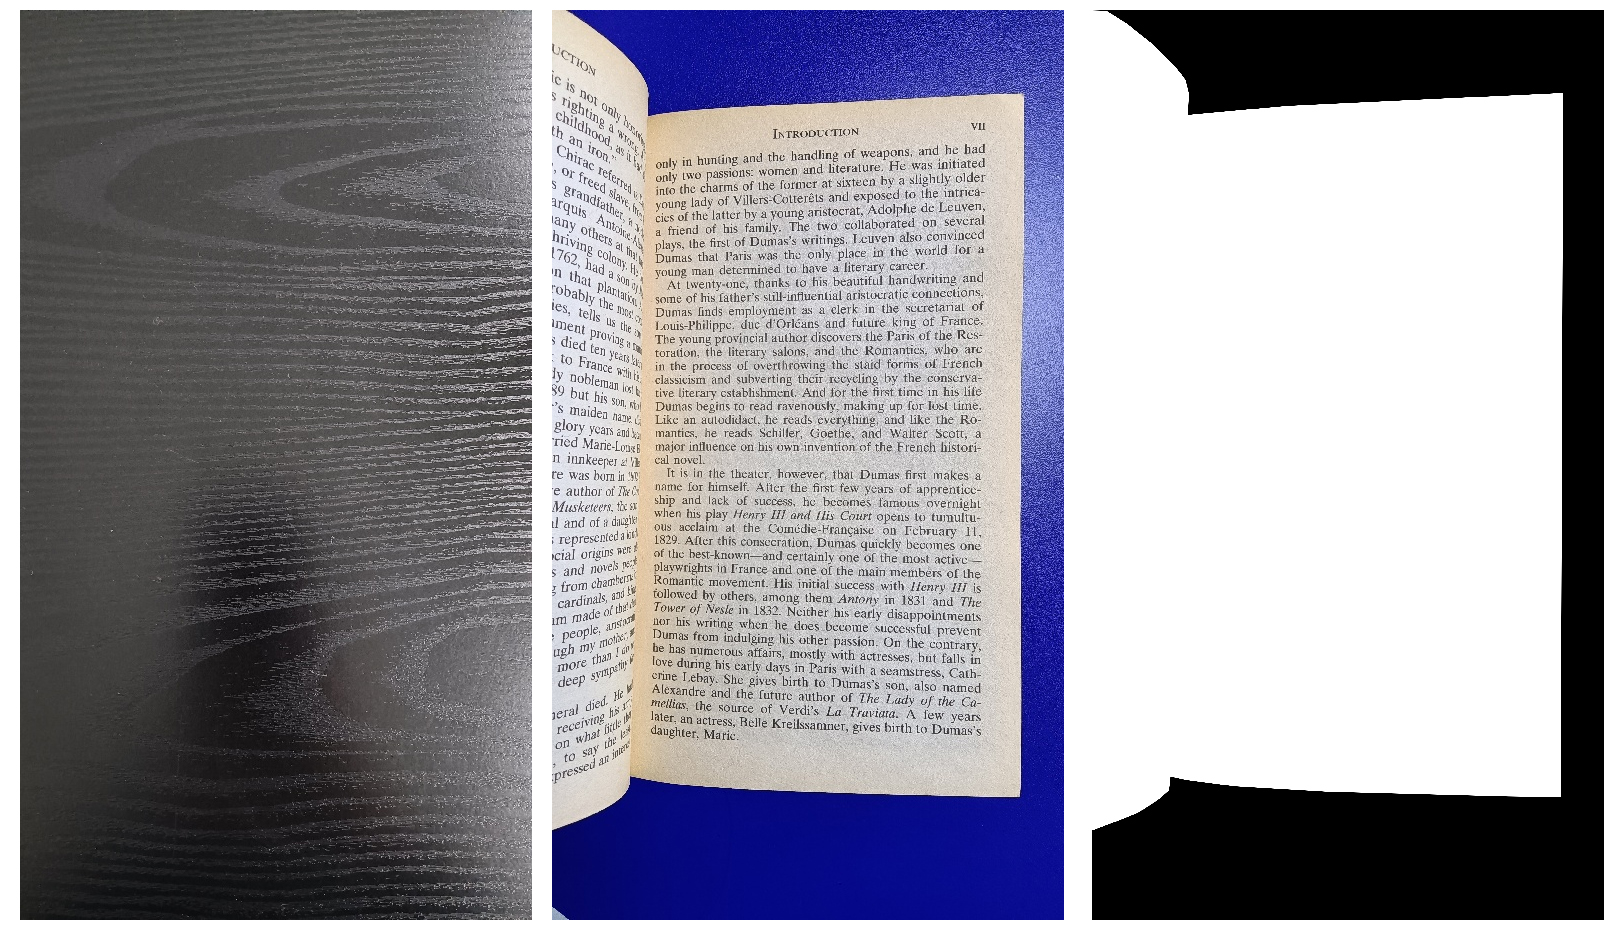
Step 1: Capture Photos in Real Scenes
First, we can take photos in real scenes. There are several factors to consider:
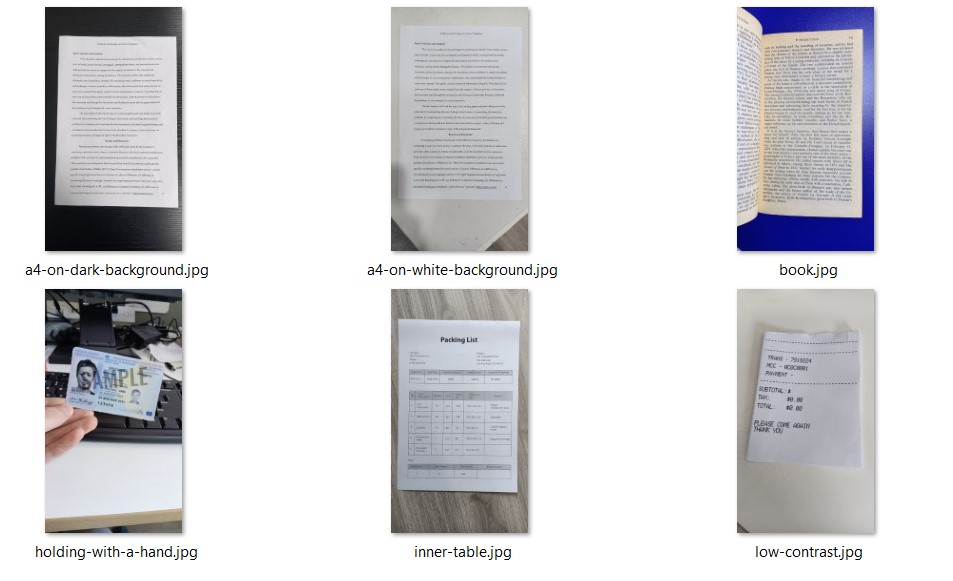
- Document type (A4 paper, ID cards, receipts, etc)
- Document content (whether it contains inner tables and graphics)
- Background (simple or complex, whether has a contrasting color)
Sample documents taken:
Step 2: Save Document Boundary Annotations
Save the quadrilateral of the document in the following annotaion format:
x1,y1 x2,y2 x3,y3 x4,y4
We can use Dynamsoft Document Normalizer to detect the documents first and then verify the results manually.
Step 3: Synthesize Images to Enhance the Dataset
To enrich the dataset, we can synthesize images by blending different document images and background images.
-
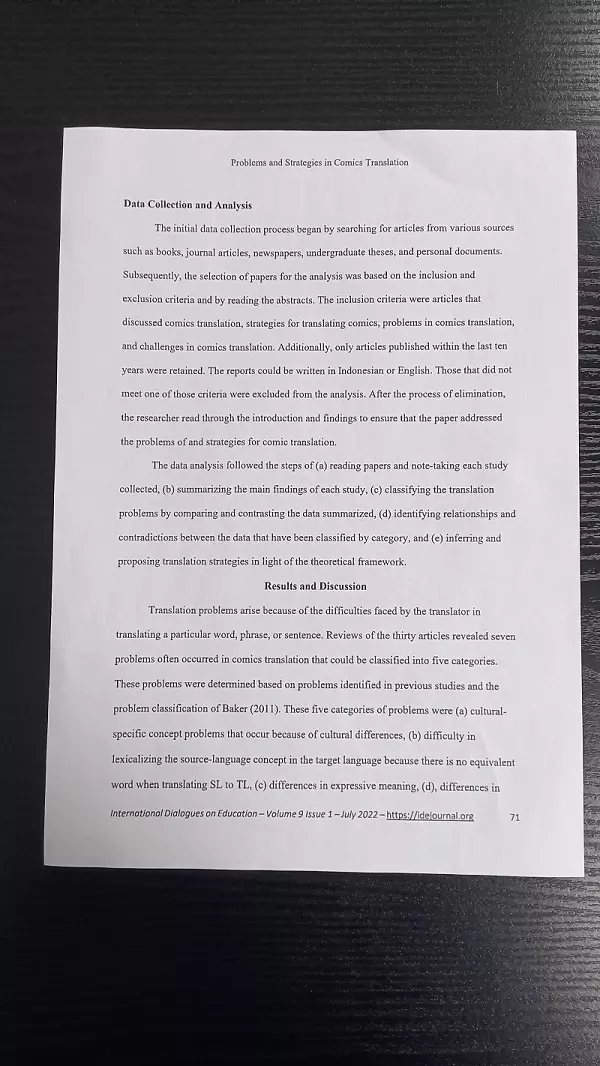
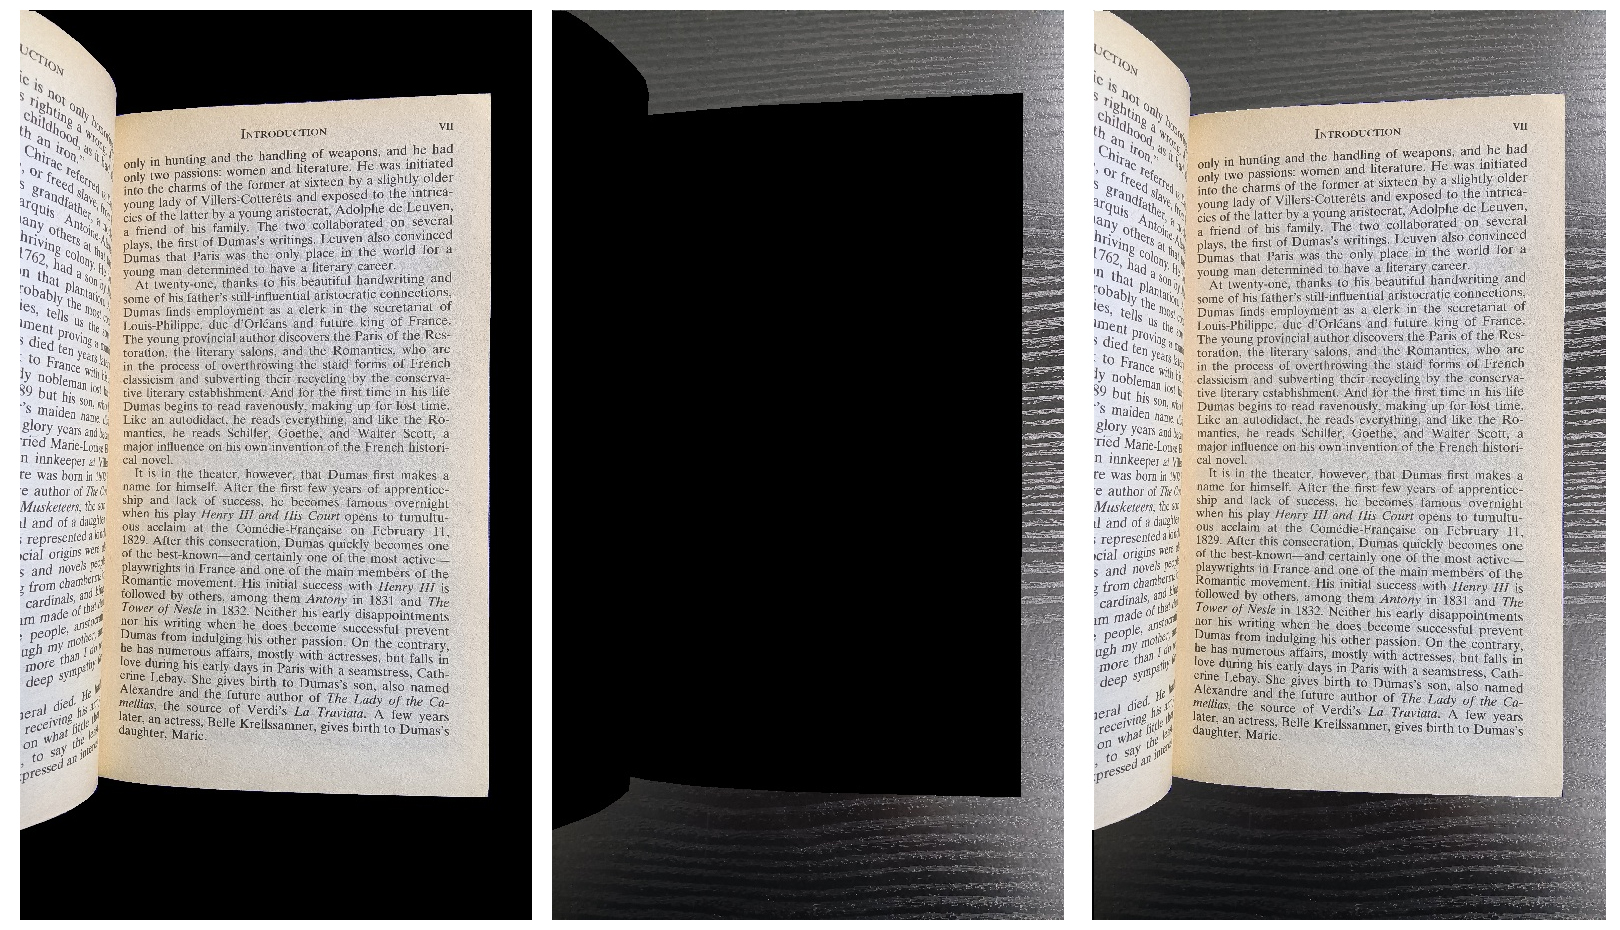
Use a document taken in a real scene.
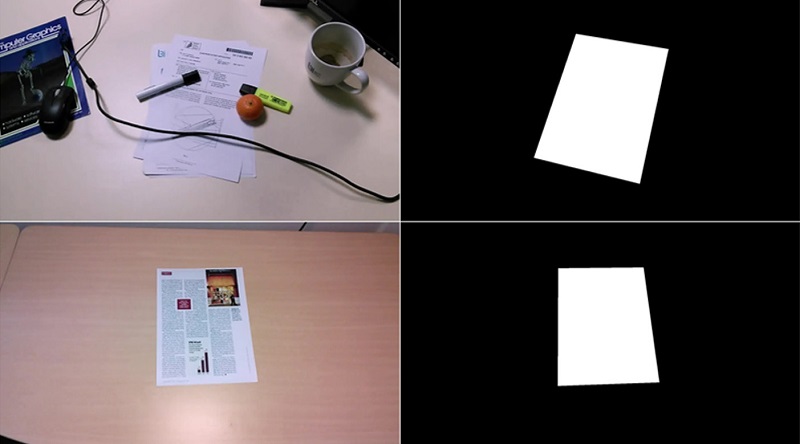
We have a background image, a document image and the mask image of the document.
To blend the document image and a background image, create masked images using OpenCV’s
bitwise_andmethod and join the two images using OpenCV’saddWeightedmethod.Code:
#read the images
src1 = cv2.imread(src_path)
src2 = cv2.imread(src2_path)

#resize to make the dimensions of the two images match
height, width, channels = src1.shape
dim = (width, height)
src2 = cv2.resize(src2, (width,height), interpolation = cv2.INTER_NEAREST)

#read the mask image
mask = cv2.imread(src_mask_path,cv2.IMREAD_GRAYSCALE)
mask_inverted = cv2.bitwise_not(mask)

#generate masked images
src1_masked = cv2.bitwise_and(src1, src1, mask=mask)
src2_masked = cv2.bitwise_and(src2, src2, mask=mask_inverted)

#produce the blended image
dst = cv2.addWeighted(src1_masked, 1.0, src2_masked, 1.0, 0.0)
Sample masked images and the blended image:
-
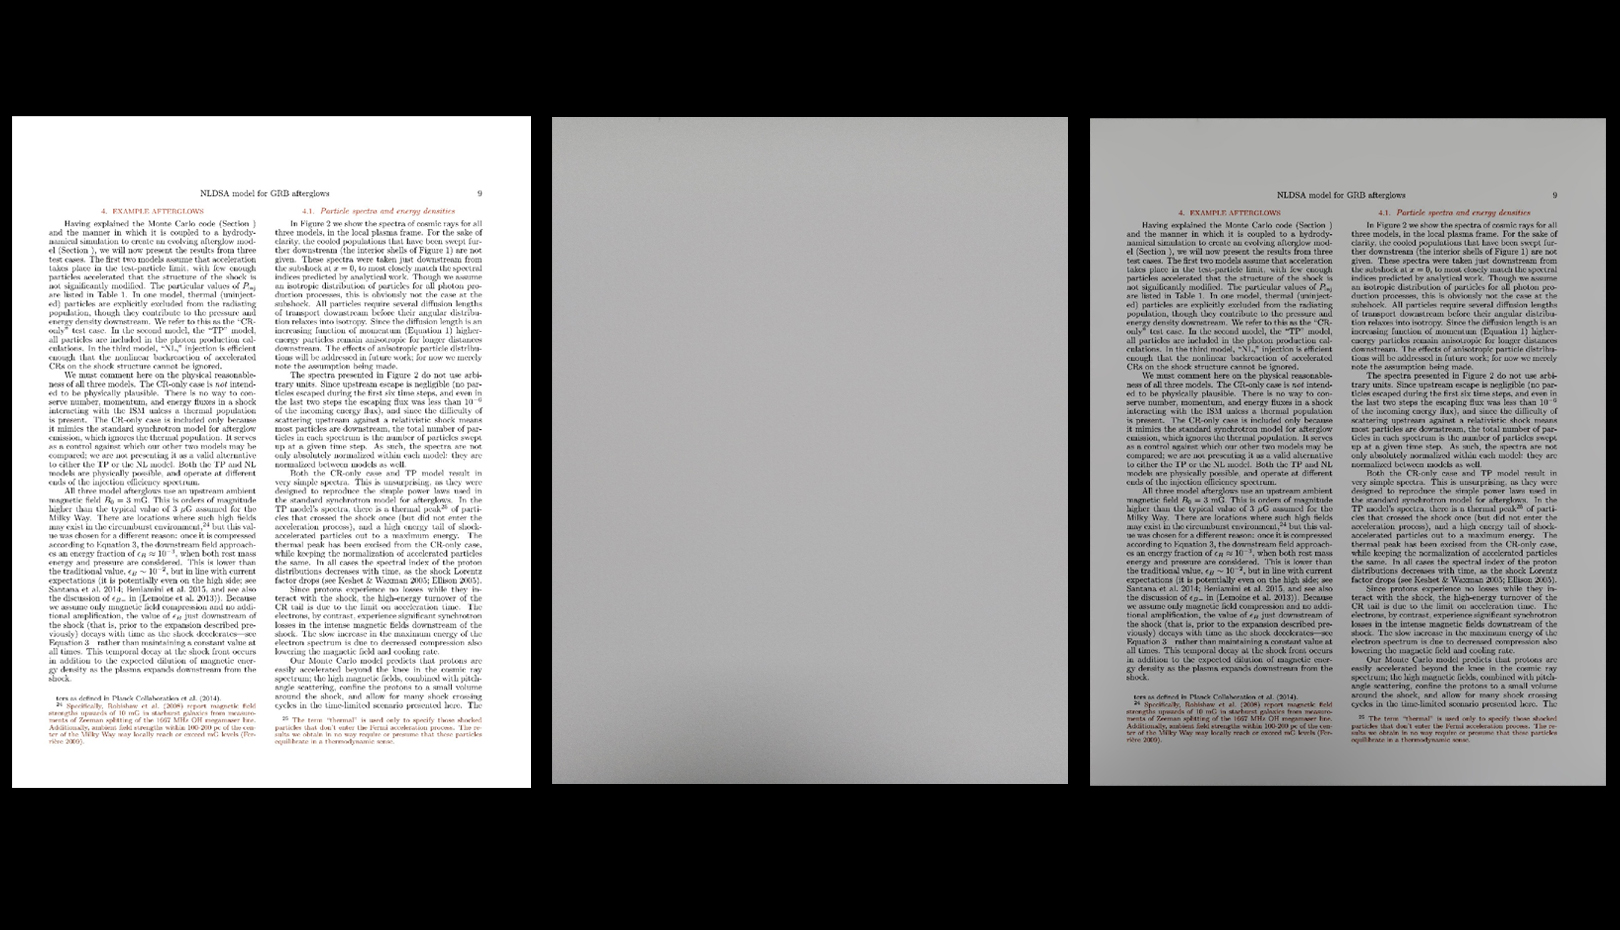
Use a document in a dataset.
There are many document datasets, like DocBank. They may only contain clean document images without any background. But we can still use them to enrich the dataset.
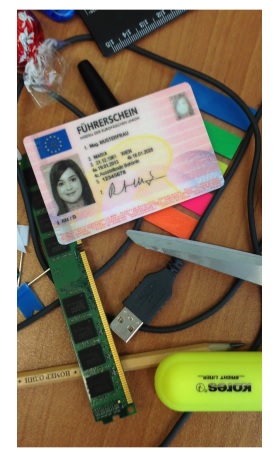
-
Make the document image look like being taken in a real scene using OpenCV’s
seamlessClonemethod and a background image. The method is using the Poisson Image Editing.Sample images (the doc, the background and the result):
Code:
#read the images src1 = cv2.imread(src_path) src2 = cv2.imread(src2_path) #resize to make the dimensions of the two images match height, width, channels = src1.shape dim = (width, height) src2 = cv2.resize(src2, dim, interpolation = cv2.INTER_NEAREST) # Create an all white mask mask = 255 * np.ones(src1.shape, src1.dtype) # The location of the center of the src in the dst center = (width // 2, height // 2) # Seamlessly clone src into dst and put the results in output normal_clone = cv2.seamlessClone(src1, src2, mask, center, cv2.NORMAL_CLONE) -
Rotate the image with a random degree and add padding to make it match the background image.
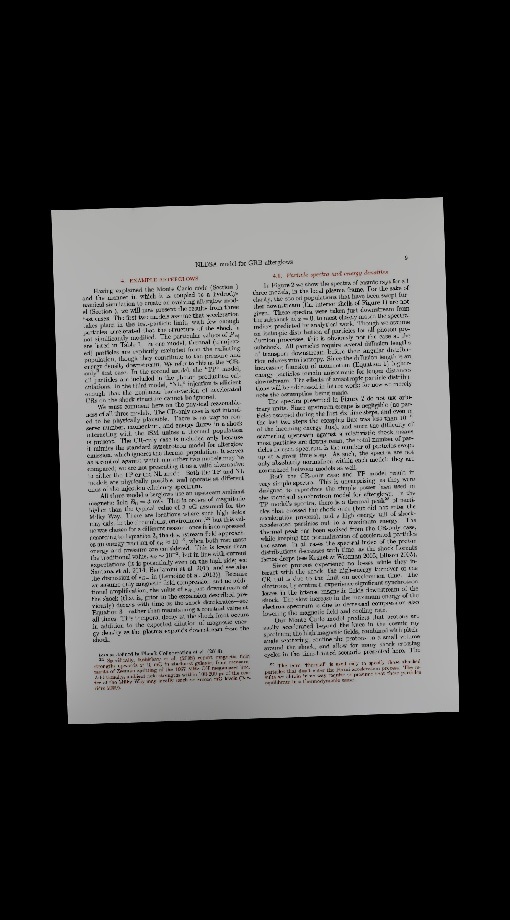
-
Do similar steps in the previous document image type to blend the two images together.
-
Common Issues & Edge Cases
- Misaligned quadrilateral annotations: Auto-detection via Dynamsoft Document Normalizer may produce slightly inaccurate boundary points on low-contrast documents or those with complex inner graphics. Always manually verify annotations after auto-detection.
- Seamless clone artifacts on small documents:
cv2.seamlessClonecan produce color bleeding when the source document is significantly smaller than the destination background. Pad the document to at least 40% of the background dimensions before cloning to reduce artifacts. - Background-document color similarity: If the document and background share similar tones,
bitwise_andmasking may lose edge detail at the document boundary. Use a contrasting background for real-scene captures and prefer high-contrast synthetic backgrounds to improve edge detection accuracy.
Source Code
Get the source code of the generator to have a try: Get the complete sample project source code on GitHub