


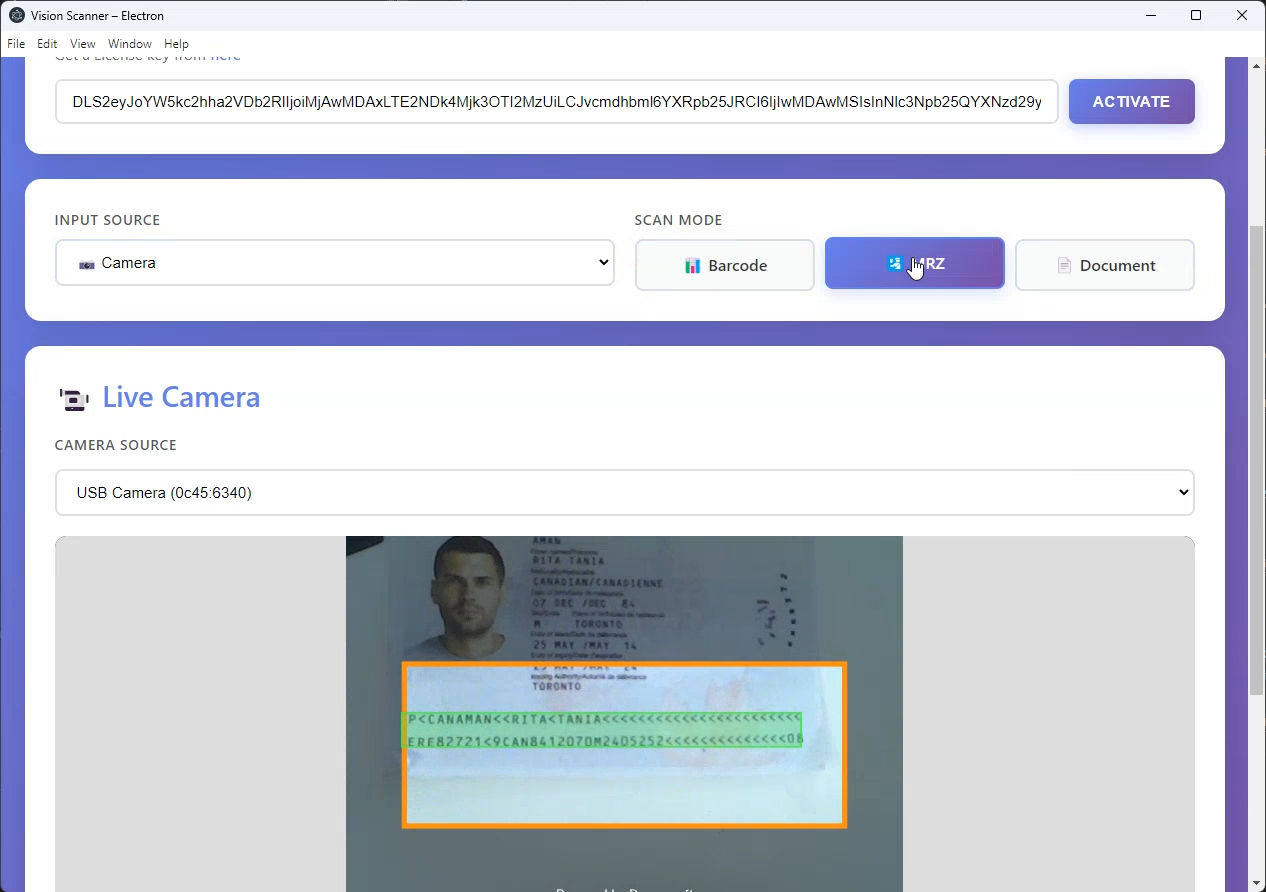
How to Build a Desktop Barcode, MRZ & Document Scanner with Electron and JavaScript
Web-based vision SDKs are an excellent fit for Electron: they run entirely in a Chromium renderer process, require no native add-ons, and can be distributed as a self-contained desktop application for Windows, macOS, and Linux. The Dynamsoft Capture Vision (DCV) SDK uses WebAssembly under the hood, which makes it a perfect candidate for Electron’s sandbox renderer.
This tutorial walks you through wrapping the Dynamsoft barcode, MRZ, and document-scanning capabilities in a production-ready Electron shell. You will learn how the Electron process model works, how to grant camera access, how to relax Content-Security-Policy headers for CDN assets, and how to package the app with electron-builder.
Demo Video: Electron Barcode, MRZ and Document Detection
Prerequisites
- Node.js 18+ and npm 9+
- A free Dynamsoft trial license key
Understanding the Electron Process Model
Electron splits your application into two types of processes:
| Process | Role | Access |
|---|---|---|
| Main process | Node.js; manages windows, OS APIs, permissions | Full Node.js + Electron APIs |
| Renderer process | Chromium; one per BrowserWindow; renders HTML/JS |
Web APIs only (unless explicitly bridged) |
The Dynamsoft SDK runs entirely inside the renderer. The main process is responsible for:
- Creating the window with the correct
webPreferences - Granting
getUserMedia(camera) permission - Modifying response headers to relax the default CSP
Project Structure
electron/
├── main.js          # Electron main process
├── preload.js       # Context bridge – runs before renderer
├── package.json
└── src/
    ├── index.html   # Renderer HTML
    ├── renderer.js  # All scanning / SDK logic
    ├── utils.js     # MRZ helper
    ├── styles.css
    └── full.json    # DCV MRZ capture template
Main Process: BrowserWindow and Permissions
main.js is the entry point of the Electron application (referenced by "main" in package.json). Creating a BrowserWindow with contextIsolation: true and nodeIntegration: false keeps the renderer sandboxed:
// main.js
const { app, BrowserWindow, session } = require('electron');
const path = require('path');

function createWindow() {
  const win = new BrowserWindow({
    width: 1280,
    height: 900,
    webPreferences: {
      preload: path.join(__dirname, 'preload.js'),
      nodeIntegration: false,   // best-practice: never expose Node in renderer
      contextIsolation: true,   // required for contextBridge
      webSecurity: true,
    },
  });

  // Grant camera and microphone for Dynamsoft Camera Enhancer
  session.defaultSession.setPermissionRequestHandler(
    (webContents, permission, callback) => {
      callback(['media', 'camera', 'microphone'].includes(permission));
    }
  );

  win.loadFile(path.join(__dirname, 'src', 'index.html'));
}

app.whenReady().then(createWindow);

app.on('window-all-closed', () => {
  if (process.platform !== 'darwin') app.quit();
});

app.on('activate', () => {
  if (BrowserWindow.getAllWindows().length === 0) createWindow();
});
Security note:
nodeIntegration: false+contextIsolation: trueis the recommended minimum for any Electron app that loads remote content. Do not disable these unless you understand the XSS implications.
Context Isolation and the Preload Script
The preload script executes in a privileged context (before the renderer page and after Node.js APIs are available). contextBridge.exposeInMainWorld creates a safe, frozen object accessible as window.electronAPI in the renderer, without leaking the full Node.js API:
// preload.js
const { contextBridge } = require('electron');

contextBridge.exposeInMainWorld('electronAPI', {
  platform: process.platform,
  versions: {
    electron: process.versions.electron,
    node:     process.versions.node,
    chrome:   process.versions.chrome,
  },
});
The renderer can now read window.electronAPI.versions.electron to display the runtime version in the UI—useful for support and debugging:
<!-- src/index.html – display Electron version in the header -->
<p class="electron-badge">
  🖥️ Desktop App – Electron v<span id="electron-version"></span>
</p>
<script>
  if (window.electronAPI) {
    document.getElementById('electron-version').textContent =
      window.electronAPI.versions.electron;
  }
</script>
Renderer: Loading the Dynamsoft SDK
The DCV bundle is loaded from the jsDelivr CDN with a <script> tag in src/index.html. Because Electron uses a file:// origin by default, some browsers would block mixed-content requests, but Electron’s Chromium relaxes this for file:// origins when the main process modifies the Content-Security-Policy response header (see CSP section):
<!-- src/index.html -->
<script src="https://cdn.jsdelivr.net/npm/dynamsoft-capture-vision-bundle@3.2.5000/dist/dcv.bundle.min.js"></script>
<script src="utils.js"></script>
...
<script src="renderer.js"></script>
renderer.js mirrors the vanilla-JS application logic from the browser version. The only code-path differences are:
- File paths (
./full.json) resolve relative tosrc/index.html—correct for Electron’sfile://protocol. - The
save()function uses a<a download>DOM trick; it works identically in Electron’s Chromium. showMessage()uses the DOM message box fromutils.js.
Handling Camera Access in Electron
By default, Electron’s session.defaultSession denies all getUserMedia requests to prevent silent background recording. Your main process must explicitly grant permission for the media permission type.
The setPermissionRequestHandler callback is invoked whenever the renderer calls navigator.mediaDevices.getUserMedia(). The Dynamsoft Camera Enhancer triggers this internally, so no renderer-side permission code is required:
// main.js – already shown above
session.defaultSession.setPermissionRequestHandler(
  (webContents, permission, callback) => {
    callback(['media', 'camera', 'microphone'].includes(permission));
  }
);
Tip for production: Narrow the permission grant by also checking
webContents.getURL()matches your expected origin before callingcallback(true).
Cross-Platform Camera Behaviour
| Platform | Behaviour |
|---|---|
| macOS | System prompts for camera permission on first launch (required by macOS privacy policy) |
| Windows | Permission handled by Electron; no system prompt for desktop apps by default |
| Linux | V4L2; usually grants access without prompting |
On macOS, add the NSCameraUsageDescription key to your Info.plist (handled automatically by electron-builder when you set it in the mac.extendInfo build option).
Content Security Policy for CDN Assets
Electron adds a default CSP that blocks external scripts, workers, and WASM threads. Because the Dynamsoft SDK loads worker scripts and WASM blobs at runtime, the default policy must be relaxed.
Override the Content-Security-Policy response header using session.webRequest.onHeadersReceived:
// main.js
session.defaultSession.webRequest.onHeadersReceived((details, callback) => {
  callback({
    responseHeaders: {
      ...details.responseHeaders,
      'Content-Security-Policy': [
        "default-src 'self' 'unsafe-inline' 'unsafe-eval' blob: data: " +
          "https://cdn.jsdelivr.net https://*.dynamsoft.com; " +
          "script-src 'self' 'unsafe-inline' 'unsafe-eval' blob: " +
          "https://cdn.jsdelivr.net https://*.dynamsoft.com; " +
          "worker-src 'self' blob:;",
      ],
    },
  });
});
Directives explained:
| Directive | Purpose |
|---|---|
'unsafe-inline' |
Inline <script> and <style> used by SDK UI components |
'unsafe-eval' |
WASM instantiate path in some Chromium configurations |
blob: |
WASM worker threads are spawned as blob: URLs |
https://cdn.jsdelivr.net |
CDN origin for the DCV bundle |
https://*.dynamsoft.com |
Dynamsoft license server and model download origin |
Hardening for production: If you self-host the DCV bundle and model files, you can remove the CDN origins and
'unsafe-eval'. You can also add anonceorhashto replace'unsafe-inline'for inline scripts.
Document Save via DOM Anchor
Saving the rectified document image works identically to the browser version. Electron’s Chromium respects the <a download> attribute and triggers a native Save dialog:
// src/renderer.js – identical to browser version
async function save() {
  const a = document.createElement('a');
  a.href     = rectifiedImage.src;
  a.download = `document_${Date.now()}.png`;
  document.body.appendChild(a);
  a.click();
  document.body.removeChild(a);
}
In Electron, this opens the OS file-save dialog pointing to the user’s Downloads folder by default. If you need a custom path (e.g. always save to a specific directory), use the main-process dialog.showSaveDialog API and send the path back via IPC.
Building and Packaging with electron-builder
package.json is pre-configured for electron-builder. Targets:
| Platform | Format | Command |
|---|---|---|
| Windows | NSIS installer | npm run dist -- --win |
| macOS | DMG | npm run dist -- --mac |
| Linux | AppImage | npm run dist -- --linux |
// package.json (excerpt)
{
  "build": {
    "appId": "com.dynamsoft.visionscanner",
    "productName": "Vision Scanner",
    "win":   { "target": "nsis" },
    "mac":   { "target": "dmg"  },
    "linux": { "target": "AppImage" }
  }
}
Build for the current platform:
npm run dist
Built artifacts appear in the dist/ directory. The Dynamsoft SDK bundle is loaded from the CDN at runtime, keeping the distributable size small. For a fully-offline distribution, copy the bundle to src/ and update the <script src> before building.
Source Code
https://github.com/yushulx/javascript-barcode-qr-code-scanner/tree/main/examples/electron