


Build an iOS Passport and ID MRZ Scanner with SwiftUI and Dynamsoft Capture Vision
Machine-readable zones (MRZ) are an essential feature for processing passports, IDs, and other travel documents. In this tutorial, we’ll demonstrate how to build an iOS MRZ scanner app using SwiftUI and Dynamsoft Capture Vision SDK.
What you’ll build: A native iOS app that uses the device camera to scan and parse MRZ data from passports and ID cards in real time, displaying parsed fields in a SwiftUI popup dialog.
Key Takeaways
- Dynamsoft Capture Vision SDK provides real-time MRZ recognition on iOS via Swift Package Manager, with no manual model training required.
- SwiftUI apps bridge UIKit camera controllers through
UIViewControllerRepresentable, keeping native AVFoundation performance intact. - The SDK’s
CapturedResultReceivercallback delivers parsed MRZ fields (name, nationality, document number, expiry) from a single delegate method. - This approach works for both TD-1 (ID card) and TD-3 (passport) MRZ formats on iPhone and iPad.
Common Developer Questions
- How do I scan passport MRZ on iOS with SwiftUI?
- What SDK can I use for real-time MRZ recognition on iPhone?
- How do I bridge a UIKit camera view controller into a SwiftUI app?
This article is Part 2 in a 6-Part Series.
- Part 1 - How to Build an iOS QR Code and Barcode Scanner with SwiftUI on Apple Silicon
- Part 2 - Build an iOS Passport and ID MRZ Scanner with SwiftUI and Dynamsoft Capture Vision
- Part 3 - Build a macOS Barcode Scanner with SwiftUI and a C++ Barcode SDK
- Part 4 - Build a SwiftUI Barcode Scanner for iOS and macOS with Dynamsoft Capture Vision
- Part 5 - Build a Cross-Platform SwiftUI Document Scanner for macOS and iOS
- Part 6 - How to Build a macOS Framework Wrapping C++ in Objective-C++ for Swift Barcode Scanning
See the iOS SwiftUI MRZ Scanner in Action
Prerequisites
- Get a 30-day free trial license for Dynamsoft Capture Vision SDK.
Explore the Dynamsoft Sample MRZ Scanner Project
Dynamsoft has released a sample project: an iOS MRZ scanner app built with Storyboard. You can find the source code on GitHub: https://github.com/Dynamsoft/mrz-scanner-mobile/tree/main/ios
By studying the API usage, you’ll be equipped to build an iOS MRZ scanner app using SwiftUI.
Step 1: Set Up a New SwiftUI Project with Dynamsoft SDK
- In Xcode, select the
Multiplatformtab and clickApp. - Click
Nextto create a new project scaffolded with SwiftUI. -
Navigate to
File > Add Package Dependenciesto add the Dynamsoft Capture Vision SDK. Ensure all packages are added to the target.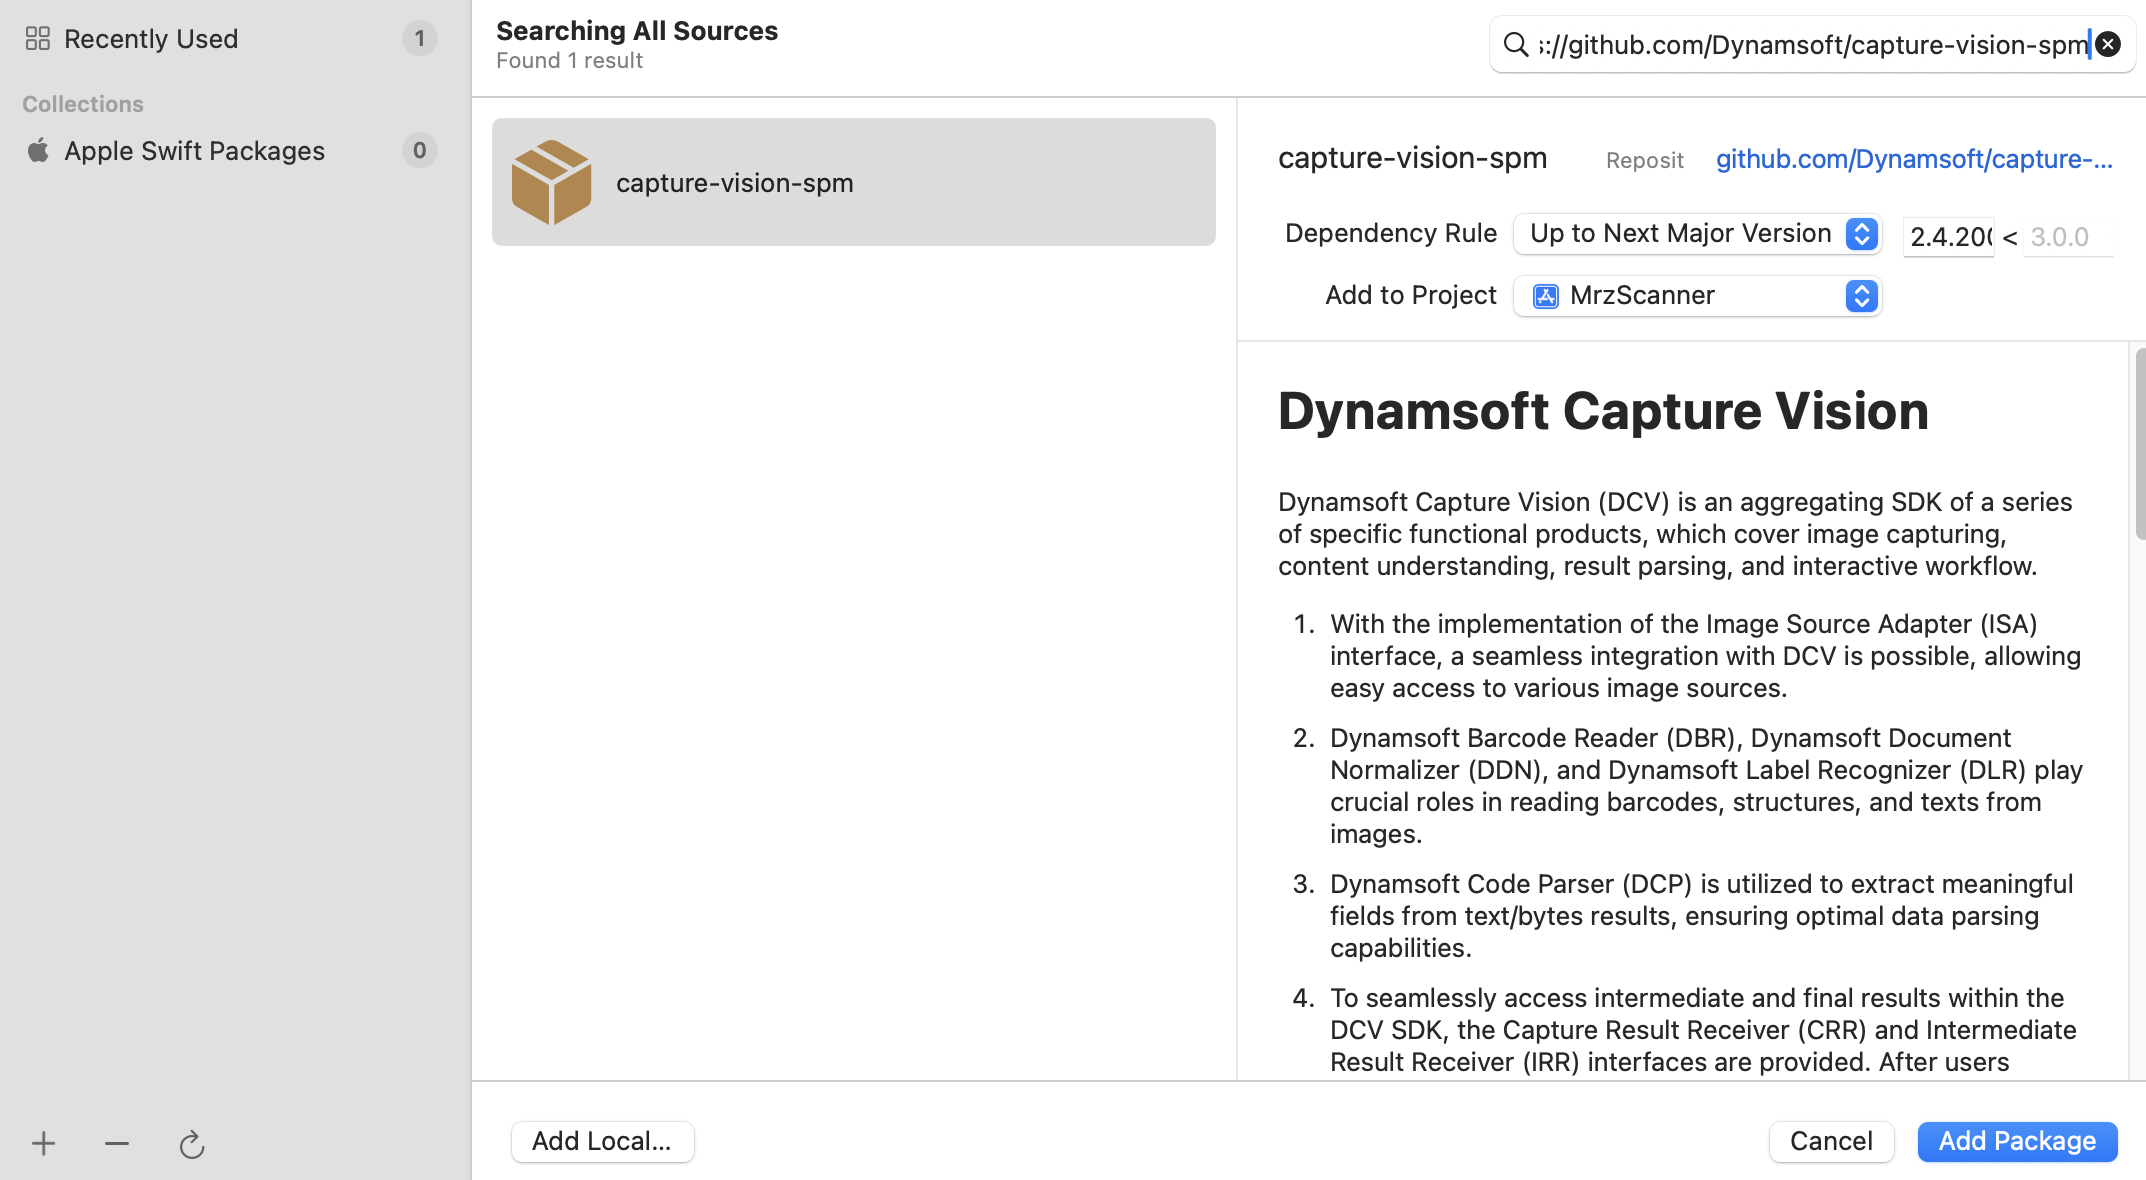
-
Go to
Project > Infoand add a new row with the keyNSCameraUsageDescription, along with a description to request camera permission.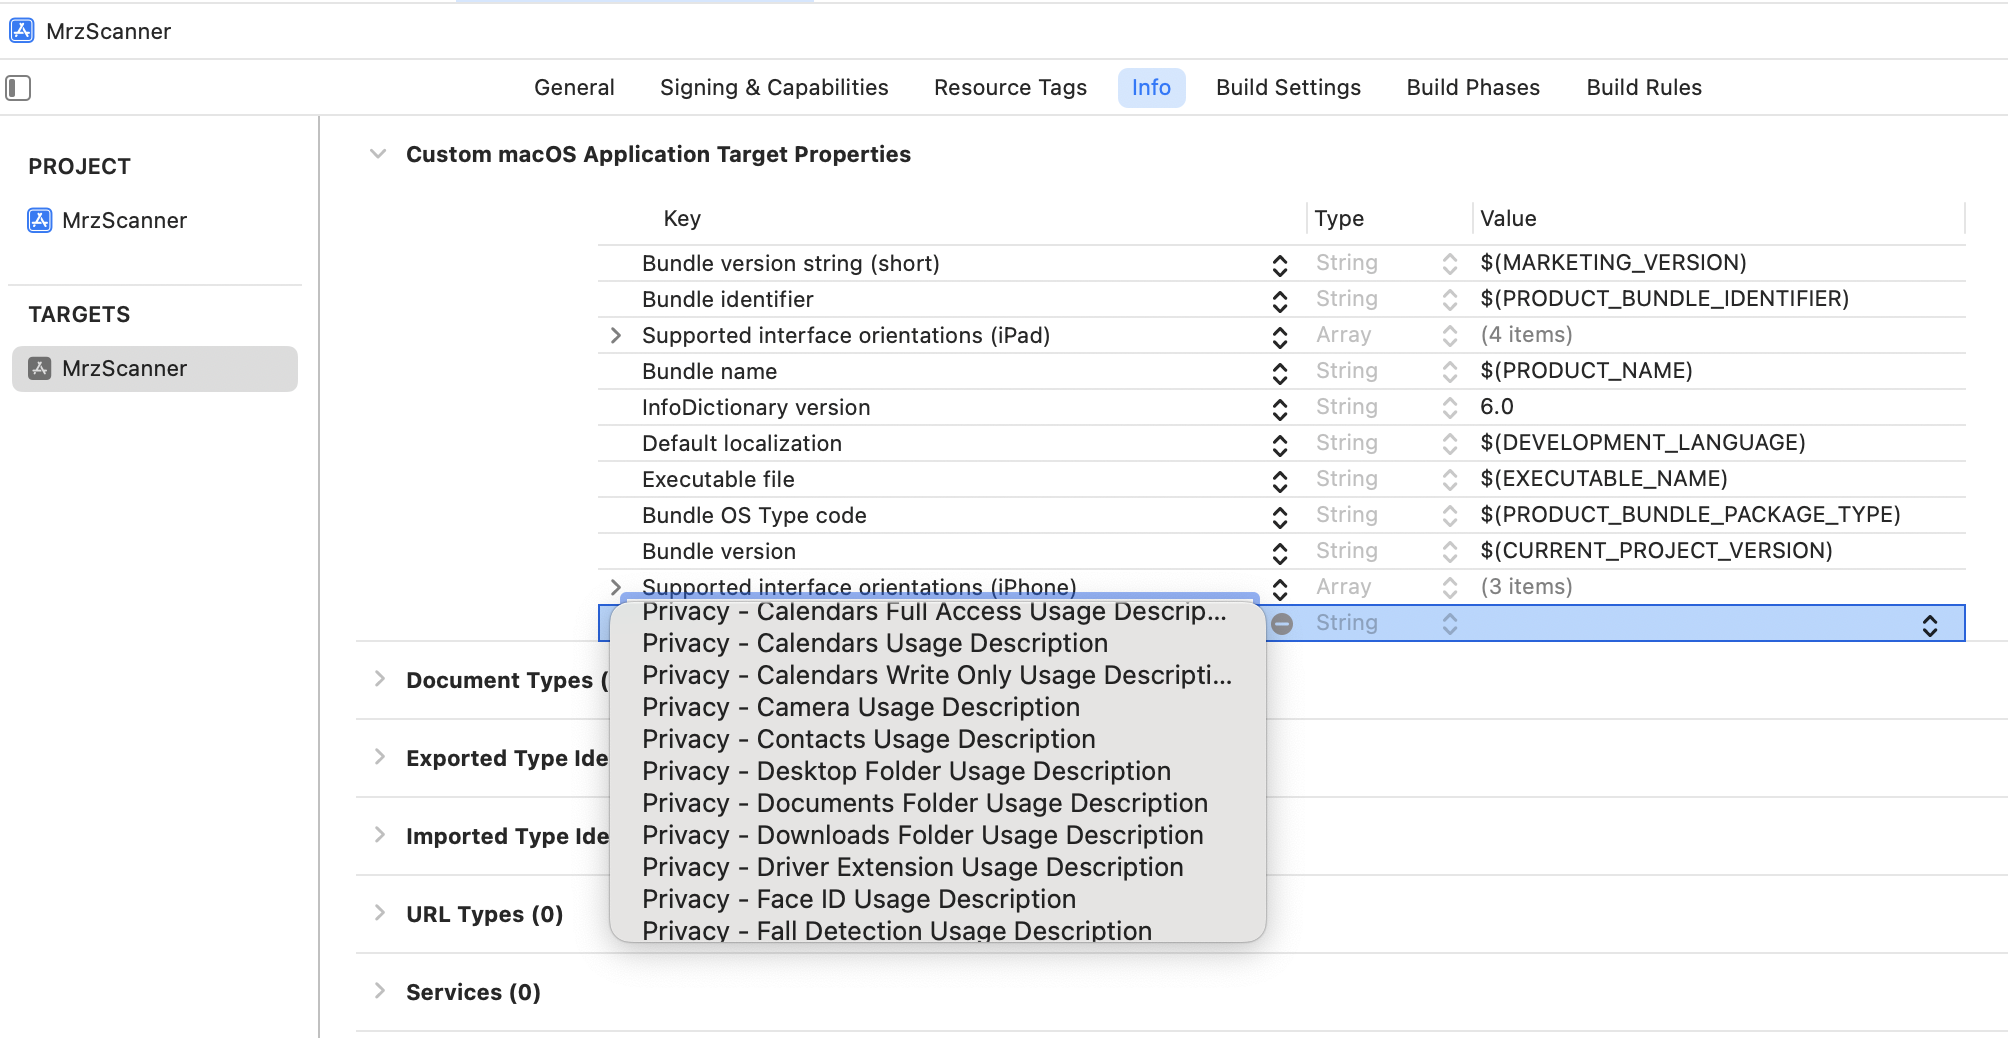
Step 2: Implement MRZ Scanning in SwiftUI
The code snippets for opening the camera and scanning MRZ in the Storyboard project can be reused in the SwiftUI project. To begin, copy MRZScannerViewController.swift into the SwiftUI project and rename it to CameraViewController.swft. Remember to replace the license key with your own in MRZScannerViewController.
func setLicense() {
    LicenseManager.initLicense("LICENSE-KEY", verificationDelegate: self)
}
Next, adapt the UI components to SwiftUI.
Create the Camera Capture View
Create a new file named CaptureView.swift and include the following code:
import SwiftUI

struct CaptureView: View {
    var title:String
    var body: some View {
        VStack {
            CameraViewControllerRepresentable()
        }
        .navigationTitle(title)
        .padding()
    }
}


struct CameraViewControllerRepresentable: UIViewControllerRepresentable {

    func makeUIViewController(context: Context) -> CameraViewController {
        let vc = CameraViewController()
        return vc
    }

    func updateUIViewController(_ viewController: CameraViewController, context: Context) {

    }
}
Explanation
CaptureViewis a SwiftUI view that wraps and displays theCameraViewControllerRepresentable. It shows the camera preview.CameraViewControllerRepresentableconforms to theUIViewControllerRepresentableprotocol, bridgingCameraViewControllerinto the SwiftUI framework.
Build the Content View with Navigation
The ContentView serves as the main view of the app. Replace its content with the following code to include a navigation button leading to CaptureView:
import SwiftUI

struct ContentView: View {
    var body: some View {
        NavigationView {
            VStack(spacing: 20) {

                NavigationLink(destination:CaptureView(title: "Scan MRZ")) {
                    Text("Scan MRZ")
                        .font(.title2)
                        .padding()
                        .background(Color.red)
                        .foregroundColor(.white)
                        .cornerRadius(10)
                }

            }
            .navigationTitle("Home")
        }
    }
}

#Preview {
    ContentView()
}
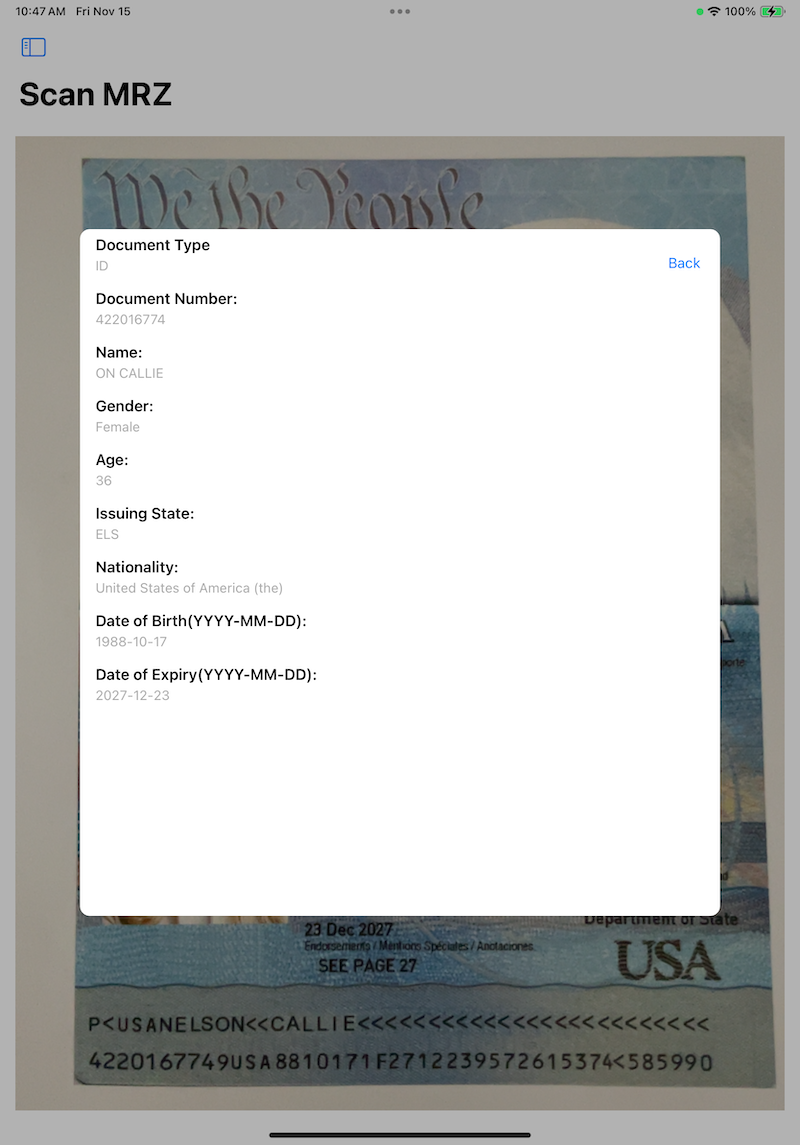
Display MRZ Results in a Popup Dialog
In the existing CameraViewController code, the MRZ result is displayed in a new view controller taking the full screen:
let vc = MRZResultViewController()
self.navigationController?.pushViewController(vc, animated: true)
Let’s make some changes to display the MRZ result in a popup dialog.
-
Use
presentinstead ofpushViewControllerfor modal presentation:let vc = MRZResultViewController() vc.modalPresentationStyle = .overCurrentContext vc.view.backgroundColor = UIColor.black.withAlphaComponent(0.3) vc.preferredContentSize = CGSize(width: self.view.bounds.width * 0.8, height: self.view.bounds.height * 0.6) self.present(vc, animated: true, completion: nil) -
Resize the MRZ result view:
override func viewDidLoad() { super.viewDidLoad() self.title = "MRZ Result" view.backgroundColor = UIColor.black.withAlphaComponent(0.5) let contentView = UIView() contentView.backgroundColor = .white contentView.layer.cornerRadius = 10 contentView.clipsToBounds = true contentView.translatesAutoresizingMaskIntoConstraints = false view.addSubview(contentView) NSLayoutConstraint.activate([ contentView.centerXAnchor.constraint(equalTo: view.centerXAnchor), contentView.centerYAnchor.constraint(equalTo: view.centerYAnchor), contentView.widthAnchor.constraint(equalTo: view.widthAnchor, multiplier: 0.8), contentView.heightAnchor.constraint(equalTo: view.heightAnchor, multiplier: 0.6) ]) analyzeData() setupUI(in: contentView) } -
Add a
backbutton to dismiss the view controller:func setupUI(in contentView: UIView) { let safeArea = contentView.safeAreaLayoutGuide let tableView = UITableView() tableView.flashScrollIndicators() tableView.delegate = self tableView.dataSource = self tableView.separatorStyle = .none tableView.translatesAutoresizingMaskIntoConstraints = false contentView.addSubview(tableView) NSLayoutConstraint.activate([ tableView.leadingAnchor.constraint(equalTo: safeArea.leadingAnchor), tableView.trailingAnchor.constraint(equalTo: safeArea.trailingAnchor), tableView.topAnchor.constraint(equalTo: safeArea.topAnchor), tableView.bottomAnchor.constraint(equalTo: safeArea.bottomAnchor) ]) let dismissButton = UIButton(type: .system) dismissButton.setTitle("Back", for: .normal) dismissButton.translatesAutoresizingMaskIntoConstraints = false dismissButton.addTarget(self, action: #selector(dismissViewController), for: .touchUpInside) contentView.addSubview(dismissButton) NSLayoutConstraint.activate([ dismissButton.topAnchor.constraint(equalTo: contentView.topAnchor, constant: 20), dismissButton.trailingAnchor.constraint(equalTo: contentView.trailingAnchor, constant: -20) ]) } @objc func dismissViewController() { self.dismiss(animated: true, completion: nil) }
Restart MRZ Scanning After Dismissing the Result Popup
To ensure MRZ scanning resumes after the popup dialog is dismissed:
-
In the
MRZResultViewController, define a protocol that will notify theCameraViewControllerto start capturing again when the modal is dismissed.protocol MRZResultViewControllerDelegate: AnyObject { func restartCapturing() } class MRZResultViewController: UIViewController { weak var delegate: MRZResultViewControllerDelegate? override func viewDidLoad() { super.viewDidLoad() ... } @objc func dismissViewController() { delegate?.restartCapturing() self.dismiss(animated: true, completion: nil) } } -
In
CameraViewController, conform to the protocol and implement therestartCapturing()method to start the capturing process when the modal is dismissed.extension CameraViewController: MRZResultViewControllerDelegate { func restartCapturing() { cvr.startCapturing(currentTemplateName) { isSuccess, error in if !isSuccess, let error = error { self.showResult("Error", error.localizedDescription) } } } } -
When presenting
MRZResultViewController, set theCameraViewControlleras the delegate of theMRZResultViewController.extension CameraViewController: CapturedResultReceiver { func onCapturedResultReceived(_ result: CapturedResult) { if let item = result.parsedResult?.items?.first, model.isLegalMRZ(item) { DispatchQueue.main.async { self.cvr.stopCapturing() self.dce.clearBuffer() let vc = MRZResultViewController() vc.mrzResultModel = self.model vc.delegate = self vc.modalPresentationStyle = .overCurrentContext vc.view.backgroundColor = UIColor.black.withAlphaComponent(0.3) vc.preferredContentSize = CGSize(width: self.view.bounds.width * 0.8, height: self.view.bounds.height * 0.6) self.present(vc, animated: true, completion: nil) } } } }
Run and Test the iOS MRZ Scanner App
Connect your iOS device and run the app. You will see a button labeled Scan MRZ. Tap the button to open the camera and scan the MRZ on a passport or ID card. The scanned MRZ result will be displayed in a popup dialog.
Common Issues and Edge Cases
- Camera permission denied: If the user declines the camera permission prompt, the app silently fails to show a preview. Check
AVCaptureDevice.authorizationStatus(for: .video)and present an alert directing the user to Settings. - MRZ not detected on worn or laminated documents: Glare and low contrast can prevent recognition. Ensure adequate lighting and hold the device parallel to the document. The SDK’s built-in image processing handles minor skew automatically.
- License key expired or invalid: Calling
LicenseManager.initLicensewith an expired key triggers a verification error. Confirm your trial key is active and that the device has network access for license validation on first launch.
Source Code
https://github.com/yushulx/ios-swiftui-barcode-mrz-document-scanner/tree/main/examples/mrz