Motion Detection for Barcode Scanning
Motion detection can detect whether there is a change in the positions of objects. It can be achieved by many methods. For example, infrared light or laser technology can be used for optical detection. As for image processing methods, there is a basic one by a fixed camera, which compares the current image with a reference image and monitors the number of different pixels.1
Motion detection can have many applications. For instance, a self-checkout machine uses motion detection to detect whether a customer is aiming the product’s barcode at its camera.
In this article, we are going to create a demo barcode scanning app which uses motion detection.
The scenario is similar to self-checkout in supermarkets. The camera is fixed. The surroundings have stable lightings and the image taken by the camera has a simple background. If a user is trying to scan barcodes to make a self-checkout, it will detect this behavior, start scanning barcodes and record the results.
You can get a quick idea of what it can do by watching the following video:
Requirements
- Python
- OpenCV-Python
- A Web Camera
- Dynamsoft Barcode Reader (DBR)
Create a Self-Checkout Barcode Scanning Application using Motion Detection
Here are the steps.
Capture Video Frames from Camera using OpenCV’s VideoCapture.
-
Initialize the camera.
import cv2 camera = cv2.VideoCapture(0) #You can change the camera index to switch cameras -
Capture frames and resize.
Use
read()to grab frames and resize them to normalize the data and improve efficiency.A reference frame with only a simple background is needed. We can set the first frame as the reference frame. But after the camera starts, the first several frames are not stable. We need to skip them to get a stable reference frame.
reference_frame = None capture_times = 0 while True: grabbed, frame = camera.read() if grabbed == False: break width = frame.shape[1] height = frame.shape[0] resized_width = 500 scale = resized_width/width resized_height = int(height*scale) resized = cv2.resize(frame, (resized_width, resized_height)) if capture_times < 25: # skip the first 25 frames reference_frame = resized capture_times = capture_times+1 continue -
Control FPS.
We can control how many frames to process per second with the following code:
 fps = 25
 while True:
     start = time.time()
     # grab frame
     end = time.time()
     seconds = end - start
     if seconds < 1.0 / fps:
         time.sleep(1.0 / fps - seconds)
Detect Motion
Now we have a reference frame and new frames captured. We can compare them to detect motion.
Reference frame example:
New frame example:

-
Convert images to grayscale.
gray = cv2.cvtColor(resized, cv2.COLOR_BGR2GRAY) -
Perform gaussian blur. This can reduce the impact of lightings and high noise.
gray = cv2.GaussianBlur(gray, (21, 21), 0) -
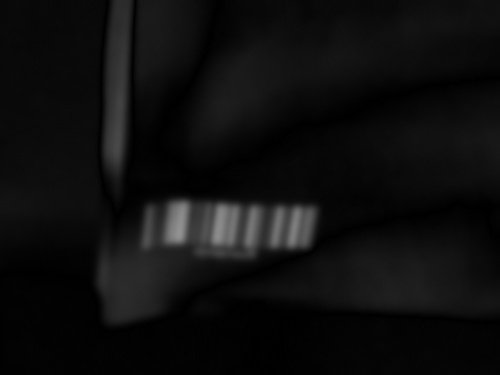
Calculate the different pixels.
frame_delta = cv2.absdiff(reference_frame_gray, gray)Frame delta example:
-
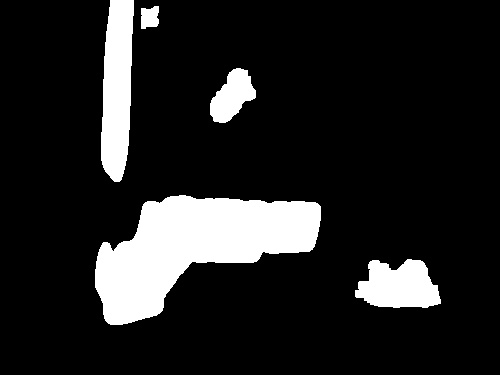
Create a thresholded image. If the gray value is lower than 25, then set the pixel value to 0 (black), else 255 (white).
 thresh = cv2.threshold(frame_delta, 25, 255, cv2.THRESH_BINARY)[1]
 thresh = cv2.dilate(thresh, None, iterations=2)
Thresh example:
-
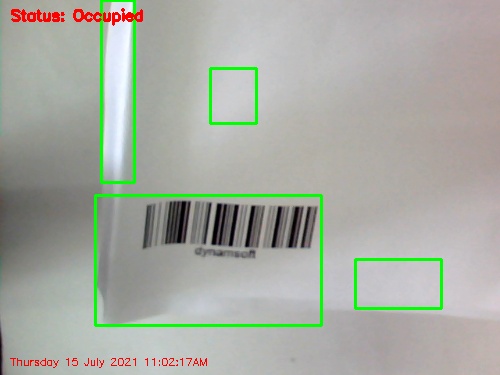
Find contours and calculate their areas. If one area is larger than a specified value (here, the value is 500), then it means motion detected and an object is occupying the camera view.
 cnts, hierarchy = cv2.findContours(thresh.copy(), cv2.RETR_EXTERNAL,
     cv2.CHAIN_APPROX_SIMPLE)
 for c in cnts:
     if cv2.contourArea(c) < 500:
         continue
     (x, y, w, h) = cv2.boundingRect(c)
     cv2.rectangle(resized, (x, y), (x + w, y + h), (0, 255, 0), 2)
     text = "Occupied"
Occupied example:
Read Barcodes
If a motion is detected and there is a barcode in front of the camera, we can trigger the barcode reading event.
If we’ve read a barcode and the barcode stays, then we stop reading. If the barcode leaves the camera view and a new barcode enters, the reading event is triggered again. In this way, we will not make duplicate readings.
Here is the code:
detected_barcode_text=""
history={}
while True:
    #......
    if text == "Occupied":
        if detected_barcode_text=="":
            text_results = reader.decode_buffer(frame)
            if text_results!=None:
                text_result=text_results[0]
                barcode_text=text_result.barcode_text
                detected_barcode_text=barcode_text
                print("Found barcode: "+barcode_text)
                confidence = text_result.extended_results[0].confidence;
                print("Confidence: "+str(confidence))
                if confidence<30:
                    print("Confidence low. Abandoned.")
                    continue

                #add to history
                times=0
                if barcode_text in history:
                    times=history[barcode_text]
                history[barcode_text]=times+1
                print("Scan history:")
                print(history)
    else:
        detected_barcode_text=""
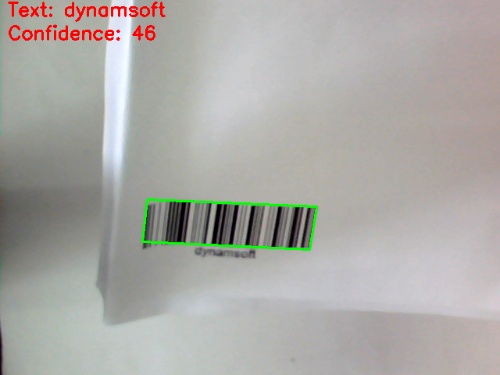
We can draw the outline of the detected barcode using DBR’s localization result.
def show_detected_barcode_frame(frame, resized_width,resized_height, result):
    frame_clone=frame.copy()
    points=result.localization_result.localization_points;
    cv2.line(frame_clone,points[0],points[1], (0, 255, 0), 2)
    cv2.line(frame_clone,points[1],points[2], (0, 255, 0), 2)
    cv2.line(frame_clone,points[2],points[3], (0, 255, 0), 2)
    cv2.line(frame_clone,points[3],points[0], (0, 255, 0), 2)
    cv2.putText(frame_clone, "Text: {}".format(result.barcode_text), (10, 20), cv2.FONT_HERSHEY_SIMPLEX, 0.8, (0, 0, 255), 2)
    cv2.putText(frame_clone, "Confidence: {}".format(result.extended_results[0].confidence), (10, 50), cv2.FONT_HERSHEY_SIMPLEX, 0.8, (0, 0, 255), 2)
    resized=cv2.resize(frame_clone,(resized_width,resized_height))
    cv2.imshow("Detected Frame", resized)
Source Code
You can find the complete code here: https://github.com/xulihang/motion-detection


