


Build a PWA Document Scanner with JavaScript: Capture, Edit and Upload to PDF
In many industries, a document scanner app is essential for capturing, editing, and uploading documents such as invoices and receipts to the cloud. By leveraging the Dynamsoft Document Viewer SDK, you can build a Progressive Web App (PWA) document scanner that enables users to capture images, crop them, combine multiple pages into a single document, and convert the scanned documents to PDF format for easy sharing and storage. This tutorial will guide you through the process of creating a PWA document scanner using the Dynamsoft Document Viewer SDK.
What you’ll build: A Progressive Web App that captures documents from the device camera, lets you crop and edit scanned pages, combines them into a multi-page PDF, and uploads the result to a Node.js server — all running in the browser with no native app install.
Key Takeaways
- Dynamsoft Document Viewer SDK provides a complete JavaScript API for camera capture, page cropping, annotation, and PDF export inside any modern browser.
- Wrapping a web document scanner as a PWA (with
manifest.jsonand a service worker) gives users an installable, offline-capable scanning experience on mobile and desktop. - The
saveToPdf()method converts captured pages — including annotations — into a single PDF blob that can be uploaded as a Base64 payload to any HTTP endpoint. - This approach eliminates native-app distribution overhead while still accessing the device camera via the browser’s MediaDevices API.
Common Developer Questions
How do I build a PWA document scanner with JavaScript?
Start from a browser-based scanner built with Dynamsoft Document Viewer, then add a manifest.json and service worker so the app becomes installable and works more like a mobile scanning application. This tutorial extends an existing capture workflow rather than rebuilding the scanner from scratch.
How do I capture documents from a phone camera and convert them to PDF in the browser?
Use the SDK’s camera capture flow to acquire page images, let the user crop and edit those pages in the browser, then merge the pages and call saveToPdf() to generate a single PDF blob. The result can be kept locally or uploaded afterward.
How do I upload scanned PDF files from a web app to a Node.js server?
Export the scanned document to PDF in the browser, convert the file data into a Base64 payload, and post that payload to an Express endpoint. On the server side, decode the Base64 string into a buffer and write it to disk as a PDF file.
PWA Document Scanner Demo Video
Step 1: Set Up Prerequisites
-
Dynamsoft Document Viewer: This package provides JavaScript APIs for viewing and annotating a wide range of document formats, including PDFs and images like JPEG, PNG, TIFF, and BMP. Key features include PDF rendering, page navigation, image quality enhancement, and document saving capabilities. You can find the SDK on npm.
-
Dynamsoft Capture Vision Trial License: A 30-day free trial license that provides access to all features of the Dynamsoft SDKs.
Step 2: Create a Node.js Server for Receiving PDF Uploads
Let’s create a Node.js/Express server to receive a Base64 string and save it as a PDF file to the local disk.
Install Server Dependencies
-
Create a folder for your server:
mkdir server cd server -
Initialize a Node.js project:
npm init -y -
Install Express and cors:
npm install express corsExplanation
- Express simplifies the creation of a web server.
- CORS (Cross-Origin Resource Sharing) is middleware that allows cross-origin requests.
Write the Express Upload Endpoint
-
Create an
index.jsfile with the following code:const express = require('express'); const cors = require('cors'); const fs = require('fs'); const path = require('path'); const app = express(); const PORT = 3000; app.use(cors()); app.use(express.json({ limit: '10mb' })); app.post('/upload', (req, res) => { const { image } = req.body; if (!image) { return res.status(400).json({ error: 'No image provided.' }); } const buffer = Buffer.from(image, 'base64'); // Save the image to disk const filename = `image_${Date.now()}.pdf`; const filepath = path.join(__dirname, 'uploads', filename); // Ensure the uploads directory exists if (!fs.existsSync('uploads')) { fs.mkdirSync('uploads'); } fs.writeFile(filepath, buffer, (err) => { if (err) { console.error('Failed to save image:', err); return res.status(500).json({ error: 'Failed to save image.' }); } console.log('Image saved:', filename); res.json({ message: 'Image uploaded successfully!', filename }); }); }); // Start the server app.listen(PORT, () => { console.log(`Server is running on http://localhost:${PORT}`); }); -
Run the web server:
node index.js
Step 3: Implement a PWA Document Scanner with Dynamsoft Document Viewer
To get started with the Dynamsoft Document Viewer, download the official sample code from the GitHub repository: https://github.com/Dynamsoft/mobile-web-capture/tree/master/samples/complete-document-capturing-workflow. This sample demonstrates how to capture, crop, and combine multiple images into a single document using the Dynamsoft Document Viewer SDK.
Based on the project, we will add the following features:
- Support for PWA.
- Upload scanned documents as PDF files to a server.
Configure the PWA Manifest and Service Worker
-
Create a folder for your PWA project:
mkdir client cd client - Copy the sample code into the
clientfolder. -
Create a
manifest.jsonfile in the root directory of your project with the following content:{ "short_name": "MyPWA", "name": "My Progressive Web App", "icons": [ { "src": "icon.png", "sizes": "192x192", "type": "image/png" } ], "start_url": "/", "display": "standalone", "background_color": "#ffffff", "theme_color": "#000000" } -
Create a
sw.jsfile in the root directory of your project with the following content:const CACHE_NAME = 'pwa-cache-v1'; const urlsToCache = [ '/', '/index.css', '/manifest.json', ]; self.addEventListener('install', (event) => { event.waitUntil( caches.open(CACHE_NAME).then((cache) => { console.log('Opened cache'); return cache.addAll(urlsToCache); }) ); }); self.addEventListener('fetch', (event) => { event.respondWith( caches.match(event.request).then((response) => { return response || fetch(event.request); }) ); }); -
Register the service worker in the
index.htmlfile:<script> if ('serviceWorker' in navigator) { window.addEventListener('load', () => { navigator.serviceWorker .register('/sw.js') .then((registration) => { console.log('Service Worker registered with scope:', registration.scope); }) .catch((error) => { console.error('Service Worker registration failed:', error); }); }); } </script>
Save and Upload Scanned Documents as PDF
-
In
uiConfig.js, add a customized download button with a click event namedsave:{ type: Dynamsoft.DDV.Elements.Button, className: "ddv-button ddv-button-download", events: { click: "save", } } -
In
index.html, implement thesaveevent. After saving the document as a PDF, convert the blob to a Base64 string and upload it to the server:async function uploadImage(base64String) { return fetch('http://localhost:3000/upload', { method: 'POST', headers: { 'Content-Type': 'application/json', }, body: JSON.stringify({ image: base64String }), }); } editViewer.on("save", async () => { // https://www.dynamsoft.com/document-viewer/docs/api/interface/idocument/index.html#savetopdf const pdfSettings = { saveAnnotation: "annotation", }; let blob = await editViewer.currentDocument.saveToPdf(pdfSettings); // convert blob to base64 let reader = new FileReader(); reader.readAsDataURL(blob); reader.onloadend = async function () { let base64data = reader.result; try { const response = await uploadImage(base64data.split(',')[1]); if (response.ok) { alert('Upload successful!'); } else { alert('Upload failed.'); } } catch (error) { console.error(error); } } });
Step 4: Run and Test the PWA Document Scanner
-
Start a web server in the root directory of your project:
python -m http.server -
Visit
http://localhost:8000in your web browser.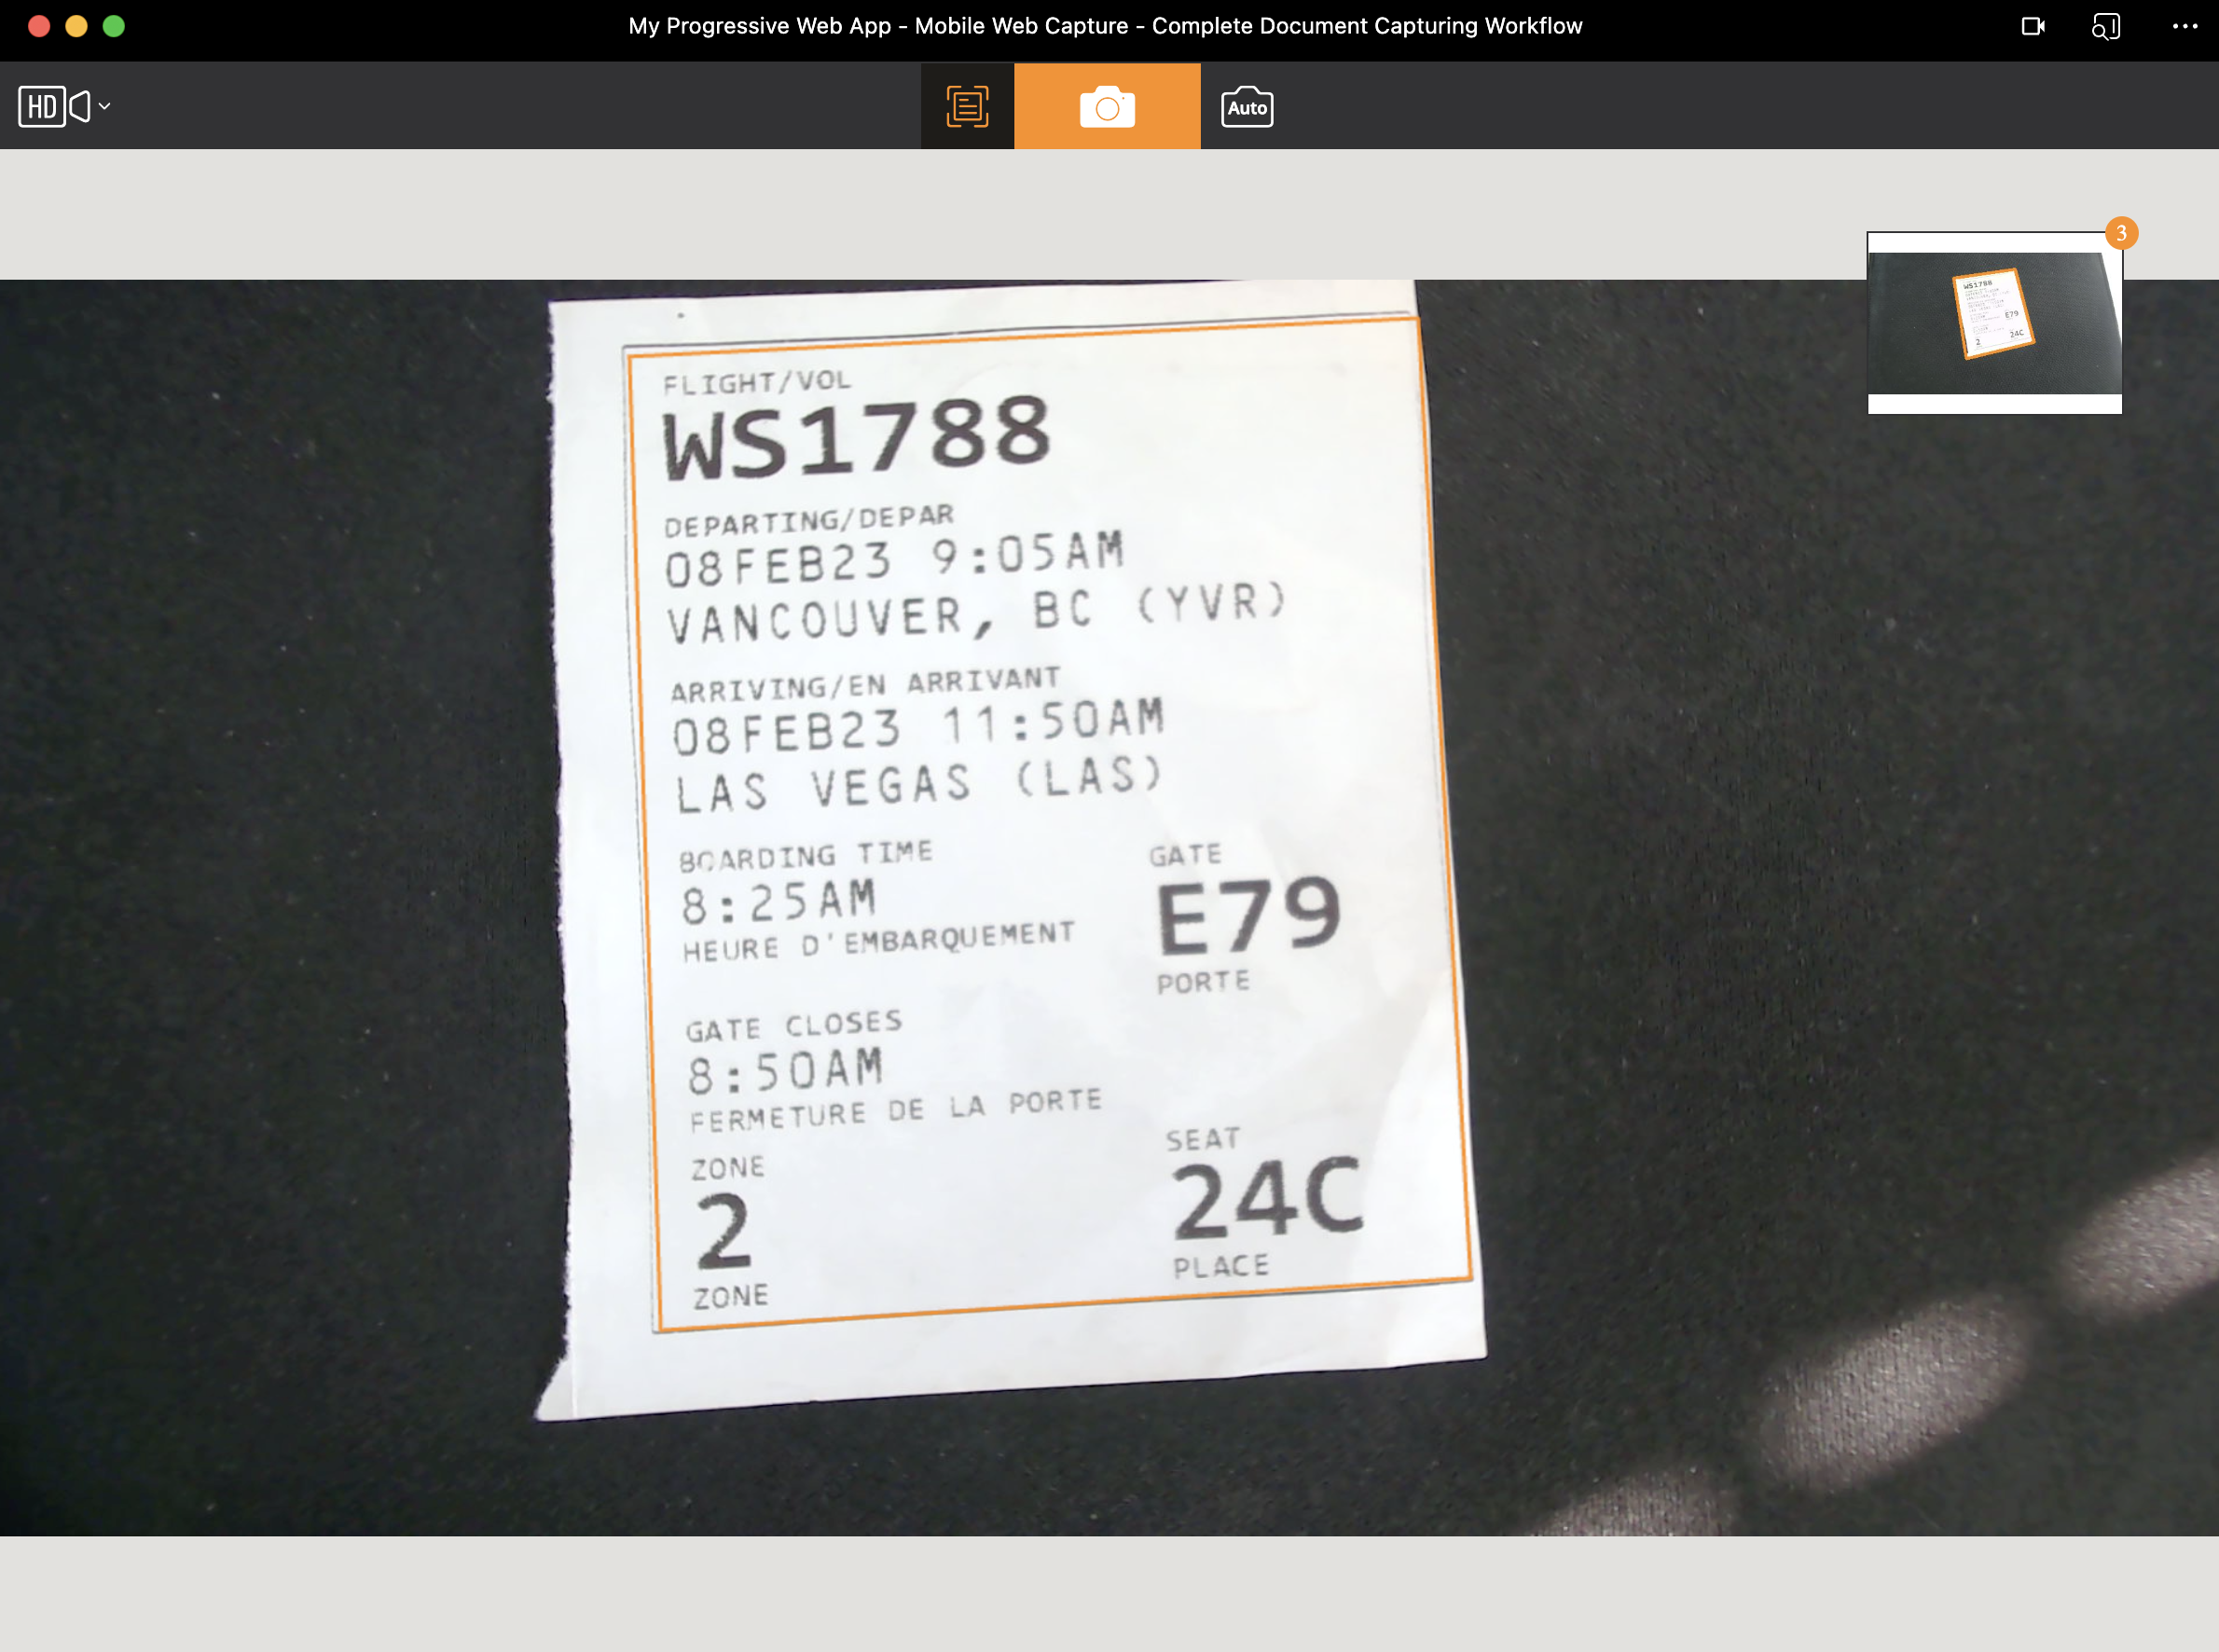
Common Issues and Edge Cases
- Camera access denied on mobile browsers: Ensure the page is served over HTTPS (or
localhost). The browser’s MediaDevices API requires a secure context; without it,getUserMediawill fail silently or throw aNotAllowedError. - Service worker caching stale assets after an SDK update: Increment the
CACHE_NAMEversion string (e.g.,pwa-cache-v2) insw.jswhenever you update SDK files; otherwise the browser will serve outdated cached scripts. - PDF upload fails for large multi-page documents: The Express server above limits the JSON body to 10 MB (
express.json({ limit: '10mb' })). For documents with many high-resolution pages, increase this limit or switch to amultipart/form-dataupload with streaming.