


How to Build a Blazor WebAssembly PDF Annotation Viewer with Dynamsoft
Dynamsoft Document Viewer SDK provides a comprehensive set of APIs for viewing and annotating PDFs and images in web applications. By integrating the SDK into your Blazor web app, you can create a powerful document management system with advanced features such as PDF rendering, page navigation, image quality enhancement, and document saving. This article will guide you through the process of building a Blazor web app for PDF viewing and annotation using the Dynamsoft Document Viewer SDK.
This article is Part 3 in a 5-Part Series.
- Part 1 - How to Scan and Digitize Documents in Blazor WebAssembly with C# and .NET
- Part 2 - Build a Blazor WebAssembly Barcode and QR Code Scanner with Dynamsoft
- Part 3 - How to Build a Blazor WebAssembly PDF Annotation Viewer with Dynamsoft
- Part 4 - Build a C# Blazor WebAssembly Passport MRZ Scanner with Dynamsoft
- Part 5 - How to Implement TWAIN Document Scanning in a .NET Blazor WebAssembly App
What you’ll build: A Blazor WebAssembly app that loads, renders, and annotates PDFs in the browser and optionally captures documents from a live camera — all powered by the Dynamsoft Document Viewer SDK with C#/JavaScript interop.
Key Takeaways
- The Dynamsoft Document Viewer SDK provides ready-to-use
EditViewer,CaptureViewer, andPerspectiveViewercomponents that can be embedded in Blazor WebAssembly via JavaScript interop with minimal boilerplate. - PDF rendering, page navigation, image filtering, and full annotation tools (highlights, stamps, text boxes) are enabled by a single npm package (
dynamsoft-document-viewer). - Page lifecycle in Blazor (
OnAfterRenderAsync) is the correct hook for initializing JavaScript-based viewers — calling JS interop before the DOM is ready will silently fail. - The same viewer components work on both desktop and mobile browsers; the SDK’s
isMobile()helper selects the appropriate responsive UI config automatically.
Common Developer Questions
How do I add PDF annotation tools to a Blazor WebAssembly app?
Initialize Dynamsoft Document Viewer from JavaScript after the Blazor page has rendered, then host its EditViewer inside a DOM container owned by the Razor component. Once initialized, the built-in toolbar exposes annotation tools such as highlights, stamps, text boxes, and page navigation in the Blazor app.
How do I call JavaScript from C# in Blazor to initialize a document viewer?
Use IJSRuntime from OnAfterRenderAsync() so the DOM exists before you invoke the JavaScript initializer. That lifecycle hook is the right place to call functions like initDocumentViewer or initDocumentScanner from C#.
How do I scan a document with a camera and save it as a PDF in Blazor WebAssembly?
Embed the SDK’s capture-oriented viewer components, use the browser camera to acquire the document, refine the result in the perspective and edit viewers, and then export the final pages as a PDF. Blazor only orchestrates the UI flow while the JavaScript SDK handles scanning and saving.
Blazor Document PDF Viewer Demo Video
Online Demo
https://yushulx.me/blazor-barcode-mrz-document-scanner/
Prerequisites
-
Dynamsoft Document Viewer: This package offers JavaScript APIs for viewing and annotating a wide range of document formats, including PDFs and images like JPEG, PNG, TIFF, and BMP. Key features include PDF rendering, page navigation, image quality enhancement, and document saving capabilities. You can find the SDK on npm.
-
Dynamsoft Capture Vision Trial License: The trial license provides access to all features of the Dynamsoft Capture Vision Bundle, including Barcode, MRZ, Document recognition, and more, for a period of 30 days. Get a 30-day free trial license for Dynamsoft Document Viewer.
Step 1: Set Up Blazor WebAssembly with Dynamsoft Document Viewer
- Create a Blazor WebAssembly Project: Start a new Blazor WebAssembly project using Visual Studio or Visual Studio Code.
- Add the Dynamsoft Document Viewer Script and CSS: To enable the Dynamsoft Document Viewer, include its script and CSS in the
wwwroot/index.htmlfile:<link rel="stylesheet" href="https://cdn.jsdelivr.net/npm/dynamsoft-document-viewer@2.1.0/dist/ddv.css"> <script src="https://cdn.jsdelivr.net/npm/dynamsoft-document-viewer@2.1.0/dist/ddv.js"></script>Note: Including the CSS file is essential to ensure that the highly customized UI components of the viewer render correctly.
- Create a JavaScript File for C# and JavaScript Interop: Add a JavaScript file named
jsInterop.jsin thewwwrootfolder and include it in theindex.html:<script src="jsInterop.js"></script> - Set the License: In
jsInterop.js, define asetLicensefunction that sets the license key and configures the necessary resource paths:window.jsFunctions = { setLicense: async function setLicense(license) { try { Dynamsoft.DDV.Core.engineResourcePath = "https://cdn.jsdelivr.net/npm/dynamsoft-document-viewer@2.1.0/dist/engine"; Dynamsoft.License.LicenseManager.initLicense(license, true); Dynamsoft.DDV.setProcessingHandler("imageFilter", new Dynamsoft.DDV.ImageFilter()); await Dynamsoft.DDV.Core.init(); } catch (e) { console.log(e); return false; } return true; } }; -
Update the Blazor Page to Enable SDK Activation: In the
Pages/Home.razorfile, add the following HTML and C# code to allow users to activate the SDK using a valid license key:@page "/" @inject IJSRuntime JSRuntime <PageTitle>Home</PageTitle> <p>Click <a href="https://www.dynamsoft.com/customer/license/trialLicense/?product=dcv&package=cross-platform" target="_blank">here</a> to obtain a Dynamsoft Capture Vision Trial License.</p> <EditForm Model="@this"> <InputText @bind-Value="LicenseKey" placeholder="Enter your license key" /> <button type="button" class="btn btn-primary" @onclick="SetLicenseKey">Activate the SDK</button> </EditForm> @code { Boolean initialized = false; private string LicenseKey = "LICENSE-KEY"; private async Task SetLicenseKey() { initialized = await JSRuntime.InvokeAsync<Boolean>("jsFunctions.setLicense", LicenseKey); StateHasChanged(); } }
Step 2: Build the PDF Viewer and Annotation Razor Page
Setting up a document viewer with the Dynamsoft Document Viewer SDK can be accomplished quickly by following the sample code provided in the SDK’s README file. Below are the steps to create a PDF viewer in just a few minutes.
- Create a Document Viewer Component: Create a new Razor component called
DocumentViewer.razorin thePagesfolder and add it to your navigation menu inNavMenu.razor:<div class="nav-item px-3"> <NavLink class="nav-link" href="documentviewer"> <span class="bi bi-plus-square-fill-nav-menu" aria-hidden="true"></span> Document Viewer </NavLink> </div> -
Implement the Document Viewer in DocumentViewer.razor: Add the following code in
DocumentViewer.razorto set up the document viewer:@page "/documentviewer" @inject IJSRuntime JSRuntime @if (isLoading) { <div id="loading-indicator" class="loading-indicator"> <div class="spinner"></div> </div> } <div id="@containerId" class="container"></div> @code { private Boolean isLoading = true; private String containerId = "document_viewer"; protected override async Task OnAfterRenderAsync(bool firstRender) { if (firstRender) { await JSRuntime.InvokeVoidAsync("jsFunctions.initDocumentViewer", containerId); isLoading = false; StateHasChanged(); } } }Explanation
@page "/documentviewer"sets the route for the Razor component.OnAfterRenderAsync()calls the JavaScript functioninitDocumentViewerwhen the page loads to initialize the document viewer.- The loading indicator is displayed until the document viewer is fully initialized.
- Add JavaScript Functions in jsInterop.js: Add the corresponding JavaScript functions in
jsInterop.js:window.jsFunctions = { ... initDocumentViewer: async function (containerId) { if (!isInitialized) { alert("Please set the license first."); return; } try { let config = Dynamsoft.DDV.getDefaultUiConfig("editViewer", { includeAnnotationSet: true }); let editViewer = new Dynamsoft.DDV.EditViewer({ container: containerId, uiConfig: config, }); } catch (e) { alert(e); } }, };Explanation
initDocumentViewer()initializes the document viewer by binding it to the specified container and using the default UI configuration provided by the SDK.- The
EditViewerinstance is set up with tools for viewing and annotating PDFs and images, allowing developers to achieve full functionality with minimal code.
Step 3: Add a Camera-Based Document Scanner Page
Implementing a document scanner in Blazor is straightforward, especially if you leverage the existing .NET MAUI Blazor Hybrid App with the Dynamsoft Document Viewer SDK. You can find the source code on GitHub. Here’s how to migrate the code to your Blazor WebAssembly project:
- Create a Document Scanner Component: Create a new Razor component called
DocumentScanner.razorin thePagesfolder and add it to the navigation menu inNavMenu.razor:<div class="nav-item px-3"> <NavLink class="nav-link" href="documentscanner"> <span class="bi bi-plus-square-fill-nav-menu" aria-hidden="true"></span> Document Scanner </NavLink> </div> - Implement the Document Scanner in DocumentScanner.razor: Add the following code in
DocumentScanner.razorto set up the document scanner functionality:@page "/documentscanner" @inject IJSRuntime JSRuntime @if (isLoading) { <div id="loading-indicator" class="loading-indicator"> <div class="spinner"></div> </div> } <div id="@containerId" class="container"></div> @code { private Boolean isLoading = true; private String containerId = "document_scanner"; protected override async Task OnAfterRenderAsync(bool firstRender) { if (firstRender) { await JSRuntime.InvokeVoidAsync("jsFunctions.initDocumentScanner", containerId); isLoading = false; StateHasChanged(); } } }Explanation
@page "/documentscanner"sets the route for the component.OnAfterRenderAsync()initializes the document scanner by calling the JavaScript functioninitDocumentScannerwhen the page loads.
- Reuse JavaScript Code: Copy
uiConfig.jsandutils.jsfrom the .NET MAUI Blazor Hybrid App to the Blazor WebAssembly project. These files contain essential UI configuration and utility functions for the document scanner. Next, add the document scanner creation code tojsInterop.js:window.jsFunctions = { ... initDocumentScanner: async function (containerId) { if (!isInitialized) { alert("Please set the license first."); return; } try { await initDocDetectModule(Dynamsoft.DDV, Dynamsoft.CVR); const captureViewer = new Dynamsoft.DDV.CaptureViewer({ container: containerId, uiConfig: isMobile() ? mobileCaptureViewerUiConfig : pcCaptureViewerUiConfig, viewerConfig: { acceptedPolygonConfidence: 60, enableAutoDetect: true, } }); await captureViewer.play({ resolution: [1920, 1080] }); captureViewer.on("showPerspectiveViewer", () => switchViewer(0, 1, 0)); const perspectiveViewer = new Dynamsoft.DDV.PerspectiveViewer({ container: containerId, groupUid: captureViewer.groupUid, uiConfig: isMobile() ? mobilePerspectiveUiConfig : pcPerspectiveUiConfig, viewerConfig: { scrollToLatest: true } }); perspectiveViewer.hide(); perspectiveViewer.on("backToCaptureViewer", () => { switchViewer(1, 0, 0); captureViewer.play(); }); perspectiveViewer.on("showEditViewer", () => switchViewer(0, 0, 1)); const editViewer = new Dynamsoft.DDV.EditViewer({ container: containerId, groupUid: captureViewer.groupUid, uiConfig: isMobile() ? mobileEditViewerUiConfig : pcEditViewerUiConfig }); editViewer.hide(); editViewer.on("backToPerspectiveViewer", () => switchViewer(0, 1, 0)); const switchViewer = (c, p, e) => { captureViewer.hide(); perspectiveViewer.hide(); editViewer.hide(); if (c) captureViewer.show(); else captureViewer.stop(); if (p) perspectiveViewer.show(); if (e) editViewer.show(); }; } catch (e) { console.log({ container: containerId, uiConfig: isMobile() ? mobilePerspectiveUiConfig : pcPerspectiveUiConfig, viewerConfig: { scrollToLatest: true } }); alert(e); } } };Explanation
initDocumentScanner()initializes the document scanner by creating instances ofCaptureViewer,PerspectiveViewer, andEditViewer. These viewers allow users to capture images, adjust perspectives, and edit images before saving them as PDFs.- The
switchViewer()function manages transitions between the capture, perspective, and edit viewers based on user actions.
Step 4: Run and Verify the PDF Annotation Application
To run the application, press F5 in Visual Studio. This will launch the Blazor application in your default web browser, starting on the home page where you can activate the SDK by entering your Dynamsoft Capture Vision trial license key and clicking the Activate the SDK button.
-
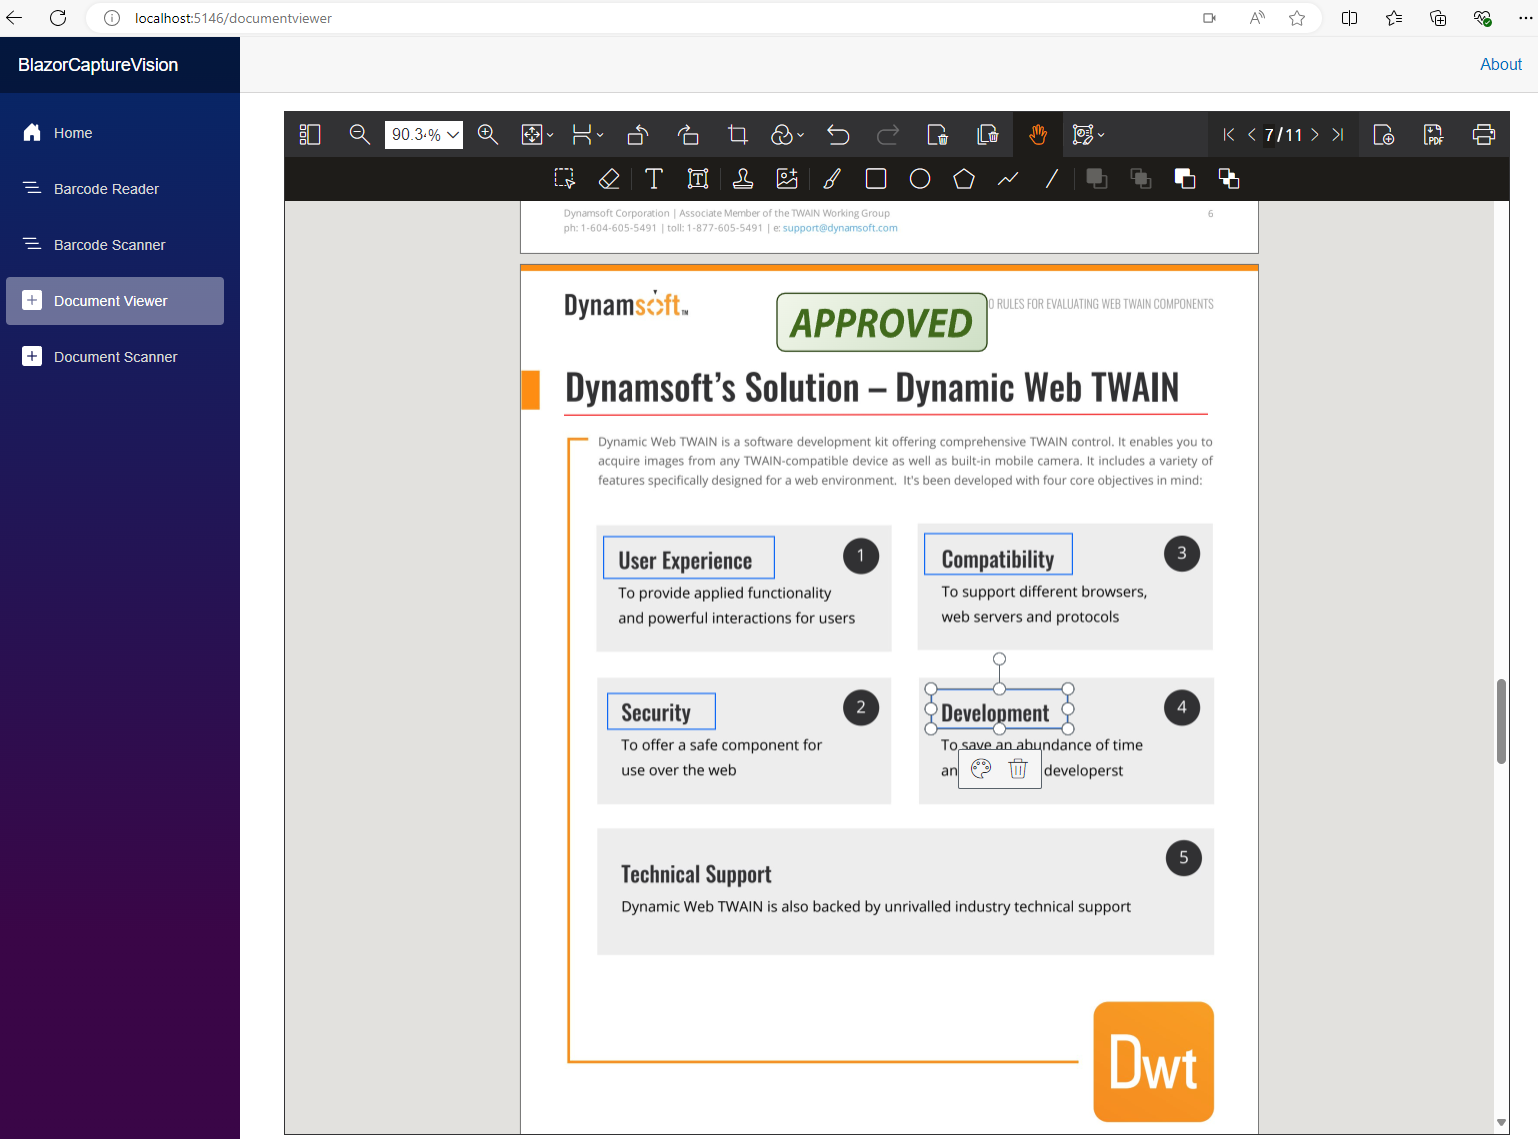
Document Viewer: Load a PDF by clicking the add file button. You can navigate through pages, zoom, and annotate the document using various tools.
-
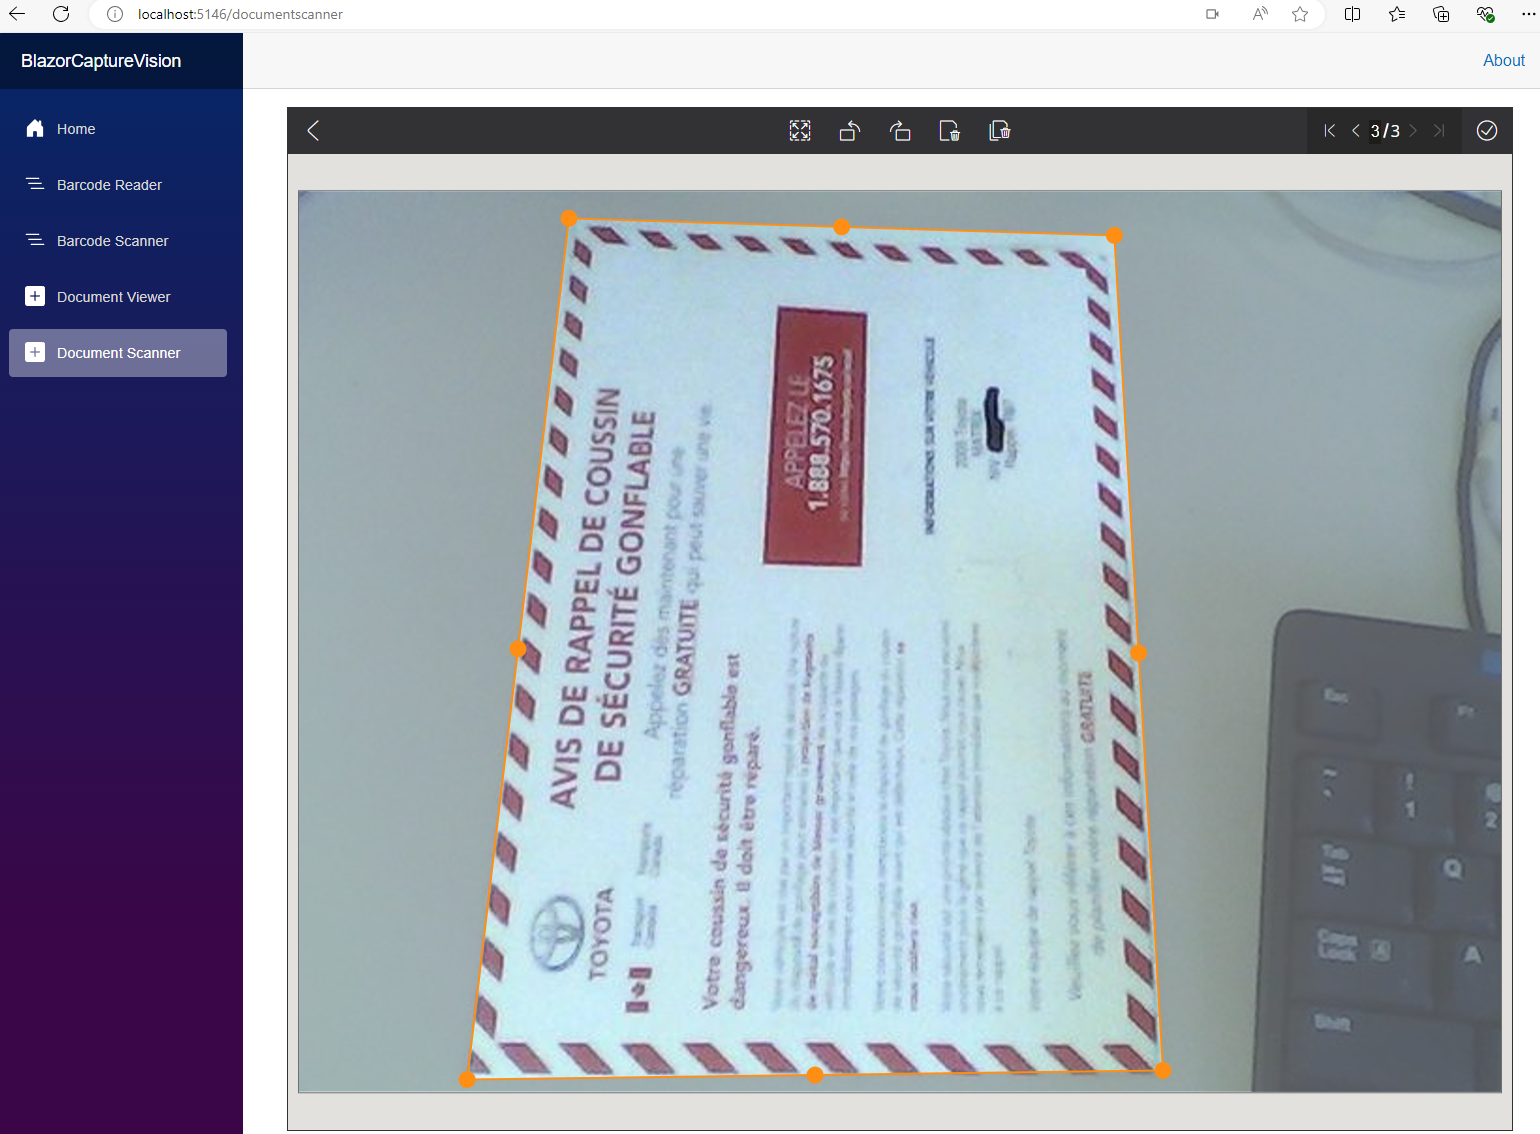
Document Scanner: Use a connected camera to scan a document, then edit, crop, and save the scanned image as a PDF.
Common Issues & Edge Cases
- Viewer renders blank or throws “container not found”: The Dynamsoft viewers must be initialized after the DOM element exists. Always place initialization inside
OnAfterRenderAsync(bool firstRender)and guard withif (firstRender)— calling JS interop inOnInitializedAsyncwill fail because the container<div>has not yet been added to the DOM. - Camera not starting on HTTPS-required browsers:
CaptureViewer.play()requires a secure context (HTTPS or localhost). When deploying to production, ensure your Blazor app is served over HTTPS; otherwise the browser will silently block camera access and no error will surface in the UI. - License initialization fails silently:
Dynamsoft.License.LicenseManager.initLicense()is asynchronous internally. Alwaysawait Dynamsoft.DDV.Core.init()after callinginitLicensebefore creating any viewer instance — skipping the await causes sporadic “not initialized” errors that are hard to reproduce.