


Thanks for Downloading Dynamic Web TWAIN 30-Day Trial!
Your download will start shortly. If your download does not begin, click here to retry.
Uploading Images to the Server
In the previous guide, we incorporated DWT scanning functionality into the HelloWorld web application. Typically, we would like to upload scanned documents to the server. Here, we demonstrate how to use DWT to upload scanned documents as a PNG file by building on HelloWorld.
Prerequisites: Hello World - Scanning Images
Add an Upload Button
Insert this line in the <body> element of HelloWorld.html to create a button:
<input type="button" value="upload" onclick="upload();" />
Define the Upload Function
Here we define an upload function, as well as its helpers. Insert the following javascript in the existing <script> in HelloWorld.html:
function upload() {
    if (DWTObject && DWTObject.HowManyImagesInBuffer > 0) {
        var strUrl = "https://demo.dynamsoft.com/sample-uploads/";
        var imgAry = [DWTObject.CurrentImageIndexInBuffer];
        DWTObject.HTTPUpload(
            strUrl,
            imgAry,
            Dynamsoft.DWT.EnumDWT_ImageType.IT_PNG,
            Dynamsoft.DWT.EnumDWT_UploadDataFormat.Binary,
            "WebTWAINImage.png",
            onEmptyResponse,
            onServerReturnedSomething
        );
    } else {
        alert("There is no image in buffer.");
    }
}

function onEmptyResponse() {
    alert('Upload successful');
}

function onServerReturnedSomething(errorCode, errorString, sHttpResponse) {
    alert(sHttpResponse.length > 0 ? sHttpResponse : errorString);
}
APIs used:
HowManyImagesInBufferCurrentImageIndexInBufferHTTPUpload()Dynamsoft.DWT.EnumDWT_ImageTypeDynamsoft.DWT.EnumDWT_UploadDataFormat
Review the code
Following this guide, your HelloWorld.html should look similar to this:
<html>
    <head>
        <script src="Resources/dynamsoft.webtwain.initiate.js"></script>
        <script src="Resources/dynamsoft.webtwain.config.js"></script>
    </head>

    <body>
        <input type="button" value="Scan" onclick="AcquireImage();" />
        <input type="button" value="upload" onclick="upload();" />
        <div id="dwtcontrolContainer"></div>

        <script type="text/javascript">
            var DWTObject;

            Dynamsoft.DWT.RegisterEvent('OnWebTwainReady',
                function() {
                    DWTObject = Dynamsoft.DWT.GetWebTwain('dwtcontrolContainer');
                }
            );

            function AcquireImage() {
                if (DWTObject) {
                    DWTObject.SelectSourceAsync().then(
                        function () {
                            return DWTObject.AcquireImageAsync(
                                { IfCloseSourceAfterAcquire: true }
                            );
                        }
                    ).catch(function (exp) {
                        alert(exp.message);
                    });
                }
            }

            function upload() {
                if (DWTObject && DWTObject.HowManyImagesInBuffer > 0) {
                    var strUrl = "https://demo.dynamsoft.com/sample-uploads/";
                    var imgAry = [DWTObject.CurrentImageIndexInBuffer];
                    DWTObject.HTTPUpload(
                        strUrl,
                        imgAry,
                        Dynamsoft.DWT.EnumDWT_ImageType.IT_PNG,
                        Dynamsoft.DWT.EnumDWT_UploadDataFormat.Binary,
                        "WebTWAINImage.png",
                        onEmptyResponse,
                        onServerReturnedSomething
                    );
                } else {
                    alert("There is no image in buffer.");
                }
            }

            function onEmptyResponse() {
                alert('Upload successful');
            }

            function onServerReturnedSomething(errorCode, errorString, sHttpResponse) {
                alert(sHttpResponse.length > 0 ? sHttpResponse : errorString);
            }
        </script>
    </body>
</html>
Run the Application
Open the Page in Your Browser
Open HelloWorld.html in your browser, for example by selecting the HelloWorld.html file to open with your browser. On the web page, you should see a scan button, an upload button, and an empty preview box:

Scan a document
Initiate a scan by clicking the Scan button in the same way that you did in the previous scanning guide. This is a test image acquired from the TWAIN Virtual Scanner for reproducibility:
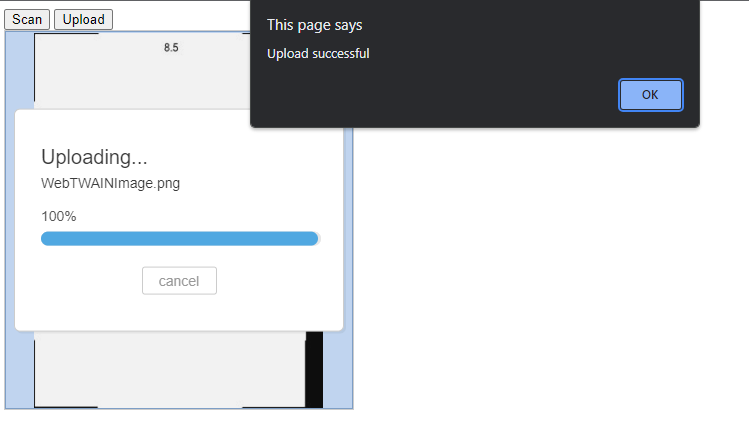
Upload the image
Once an image has been acquired, click the upload button.You should receive the successful upload message upon completion:
Note: For the purposes of this guide, a Dynamsoft hosted end point is used, but for your own application you will need to create your own end point.
Sample Applications
Previous Article
You can review scanning an image with DWT here.
Next Article
Now that HelloWorld can both scan and upload images, the next step is specifying scan parameters to control image scanning methods directly through the API.