Thanks for Downloading Dynamic Web TWAIN 30-Day Trial!
Your download will start shortly. If your download does not begin, click here to retry.
Editing Images
Prerequisites: Hello World - Specifying Scan Settings
DWT offers a number of image manipulation features used after image acquisition and before uploading or exporting. These include but are not limited to rotation, cropping, and resizing. In this example, we will demonstrate image color mode conversion and image rotation in HelloWorld.
Add Image Binarization
Add this line in the HelloWorld.html body to create a color mode conversion button:
<input
    type="button"
    value="Convert to binary image"
    onclick="binarizeImage();"
/>
Then, define binarizeImage() in the script element:
function binarizeImage() {
    DWTObject.ConvertToBW(DWTObject.CurrentImageIndexInBuffer);
}
APIs used:
Add Image Rotation
Add two buttons for 90 degree clockwise and anti-clockwise image rotation:
<input type="button" value="Rotate clockwise" onclick="rotateCW();" />
<input type="button" value="Rotate counter-clockwise" onclick="rotateCCW();" />
Define the rotation functions in the script element:
function rotateCW() {
    DWTObject.RotateRight(DWTObject.CurrentImageIndexInBuffer);
}
function rotateCCW() {
    DWTObject.RotateLeft(DWTObject.CurrentImageIndexInBuffer);
}
APIs used:
Review the Code
<html>
    <head>
        <script src="Resources/dynamsoft.webtwain.initiate.js"></script>
        <script src="Resources/dynamsoft.webtwain.config.js"></script>
    </head>

    <body>
        <input type="button" value="Scan" onclick="AcquireImage();" />
        <input type="button" value="upload" onclick="upload();" />
        <div id="dwtcontrolContainer"></div>
        <input
            type="button"
            value="Convert to binary image"
            onclick="binarizeImage();"
        />
        <input type="button" value="Rotate clockwise" onclick="rotateCW();" />
        <input
            type="button"
            value="Rotate counter-clockwise"
            onclick="rotateCCW();"
        />

        <script type="text/javascript">
            var DWTObject;

            Dynamsoft.DWT.RegisterEvent("OnWebTwainReady", function () {
                DWTObject = Dynamsoft.DWT.GetWebTwain("dwtcontrolContainer");
            });

            function AcquireImage() {
                if (DWTObject) {
                    DWTObject.SelectSourceAsync()
                        .then(function () {
                            return DWTObject.AcquireImageAsync({
                                IfCloseSourceAfterAcquire: true,
                                IfShowUI: false,
                                PixelType: Dynamsoft.DWT.EnumDWT_PixelType.TWPT_GRAY,
                                Resolution: 150,
                            });
                        })
                        .catch(function (exp) {
                            alert(exp.message);
                        });
                }
            }

            function upload() {
                if (DWTObject && DWTObject.HowManyImagesInBuffer > 0) {
                    var strUrl = "https://demo.dynamsoft.com/sample-uploads/";
                    var imgAry = [DWTObject.CurrentImageIndexInBuffer];
                    DWTObject.HTTPUpload(
                        strUrl,
                        imgAry,
                        Dynamsoft.DWT.EnumDWT_ImageType.IT_PNG,
                        Dynamsoft.DWT.EnumDWT_UploadDataFormat.Binary,
                        "WebTWAINImage.png",
                        onEmptyResponse,
                        onServerReturnedSomething
                    );
                } else {
                    alert("There is no image in buffer.");
                }
            }

            function onEmptyResponse() {
                alert("Upload successful");
            }

            function onServerReturnedSomething(errorCode, errorString, sHttpResponse) {
                alert(sHttpResponse.length > 0 ? sHttpResponse : errorString);
            }

            function binarizeImage() {
                DWTObject.ConvertToBW(DWTObject.CurrentImageIndexInBuffer);
            }

            function rotateCW() {
                DWTObject.RotateRight(DWTObject.CurrentImageIndexInBuffer);
            }

            function rotateCCW() {
                DWTObject.RotateLeft(DWTObject.CurrentImageIndexInBuffer);
            }
        </script>
    </body>
</html>
Run the Application
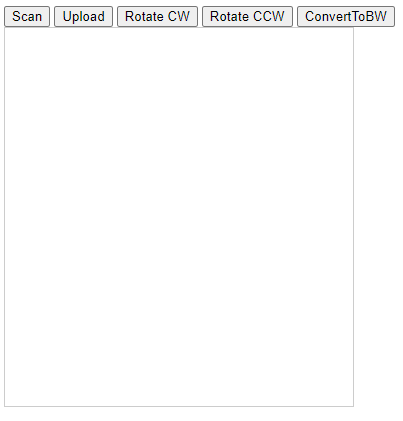
Open the application in your browser
Press the Scan button
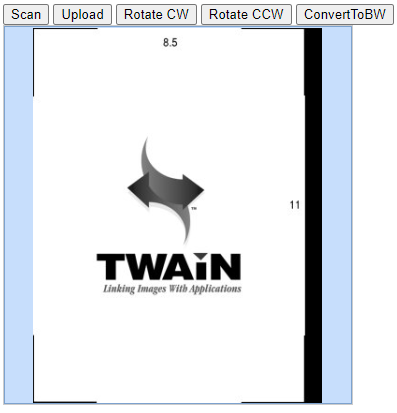
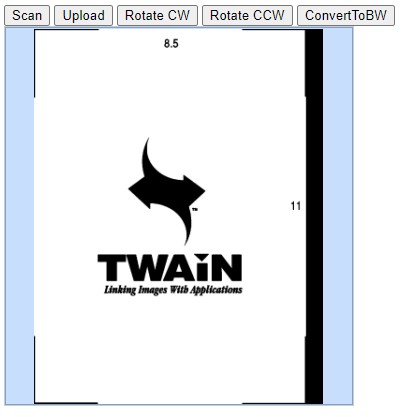
Convert the image to black and white
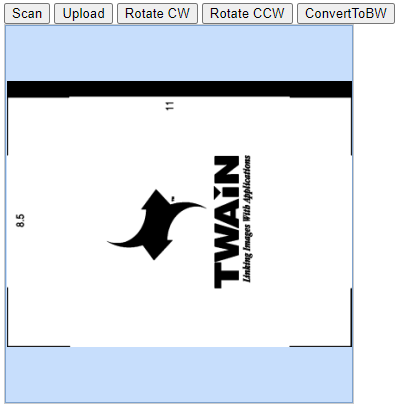
Click the ConvertToBW button and the image will change to black and white:
Rotate the image
Using the Rotate CW and Rotate CCW buttons, rotate the image.
- Rotating the converted image once using the rotateCW button:
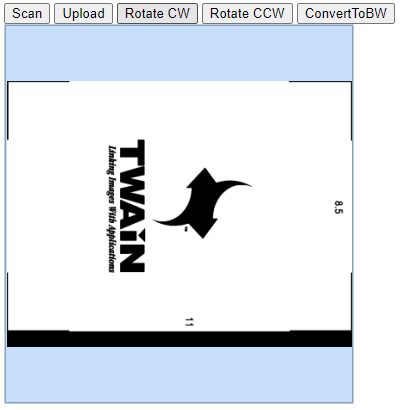
- Rotating the converted image once using the rotateCCW button:
Congratulations, you have completed the Hello World tutorial for DWT!
Previous Articles
If you would like to review any of the previous steps, you can review:
Next Article
Now that you had a chance to look at what DWT can do, you can learn about how to use DWT in your web application in detail with our general developer guide.


